|
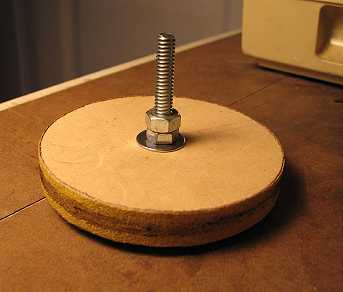
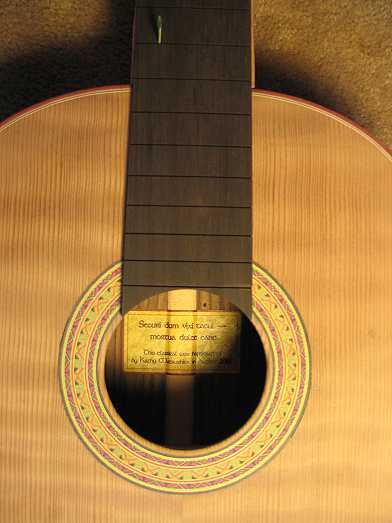
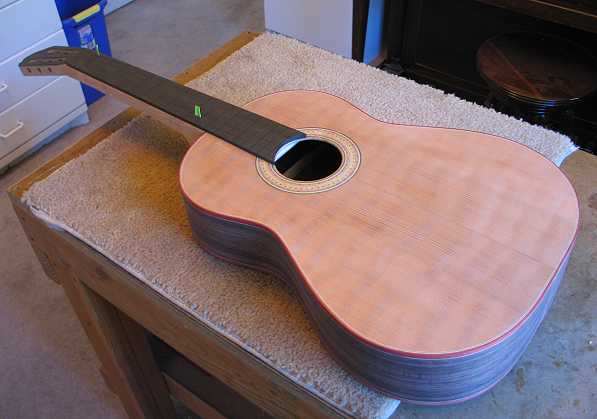
I changed my mind. I'm going to glue the fingerboard onto the neck first, then do the fretting. But before I could do that, I needed to sand the soundhole curve into the end of the fingerboard. First I bolted the neck to the soundbox. Then I attached the fingerboard to the neck, using those two indexing pins. That allowed me to trace the shape of the soundhole on the underside of the fingerboard end (lucky for me, I have small hands to be able to fit easily into the smaller soundhole of the classical!). I bandsawed that curve about 1/8" outside the line. Then, with the little sanding disc to the left (just a 1/2" thick circle of plywood the same size as my soundhole, with a bolt to chuck into my drill press), I sanded the curve little by little (checking it each time by pinning the fingerboard to the neck with the indexing pins again), until it was even with the soundhole. (I got this idea from Cumpiano's book --- it worked much better than the way I did it on my "Weird Classical" a long time ago --- at that time I did it all by hand.)
|
|
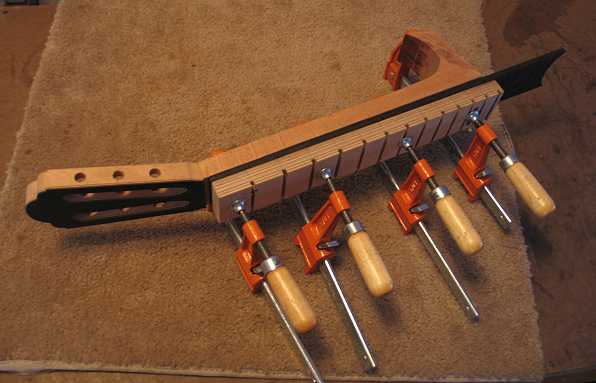
I have glued the fingerboard onto the neck. For a clamping caul, I used a fingerboard clamping caul from another guitar, with two holes drilled in them to accommodate the two indexing pins. Tomorrow I will fret the fingerboard.....then comes one of my favorite parts, carving the neck!!!
|
Previous Page |