The Sides (Continued)

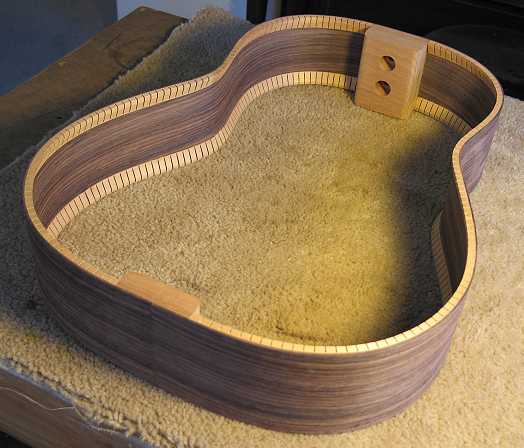
Now that the blocks are glued, I can glue the kerfing on. I am always a bit excited about this step, because it means that I'm finally getting close to having a "box" --- something really solid that begins to look like a guitar!

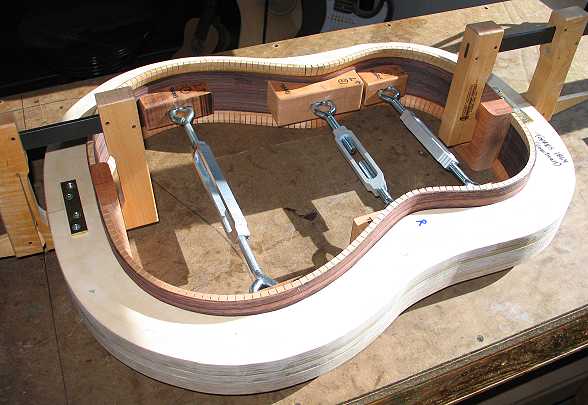
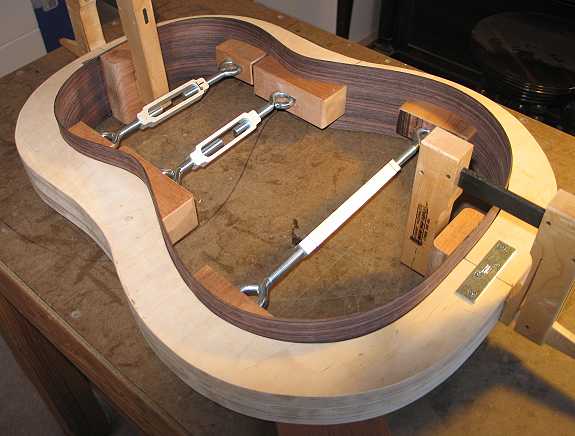
The first step is to put in the spreaders and clamp the neck and tail blocks.


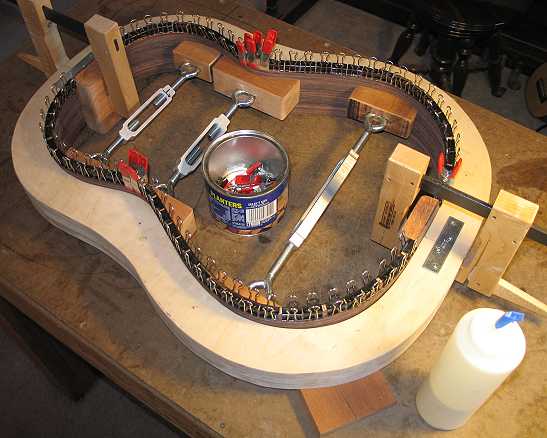
I'm using mahogany kerfing for the top edge and Spanish cedar for the back edge --- no particular reason --- I just thought I'd try using the two different woods. After about a half hour or so, I'll remove the clips and flip the whole thing over to install the rest of the kerfing.


INDEX:

Return to HOME PAGE


Wednesday, August 1st, 2007:

The kerfing is all glued and ready to be sanded down to conform to the radius (15' on the back, 25' on the lower bout of the top).


Now, today I'm going to (hopefully) start the process of closing up the box!

Stay tuned...................................Okay, I'm back........

I first spent a while (around 45 minutes) sanding the kerfing on the top and the back with the radius dishes (although the top I only radiused the lower bout kerfing). Then I sanded the inside of the rim-set with 120-grit sandpaper, to clean it up.

Previous Page