Monday, July 30th, 2007:
Today's the BIG DAY....bending the sides! Right now, as I'm waiting an hour or so, for my first side to cool down, I figured I might as well put the info (so far) into the website. That's how this project's been --- do some work on the guitar, take some photos, go back and forth from the workroom to the computer to update the website, and return to working on the guitar.
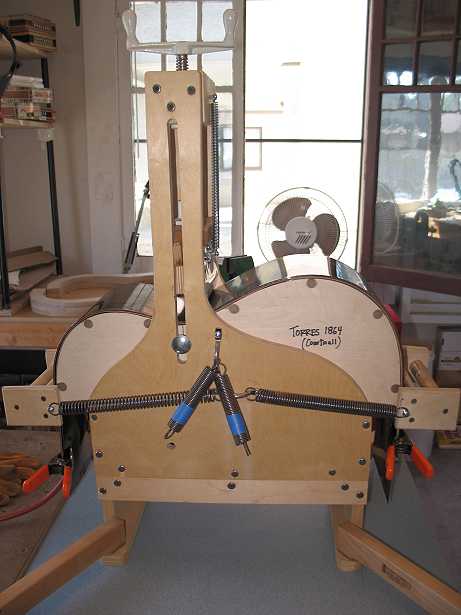
The first thing I did this morning was to gather all my bending supplies --- the bender and its various parts, the spray bottle of water to mist the sides, my gloves, the thermometer to check the heat of the blanket, spring clamps for the ends of the bending "sandwich," and the three bending slats (spring steel).
I misted the rosewood side and wrapped it in brown kraft paper (basically, grocery bag paper), marking the "waist" line on the outside of the kraft paper. Then I assembled the "sandwich" --- (from bottom up) spring steel slat, rosewood side, slat, heating blanket, slat --- and laid it on the bender form, top-side flush to the edge of the bending form, spring-clamping the ends and inserting the thermometer in between the blanket and the slat. I made sure that the "waist" mark on the kraft paper was aligned in the center of the vertical slot of the bender.
I turned on the heating blanket and set the timer for around 6 minutes. When the temperature reached around 220°F, I started slowly cranking down the waist, to around 1/2" from the bottom. Then I slowly bent the lower bout, then the upper bout, and finally finished cranking down the waist. Once this was all done, I turned off the blanket.
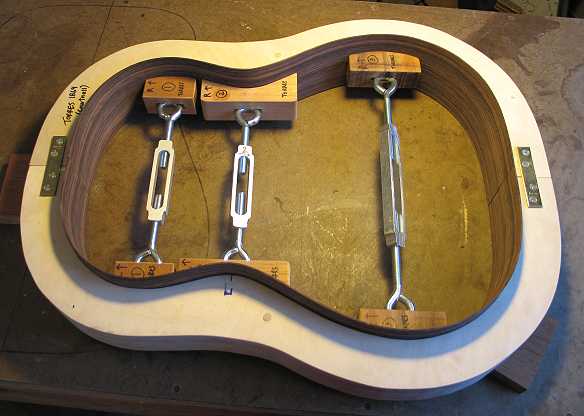
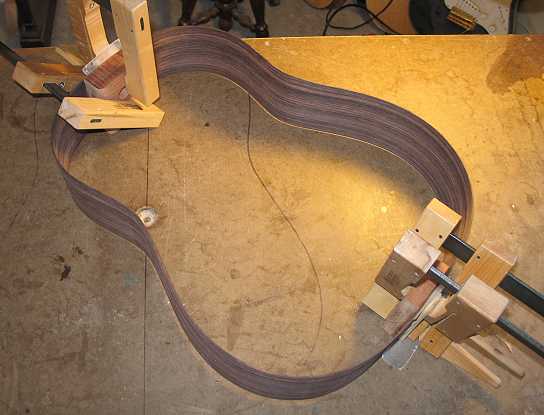
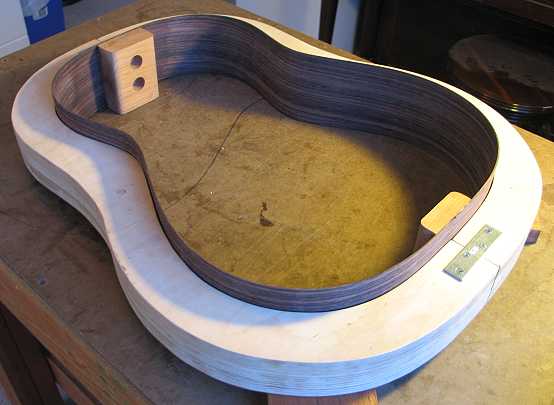
Since my sides were so thin (around 2mm), the bending went really easily. When the side has cooled down, I will "cook" it again for a few minutes. A few hours later, I'll take it out of the bender, clamp it into my mold, and then start work on the other side!
For an excellent tutorial on this process, check here: John Hall's (Blues Creek Guitars) Tutorial. (The bender is from John Hall!)
Check in later to see the results!!!
INDEX: |
