Bracing (Continued)

So, here's the result:

(Every time I look at this photo, it feels as if I'm looking at a scowling face, for some strange reason.......)


Next, I worked on the back braces. The first thing I did was to sand the 15' radius on the bottoms of the three back braces. Then, using the go-bar deck again, I have glued those braces on. The back is lying on top of my 15' radius dish.


INDEX:

Return to HOME PAGE


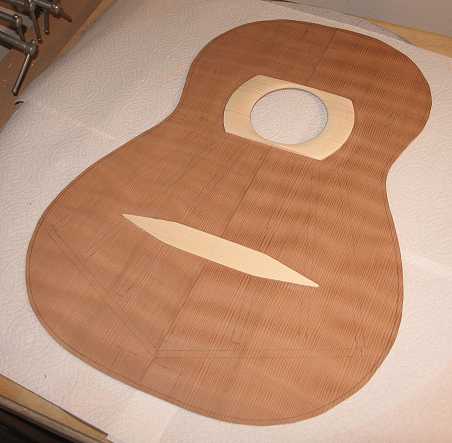
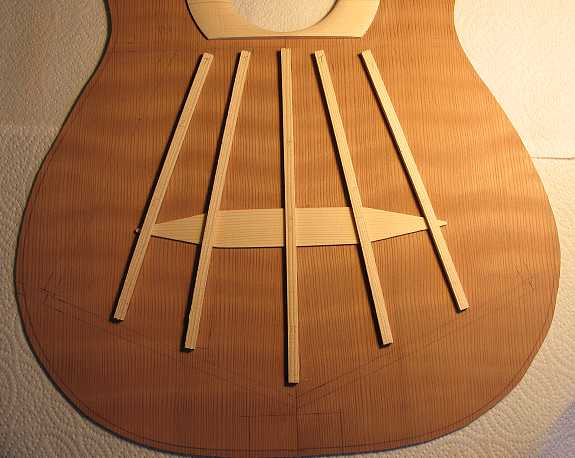
While the back was in the go-bar deck, I set about notching the fan braces that will lie over the bridge pad. I used a nifty method of notching the braces that I found on Robbie O'Brien's excellent DVD on making a classical guitar. You bandsaw a slit in a strip of scrap wood, then place that slit into the bandsaw blade from the back of the blade. Then, you clamp the wood down so that only a portion of the bandsaw blade (in my case, 1/16," the height of the bridge pad) protrudes from the slit. You place the fan brace underside against that "fence" and your 1/16" notch is easily cut! It worked great, much better than if I had tried to do it by hand, with a saw and chisel.


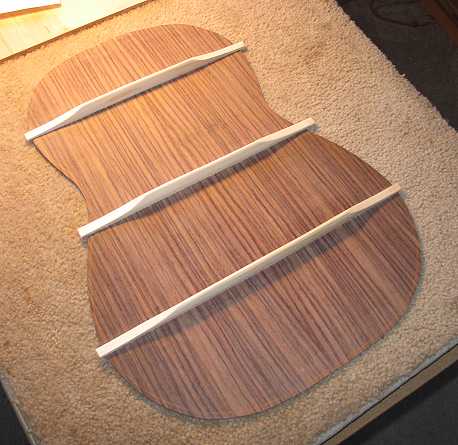
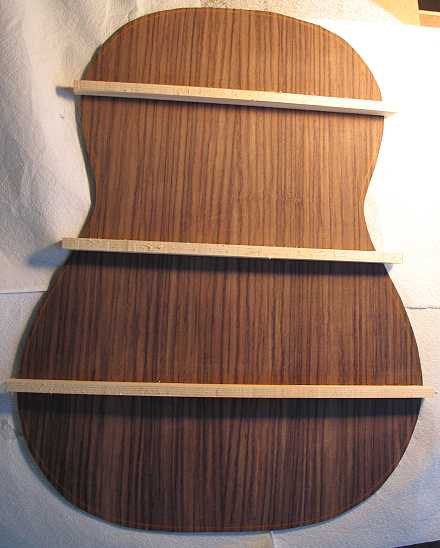
Now, after having added these pics, I think my back braces are just about ready to be unclamped.....Yep, here it is:

Now that the go-bar deck is freed up, I can glue the fan braces. I'm going to glue the lower cross brace (again using the 25' radius dish) later, for two reasons: (1) That way, I will have an easier time shaping the fan braces, without having to worry about possibly gouging the lower cross brace with my chisel, and (2) I'm just about out of go-bar sticks anyway!!!


While the top is in the go-bar deck, I can now turn to shaping the back braces. More soon!!!


Previous Page