GS Mini 27


Thursday, March 27th, 2014:

Odds and Ends

Only two photos today --- not because I didn't do much today, but because I was too busy with what I was doing to stop to take photos!!!

Today I spent about 4 hours just fitting the neck to the body --- that is, sanding the heel to get the neck to fit both laterally (to be centered and not angled side-to-side) and vertically (to have the correct back angle so, when placing a straightedge on top of the fretted fingerboard, the straightedge lands about 1/32" above the bridge at the saddle location).

I didn't take any photos of the process --- however, you can look at one of my previous guitar builds for a general description of how I go about fitting the neck.

After I finally had the neck fitted, I thinned the peghead to 9/16" thick, using my belt sander thicknessing jig, and then drilled the 3/8" tuner holes in the peghead.

Then I bolted the neck to the body, sanded the bottom edge of the bloodwood heelcap blank against some sandpaper stuck against the body (so the heelcap would adopt the same curve of the body at that point), and glued the heelcap blank to the end of the heel, using Titebond. The waxed paper is there to keep the glue from possibly seeping out and sticking the heelcap to the body.


The final thing I did today was to glue the fingerboard to the neck, seen below.


LATER . . .

I have removed the clamps, and here it is!!!


Friday, March 28th, 2014:

Here's a photo of the heel and heelcap:


One of the first things I did this morning was to thin the peghead a tiny bit more, to a 1/2" thickness.

Last night, when I test-fitted the Gotoh Delta mini tuners, there seemed to be too little tuner post extending above the peghead face, so I thought it would be a better fit at 1/2" thick.


Peghead Inlay

I decided to work on my peghead logo inlay before carving the neck, as I really don't have much time today to work (going to see Sungha Jung perform at Slim's in San Francisco tonight!).

(1) First, I printed up this "m" in the "Martel" font.


(2) Next, I superglued the "m" to a mother of pearl blank. Here I am, ready to start the sawing.


(3) I have begun the sawing. It took me 45 minutes to saw out this logo.


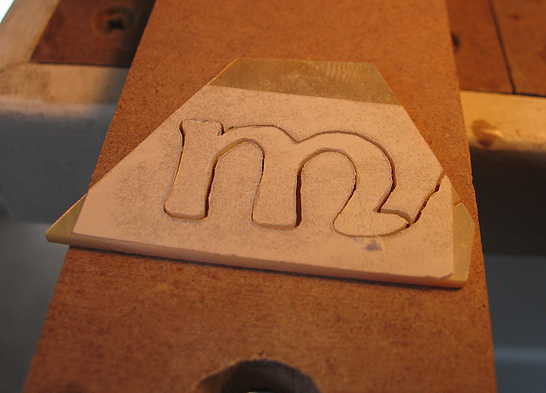
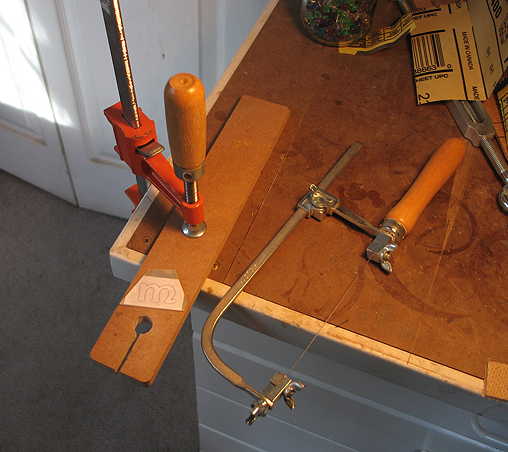
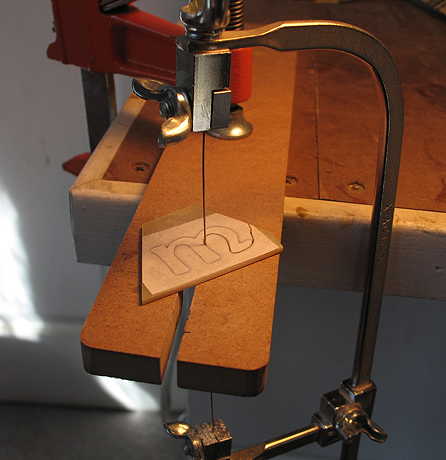
(4) Here's the logo, all sawn out:

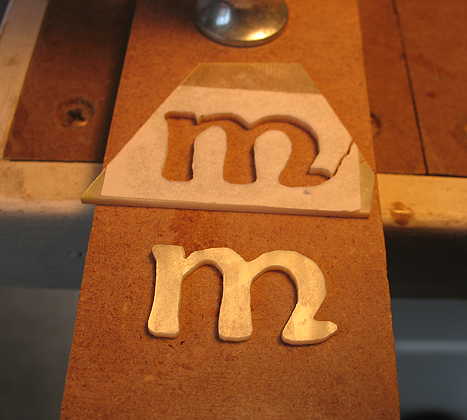
(5) I then soaked the logo in hot water for a while, to remove the superglued paper from the mother of pearl. (There's still a little bit of glue residue on the blank here, so it doesn't have quite the sheen it will have later, after I've inlaid it into the ebony veneer and sanded it down flush.)

(6) What I will do next is to use a needle file to smooth the edges of the inlay.


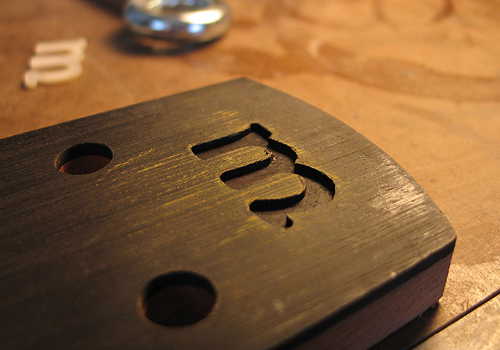
(7) Next, I stuck the inlay onto the peghead with some Titebond and carefully scribed around it with an Exacto knife. I removed the inlay, sprinkled some yellow chalk dust onto the scribing, and rubbed it into the scribed outline. This way, I can more easily see the outline as I rout out the cavity.

I used a 1/16" bit in the Dremel and routed out the cavity. The first routing is usually too small for the inlay to fit, so you have to then do some adjusting here and there, until the inlay fits into the cavity.

There are inevitably some gaps, but no problem --- those will be filled with epoxy mixed with ebony dust.

Here's the routed inlay cavity:

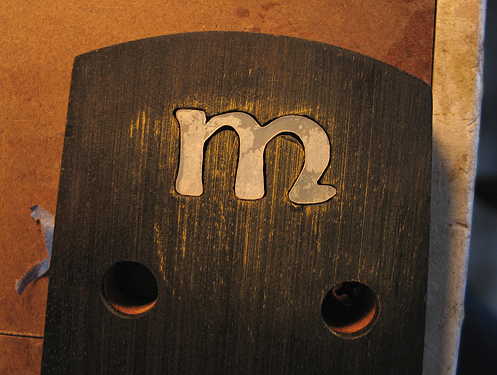
And here's how the inlay fits into the cavity:


(9) Finally, I mix some ebony dust with 5-minute epoxy, spread it in the cavity, and lay the inlay into the cavity:

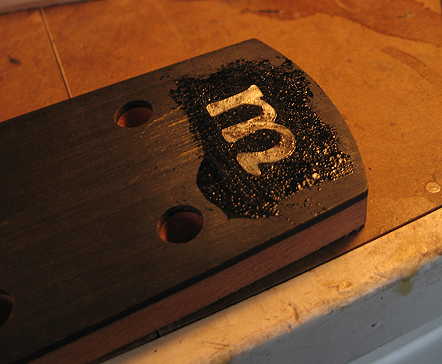
Later, after the epoxy cures, I will sand it down flush, and you won't be able to tell (unless you look really closely) that there are gaps.

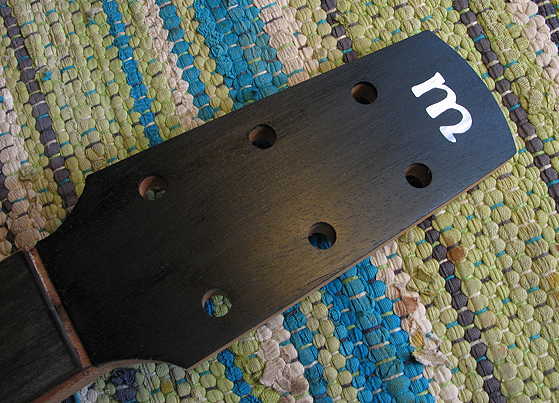
Saturday, March 29th, 2014:

Okay....the first thing I did this morning was to sand down the epoxied-in inlay: