Still Saturday, March 29th, 2014:
Carving the Neck
It's about 1:00 p.m. right now. Time for a little break, so I can let the mahogany dust settle....
I've been carving the neck. Not done yet, but I thought I'd show you my progress so far.
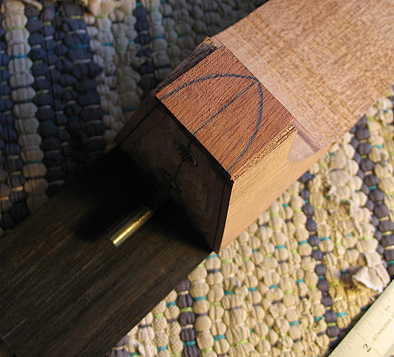
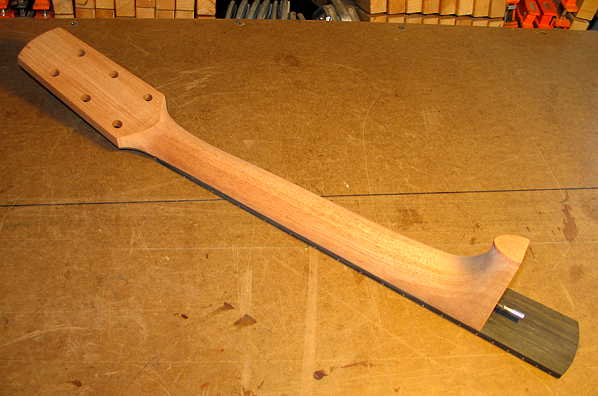
The first thing I did was to draw the shape of my volute:

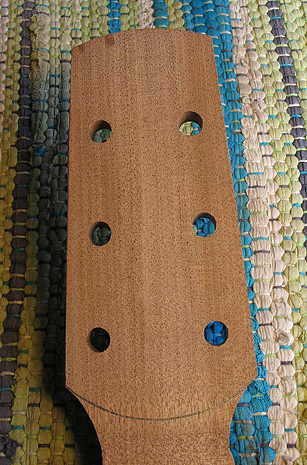
|
|
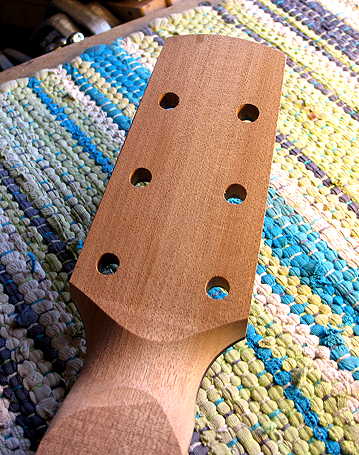
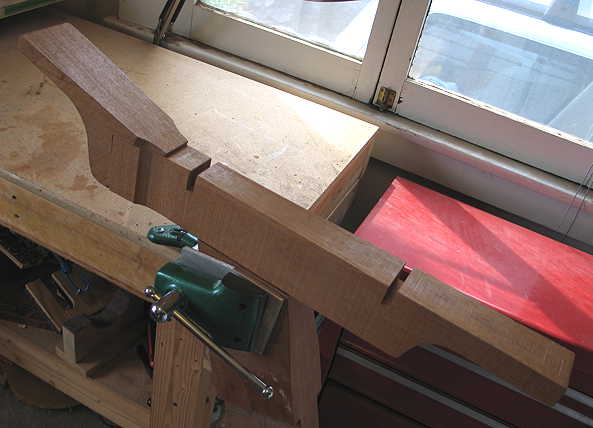
I took it to the belt sander and shaped it like this. The first time I used the belt sander to do this, it was kind of scary, but now I'm fairly comfortable with it; you just have to be very careful when rocking the neck to-and-fro on the end of the belt sander, not to let the sander gouge the fingerboard.
|
|
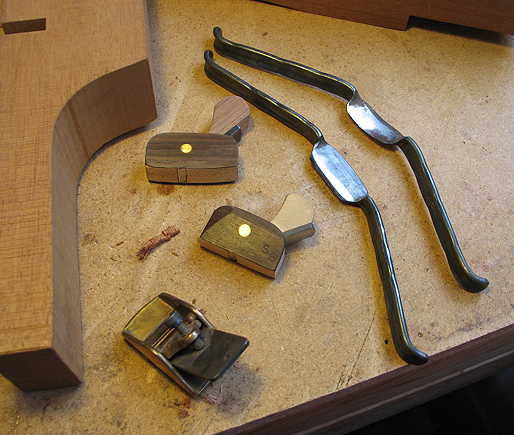
The next job was to trim the edges of the neck blank. Below are the tools I use to plane/carve the sides of the neck flush to the fingerboard. The thing you have to be careful of here is the direction of the grain in the mahogany; if you carve into the grain, you run the risk of tearing out chunks of the mahogany.
|
|
Next, I drew the heelcap outline onto the bloodwood blank. As I'm carving the neck, I will carve the heel shape as well.
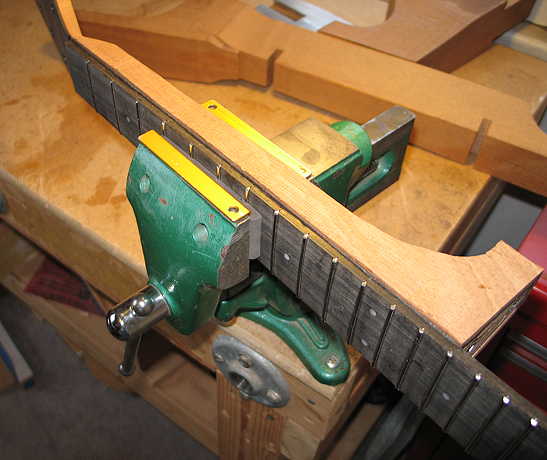
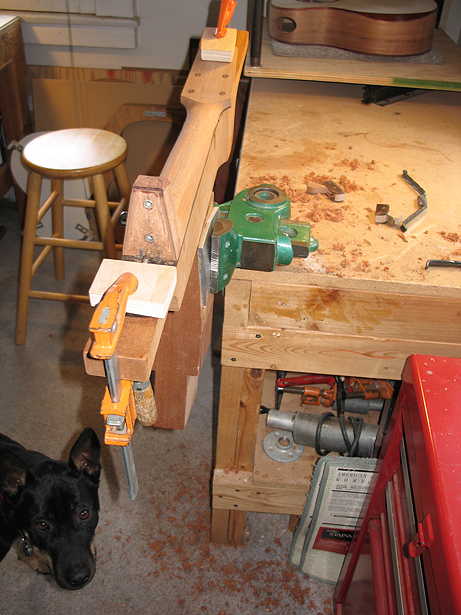
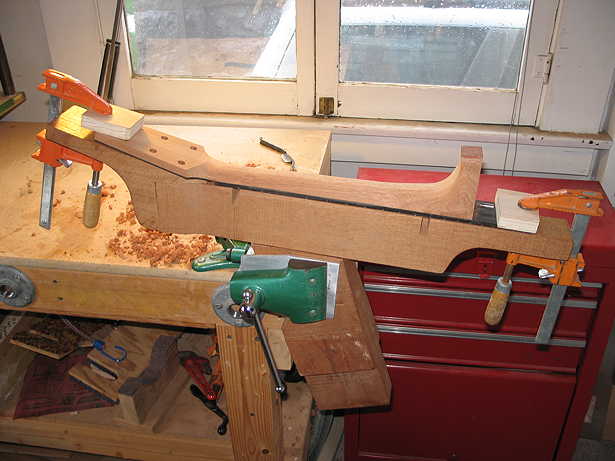
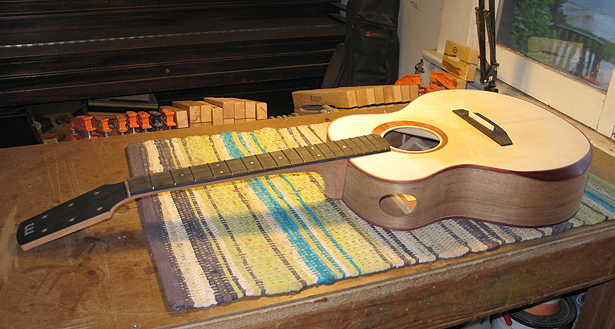
After the neck blank's edges were flush to the fingerboard's edges, I drew a line down the center of the neck shaft, as a guide to where I'm aiming for as I shape the neck. I took the neck blank to the belt sander and, using the roller end of the belt sander, did the bulk of the neck-shaping.
Next, I will clamp the neck to this neck support, and finish up the carving/sanding by hand. That's the job for after I have some lunch!!!!
|