Sunday, March 30th, 2014:
Finish Sanding
No photos for this one. All I did was sand, sand, sand, and sand some more.
Now that the building was all done, I needed to prepare the guitar for the finishing process, so today I sanded. I first used 120-grit, followed by 150-grit, folllowed by 220-grit. After I had sanded with the 220-grit, I wiped the guitar body and neck with a paper towel dampened with water and let it sit for an hour. Then I re-sanded the raised grain with 220 again.
I followed the sanding with running a scraper along the binding's sharp edges and then softening the very slight bevel with sandpaper.
Tomorrow, after taping off areas (like the spruce directly around the rosette), I will begin the pore-filling process. I will need to pore-fill the bloodwood rosette, the Mayan walnut back and sides, and the mahogany of the neck. I plan to use Z-poxy for the pore-filling; it will probably take at least two coats, if not more. |
|
Monday, March 31st, 2014:
Pore-Filling
It's about 11:00 a.m. I just finished putting my first coat of Z-poxy to the rosette and one side.
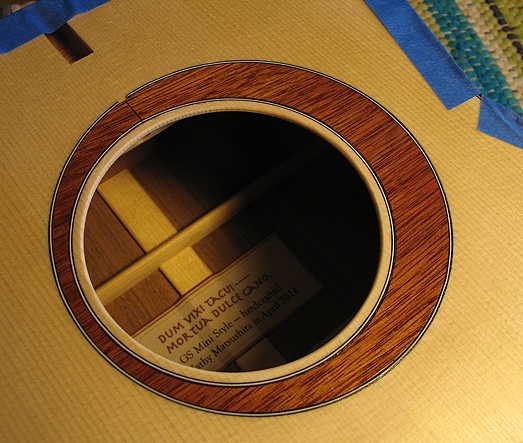
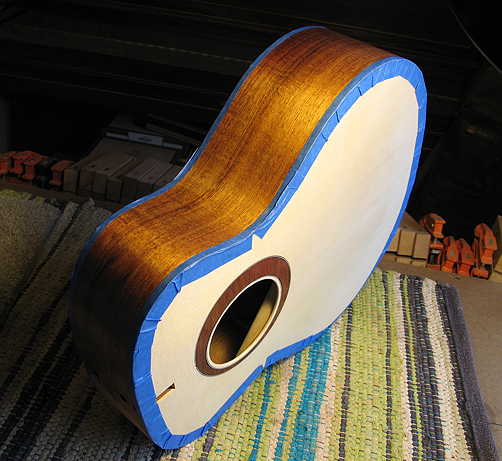
First I taped up the rosette area so that I could spray a protective coat of shellac to the spruce (to make sure I don't get any Z-poxy on it during the pore-filling stage). I then used a Pre-Val sprayer to spray on a couple of light coats of Sealcoat shellac on the top.

I applied the Z-poxy to the bloodwood rosette by pressing it in and smoothing it with my finger (wearing a nitrile glove).
|
|
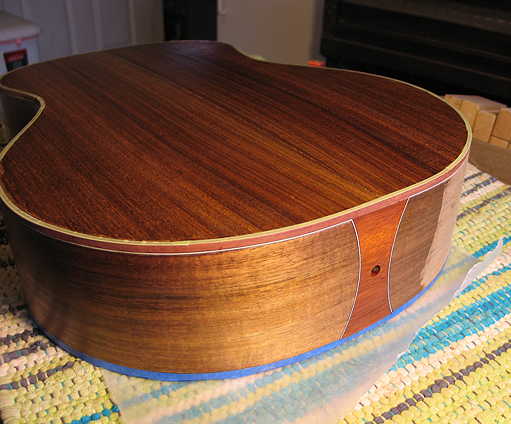
Next, I taped up the bindings in preparation for applying the Z-poxy to the sides. I found that using one of those little credit-card-like things that they give you to put on your keychain worked really well for applying the Z-poxy. Flexing thc little card made it conform to the curve of the side really well, as I pressed the Z-poxy into the pores across the grain.
I held the card down almost flat to first mash the Z-poxy into the pores, and then held it at about a 45-degree angle to "squeegee" the excess Z-poxy off the surface.
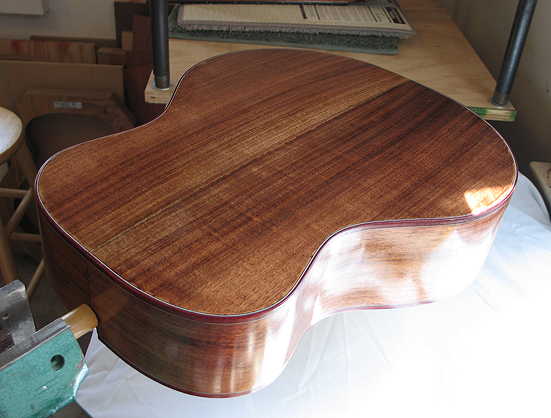
Ooh ahh ooh ahh.....Isn't it pretty now? The amber tint of the Z-poxy really brings out the beautiful grain and color of this Mayan walnut:
So far I've done one side of the soundbox only. While this coat of Z-poxy dries, I will do the pore-filling on the neck. Later, I can move on to the other side and the back of the soundbox. |
|
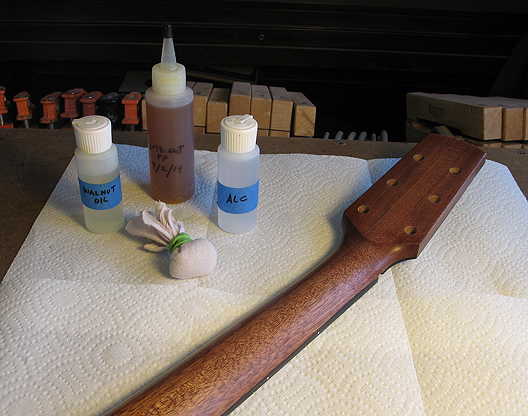
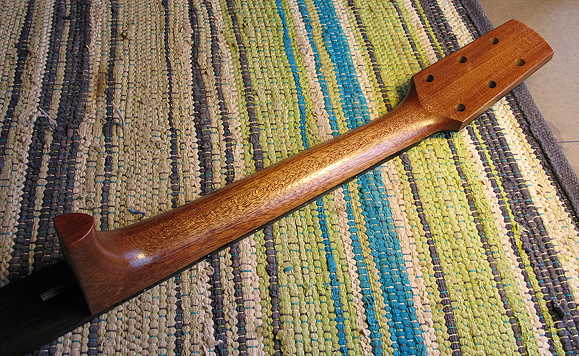
Another "ooh ahh" moment ... I've just applied the first coat of Z-poxy to the neck:
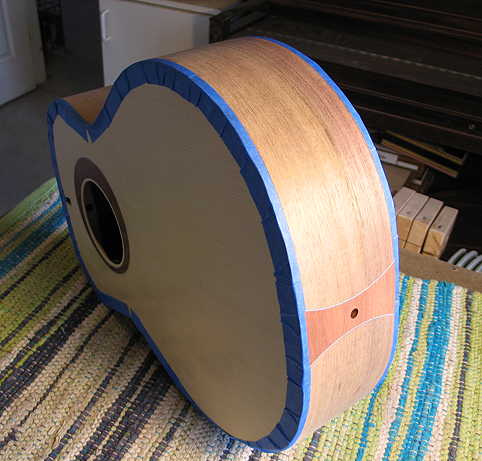
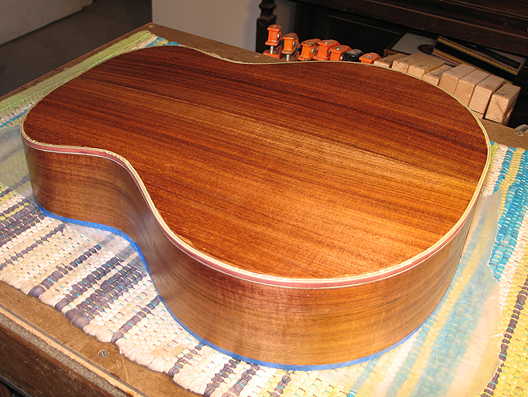
About 1:00 p.m. : The Z-poxy on the rosette was dry enough that I could lay the soundbox with the top down (waxed paper underneath), so I was able to pore-fill the back. (I had removed the blue masking tape from the bindings on that side and had masked the back binding/purfling with some thin white tape.) Here's a shot of the back and the side that has been pore-filled already:
Time for me to go to the high school for the cigar box uke kit class --- by the time I get back, the Z-poxy may be dry enough for me to apply another coat! |