Monday, April 7th, 2014:
A Little Detour
I haven't posted in a couple of days because I ran into a little problem. Actually, a couple of problems --- but everything's okay now.
BY THE END OF SATURDAY, I had 21 sessions on the top, 20 on the sides and back, and no more on the neck (it was finished at 11 sessions). However, at the end of Saturday, I decided to drop fill several binding gaps on the top and back (small gaps between the binding the the purfling), applying thin superglue with a micro-pipette (it's the first time I've used those pipettes --- and I LOVE them!!!). I let those drop-fills sit until Sunday.
SUNDAY, the first thing I did was to level those drop-fills, using first a razor blade like this, following it up with very careful wet-sanding (with walnut oil) with 400 and 600 grits. It went well, and looked so much better.
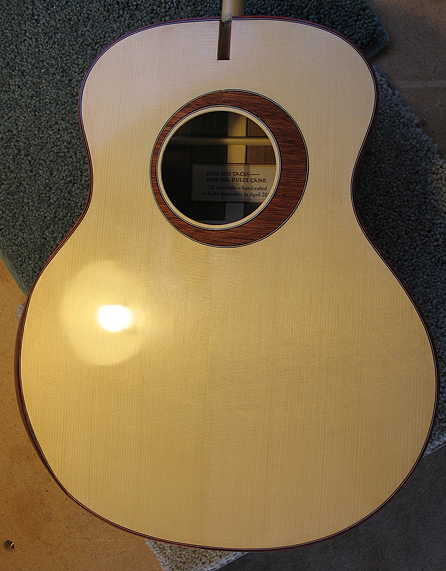
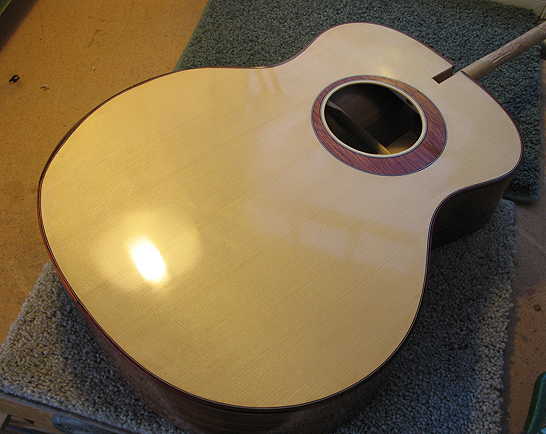
Then, I proceeded with the polishing, adding 5 more sessions to the back and sides. When I moved on to the top, however, after the 4th session of the day, I found a dull spot (about 3/4" wide by 1-1/2" long) just below the rosette on the bass side. Trying to remedy that dull spot by polishing over it didn't work; it only seemed to worsen the problem. That spot was down to the bare wood! Probably what had happened was that I had too much alcohol on the muñeca and it was a little too damp, so I had been removing shellac instead of adding it! I stopped, sanded that area down a little bit, and isolated that area with painters' masking paper, so only the damaged area showed. I then put some shellac in a PreVal sprayer and very lightly sprayed a few very thin coats of shellac onto the area. (I did this instead of brushing on the shellac, because it sprays on much more evenly than by brush.) I let it all sit until today.
TODAY, I first used 600-grit sandpaper & walnut oil to very lightly start leveling down the shellac repair. After the 600-grit sanding, I moved on to Micromesh, from its 1800-grit (not the same numbering system as regular sandpaper), on down to its 12000-grit (2400, 3200, 3600, 4000, 6000, 8000, 12000). I used an Artgum eraser as my sanding block, wrapping the Micromesh around the eraser.
It worked out well. You can detect a very slight color difference in the repaired area (it's a tiny bit darker), but I'm satisfied with it. I am so relieved that I was able to fix it without making it even worse!
After completing the repair, I then did one session on the top, back, and sides. It's sitting there now, waiting for me to come back to it.
I think I am just about done. After posting this, I think I will do one last session of very little shellac and mostly alcohol (but DRY!!!), and glaze and "spirit off" the final coats.
|
|

|
|

CAN YOU TELL WHERE THE REPAIRED AREA IS? |