GS Mini 31


Tuesday, April 8th, 2014:

Still LOTS More to Come!!!

Lest you think that this little guitar is all finished and ready to be heard --- and because my mind is feeling a little bit scattered --- I thought it best to sit down and make a list of all the things I need to do next.

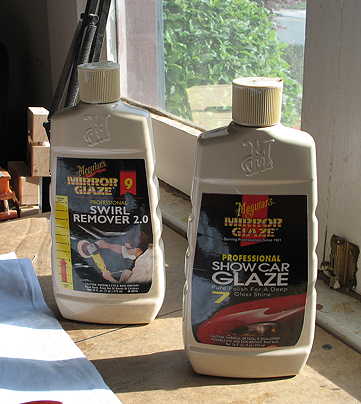
  1. Polish the soundbox with Meguiar's #9 (Swirl Remover) & #7 (Show Car Glaze).
  2. Rub the neck and back of peghead to a satin finish with steel wool & paste wax; remove the wax with steel wool slightly dampened.
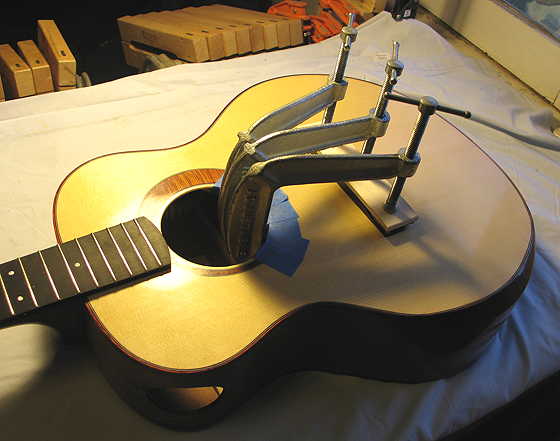
  3. Bolt on the neck; remove finish underneath fingerboard extension.
  4. Bolt up and glue on fingerboard.
  5. After at least an hour or so, level, re-crown, round off fret ends, and polish the frets.
  6. Apply lemon oil to fingerboard surface.
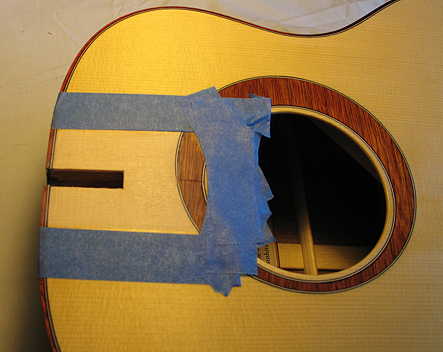
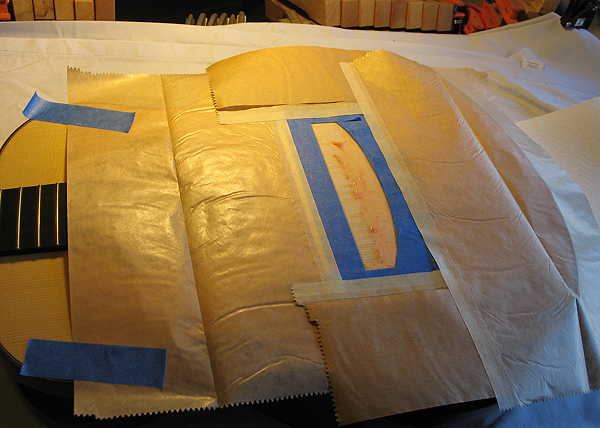
  7. Determine the bridge location; mark off with masking tape.
  8. Remove finish underneath bridge, leaving 1/32" of finish around edges.
  9. Glue on bridge; let it sit overnight.
  10. Drill through bridge pin holes.
  11. Ream the bridge pin holes to fit bridge pins.
  12. Cut slots in bridge pin holes for strings.
  13. Install end pin. & strap button on heel.
  14. Install tuners.
  15. Fit & shape the nut.
  16. Affix the nut with a dot of superglue.
  17. Install the saddle.
  18. String up the guitar.
  19. Check and adjust truss rod for the neck relief (.005" to .015" at 7th fret).
  20. File nut slots to get proper action at first fret.
  21. Check 12th fret string to fret distance (6/64" at low E to 4/64" at high E), to determine how much to remove from bottom of saddle for desired action. (Whatever difference you have at 12th fret, remove twice that much from bottom of saddle.)
  22. Run around the house and celebrate. Play the thing!

TODAY: Even though it's going to KILL me to have to wait to begin the process above, I think I'm going to use today to finish up reading The 100-Year-Old Man Who Climbed Out the Window and Disappeared (weird title, good book). (I'm in a book group, and I need to have this read by next Monday.)

If I really can't stand it, and finish the book before the end of today, I might just do some work on the neck (since its finish hasn't been touched since last Thursday and should be cured enough by now) --- I'll put that satin finish on the neck and install the tuners & strap button.


Wednesday, April 9th, 2014:
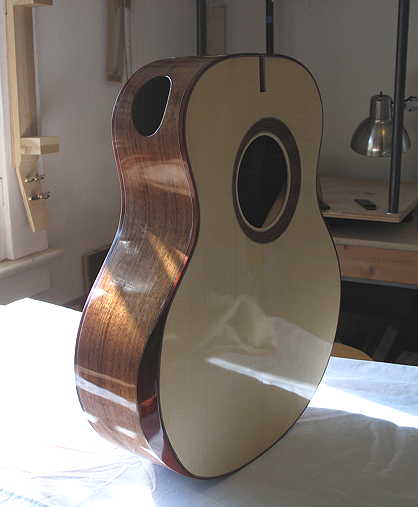
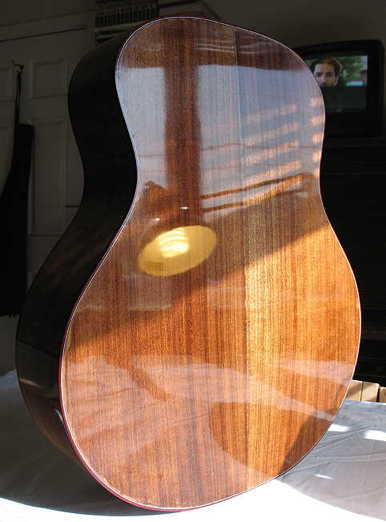
Final Polishing

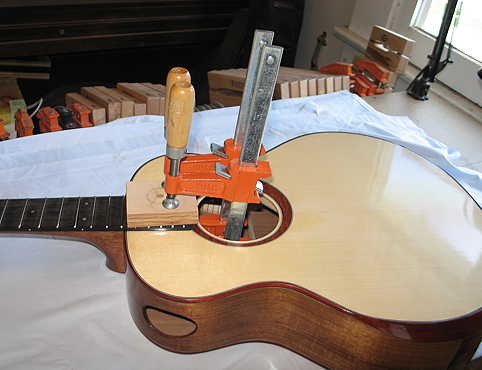
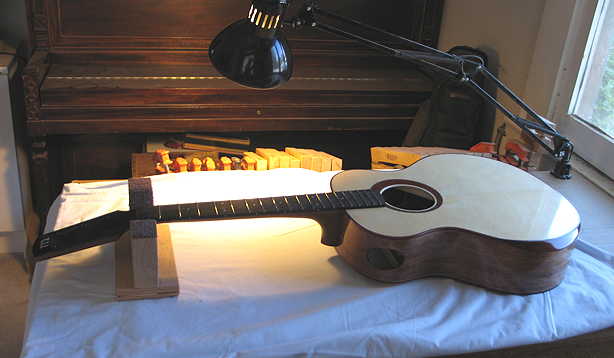
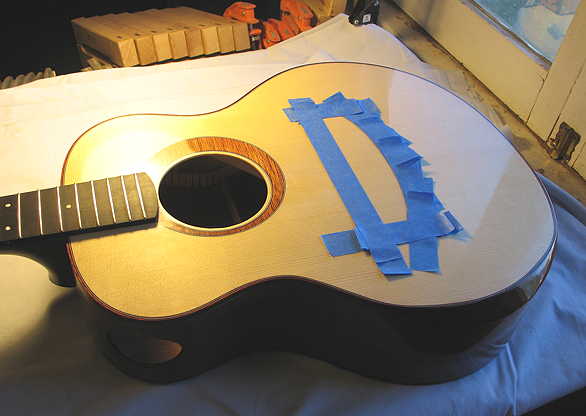
I've just finished doing the final polishing of the guitar, first with Meguiar's #9 (Swirl Remover), followed by Meguiar's #7 (Show Car Glaze):

Here are a few photos of the results:


I wanted a slightly satiny feel to the neck, instead of the high gloss, so, for the neck, I used steel wool when applying the Meguiar's #9, following that with Meguiar's #7.


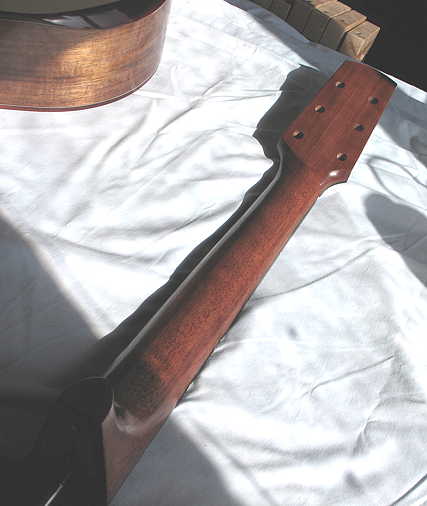
Now it's time to attach the neck!!!


Still Wednesday:

Attaching the Neck

The first thing I did was to bolt on the neck, checking once again that its alignment and angle was correct. Then I placed masking tape around the fingerboard extension; this would designate the area in which the finish had to be removed. I used some Orange Safe Stripper to remove the finish from that area; I left about 1/32" of finish at the edges. When the stripper had done its work, I carefully removed it using a chisel as a scraper, followed by a wipe-down with a dampened paper towel (to neutralize any possible remaining stripper). After that, I lightly sanded the area.


I applied Titebond to the spruce surface and bolted up the neck, making sure the fingerboard extension lay within the blue masking tape outline. Once I was sure of that, I tightened the bolts, removed the masking tape, and clamped up the extension, with the clamping caul I had made for the inside surface under the fingerboard extension and another wood block on top. I used a small artist's brush and warm water to clean up the little bit of glue squeeze-out that appeared.

I will let this sit for at least an hour before working on leveling the frets --- right now it's time for some lunch!


Spent about an hour leveling, re-crowning, and polishing the frets and fret ends.


Now it is time for one of the most crucial tasks --- locating and gluing on the bridge!!!!


Locating and Gluing On The Bridge

I spent at least half an hour measuring for, checking, and re-checking the location of the bridge. For this 23.5" scale guitar, the bridge needed to be placed so that the peak of the saddle was located at 23.582" at the treble E string and 23.698" at the bass E string.

Once I had that figured out, I held the bridge in its position and placed several layers of tape around the bridge. This tape would serve two purposes: (1) to protect the finish around the bridge as I used the Orange Safe Stripper to remove the finish underneath the bridge and (2) to hold the bridge securely in its position when it was glued and clamped.


Here I am beginning to scrape away the melted finish. It doesn't hurt to have a lot of protection surrounding the area I'm working on!

Just as with the fingerboard extension, after the finish was removed, I lightly wiped the area with a dampened paper towel to neutralize any remaining stripper, waited a bit, and then sanded it with 220-grit.


The next thing I did was to apply glue to the bottom of the bridge and set the bridge in position. I held it there for a few minutes until I could tell that it had somewhat set and wouldn't shift around as I applied the clamps. During the entire clamping operation, the masking tape outline was still there.

The trickiest thing about clamping up the bridge is holding the inside bridge caul up against the bridge plate with one hand, in its proper position, while simultaneously maneuvering the center bridge clamp with the other hand, to contact the inside caul's center and the center of the caul that is on top of the bridge --- all the while trying to be super-careful not to knock against anything with the clamp itself. Once that center clamp is positioned and slightly tightened, the other two clamps are relatively easy to position and clamp down.

After the clamps were all tightened, I removed the masking tape and used warm water and a small artist's brush to remove any glue squeeze-out as it appeared.

Here is where it sits now. Later tonight I will remove the clamps and let it sit until tomorrow before I do any of the next steps.


Previous Page


TABLE OF CONTENTS


Next Page