Thursday, April 10th, 2014:
Gettin' Near the End!!!!
Today the first thing I did was to repolish the frets, primarily because, when I held the guitar in the playng position, the fret ends felt a little sharp. So, after taping up the fingerboard, I first re-rounded the fret ends (what you do is use a little file to cut the sharp edges off the end of the frets). Then, using 400, then 600, then the full range of Micromesh from 2400 all the way up to 12000, I polished the fret ends, then ran the sandpaper lengthwise along the top of the fingerboard, and finished off by polishing each individual fret down its length. By the time I got to the 12000 Micromesh grit, the frets were a nice, gleaming silver!
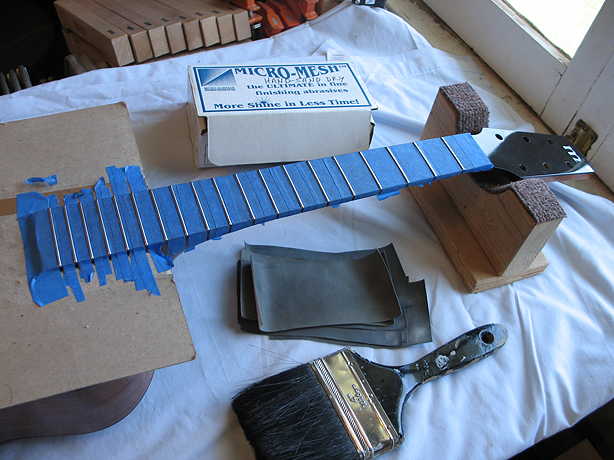
I then removed the masking tape, did a little resanding of the fingerboard ebony (to remove the slight markings of the tape residue), and repolished it with lemon oil.

|
|
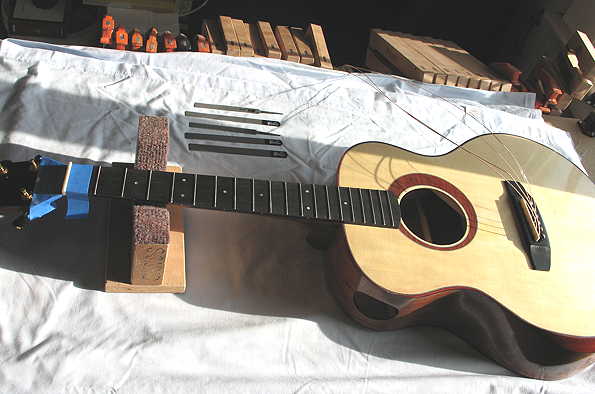
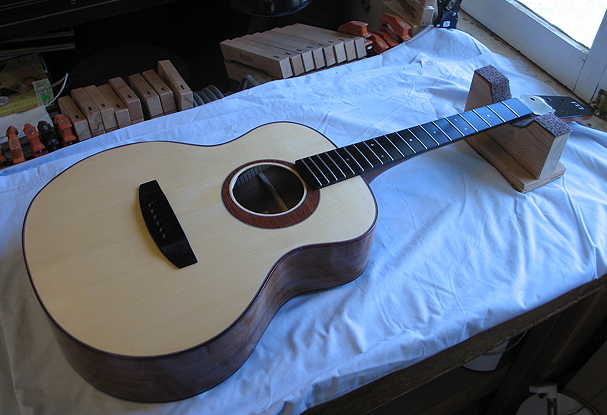
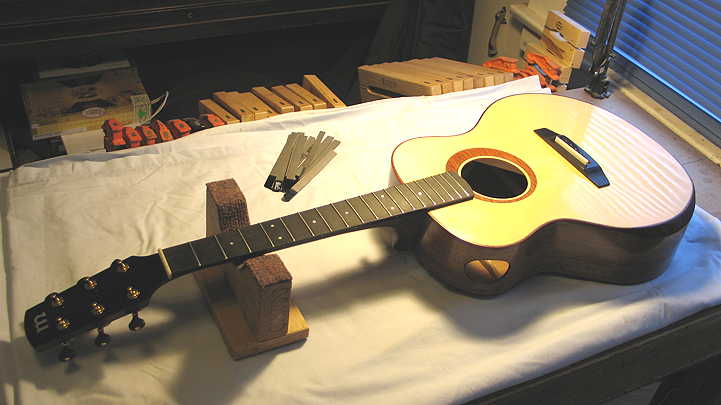
Here's what the guitar looks like now, with its bridge glued on and its newly-polished fingerboard:
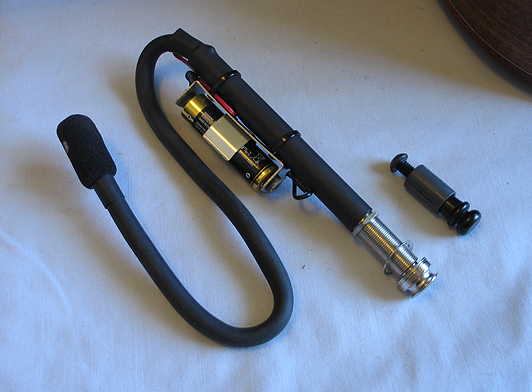
Next, I installed the endpin. This endpin is kind of different, because I had decided to, later on, ultimately install the GHS Acoustic Soundhole Microphone (shown in the photo below). I'm going to try this soundhole mike out because, while I like the idea of having a pickup in this guitar, I don't really like the idea of having an undersaddle pickup or a soundhole pickup. I wanted something that would interfere the least with the acoustic sound, should I want to play the guitar acoustically, while still having the option of amplifying the guitar.
So, to accommodate the fact that later, when I decide to install the soundhole mike, I would need a 1/2" hole for the jack, I found this "NoJak" endpin (from Stew-Mac), which has an endpin which fits into a 1/2" expanding sleeve.
So, for now, while the guitar is new, I will just install the NoJak endpin. Later, I can just remove the NoJak endpin, and the guitar will be ready with its 1/2" hole for the installation of the soundhole mike.
|
|
Now it's time to move on to the final set-up tasks!!!!
About 5:00 p.m. . . . .
I'm taking a dinner break right now. This afternoon I did all the preliminary tasks for readying the guitar for stringing it up and doing the set-up.
I first installed the end pin and strap button on the heel.
Then it was time to work on the bridge. First, I drilled through the bridge pin holes with a 3/16" bit, and followed that up by reaming the bridge pin holes until the bridge pins fit. Once that was done, I used a manual countersink to put a little countersink at the top of the bridge pin holes. Finally, I cut the little slots in the front of the bridge pin holes to allow the strings to ramp down along the bridge pin.
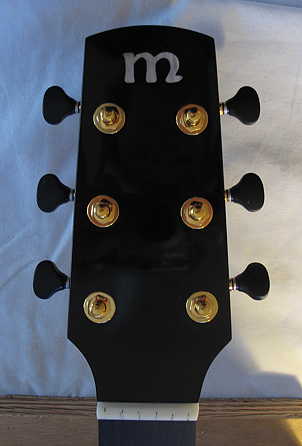
Once the bridge work was done, I installed the Gotoh Mini 510 tuners (gold, with black buttons).
Next, I spent a lot of time working on the bone nut blank, to get it to fit snugly into the nut slot, and shaping the saddle blank to fit the saddle slot.
Finally, I have marked the lines on the nut for the nut slots.
After dinner, I will file the nut slots and string her up!!! (There's still a LOT of work after that, because then I have to adjust the nut slots and saddle height for the proper string action, so it's comfortable to play and so there is no buzzing of the strings.)
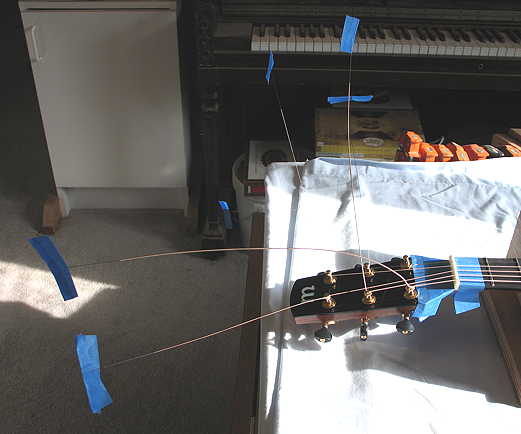
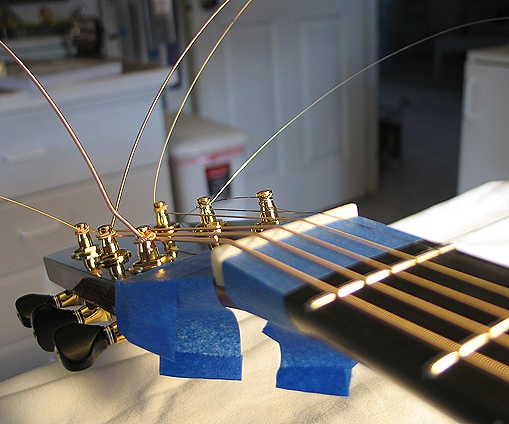
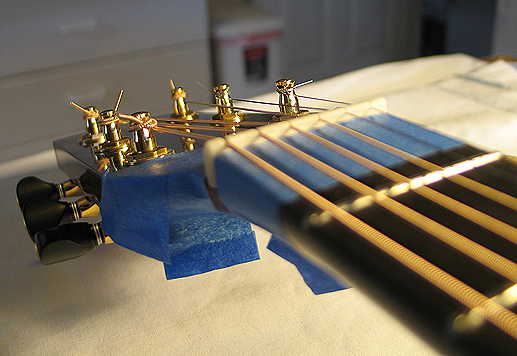
A couple of photos before I go:
|
|
|