|
To the left is the Pergo flooring. I chose the cherry color.
To the right is the first day I put up the pegboard, before I had decided to paint it white. |
 |
Thursday, August 7th, 2003 . . . . . IT IS FINISHED!!!!
Well, the drywall took a while. Originally, the drywall guy was slated to come on July 24th, but, due to health problems (associated with the extremely hot weather we've been having lately), he couldn't come until Friday. The drywall was done a little bit here, a little bit there. It took until the following Thursday (July 31st) to get it all done. I even helped out a bit --- I put up a few sheets (with the help of my mom), learning how to cut it for the electrical receptacles. After it was put up and mudded, the drywall got a knockdown texture applied.
Friday, August 1st, I primed and painted the interior white. Saturday, I installed the two fluorescent fixtures and the Pergo Presto (glueless) laminate flooring. That was kind of fun --- all you do is lay down a foam underlayment (I got the better-quality one, which makes the floor feel really solid underfoot) and click-lock the panels of the Pergo. It took me six hours to do that. Then I started installing the quarter-round molding I had already stained with a cherry stain (to match the Pergo); I finished doing that Sunday evening.
In the process of installing the fluorescent fixtures, I discovered that the electricians had tied the lights into one of the 20-amp circuits on which I had four of my receptacles. And the 15-amp circuit breaker I had in the subpanel wasn't hooked up to anything. I hadn't wanted that; I had specifically requested that the lights be put on a circuit of their own. So, on Monday, the electricians came to fix that problem. I was somewhat concerned about that, because I didn't want my nice drywall cut into!!! They figured out a way to do it that only involved drilling two small holes in the drywall; they ran the lighting cable under the shed (it's just sitting atop some pressure-treated four-by-fours on top of the concrete pad, so it was easy enough for them to do that), from the subpanel to the lights and switch. Now everything works as it should!!!
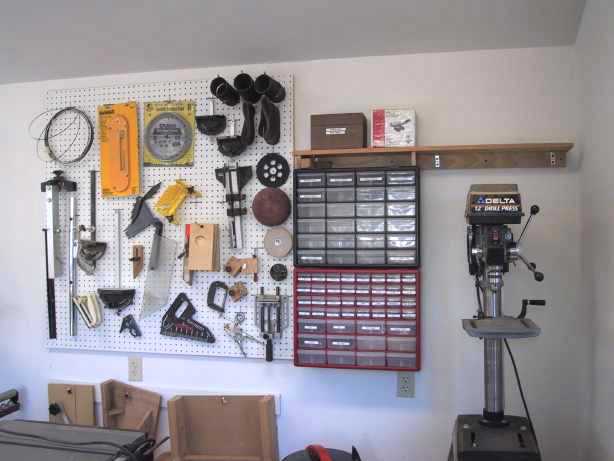
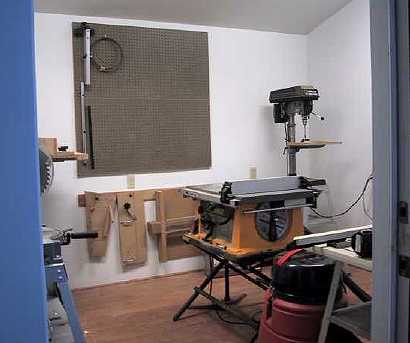
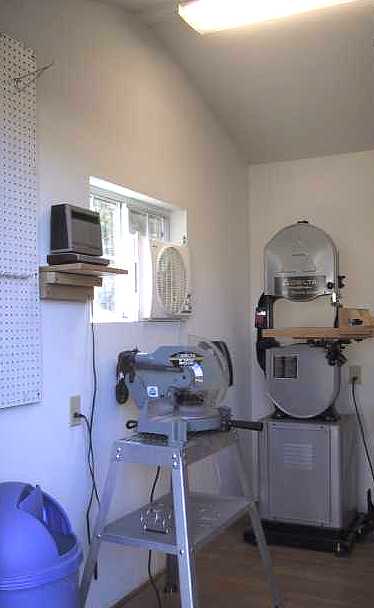
Monday through today (Thursday), I spent moving the stationary power tools from my old shed to the new shed (I got a neighbor's help on that, as I couldn't lift and transport the bandsaw myself), gathering everything related to those power tools so I could figure out how to organize them in the new shed, and, finally, putting them all up on the walls of the shed. I used three 2' by 4' sheets of pegboard (which I painted white, so they wouldn't darken the shed) and made several little shelves and hanging boards. I put all my drill bits, etc., into one of those plastic boxes with all those little drawers, labeling them with my labelmaker. It was kind of fun figuring out how and where to put things in the shed --- I pretty much have everything right next to the tool it's associated with. In my old shed, I had no such organization --- I had to take a lot of unnecessary steps to get a particular tool or jig as I was working.
Well, here's a bunch of photos. They should be pretty self-explanatory.
|
|
To the left is the Pergo flooring. I chose the cherry color.
To the right is the first day I put up the pegboard, before I had decided to paint it white. |
|
 |
|