Later . . .
Okay, I'm back (by the way, I did just finish watching "Nebraska" --- good movie! I recommend it!)
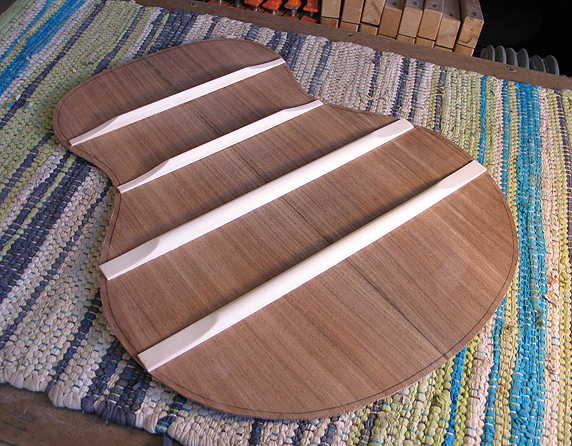
Removed the back from the go-bar deck just now. The back is now finished. Here's the result:
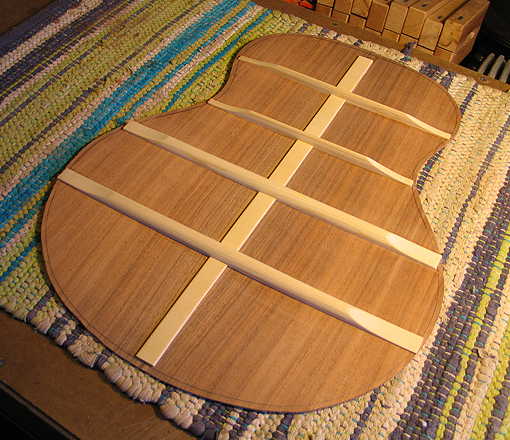
Time to get on with making the braces for the top . . . |
|
Wednesday, February 26th, 2014:
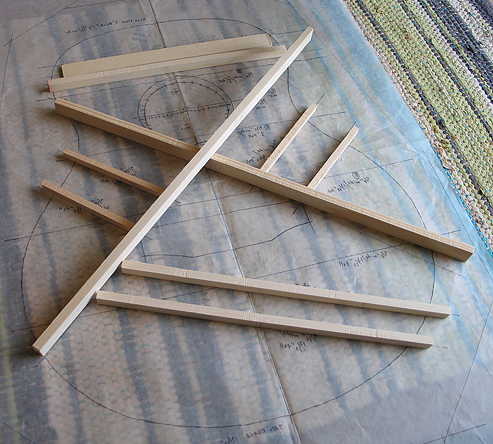
Top Braces
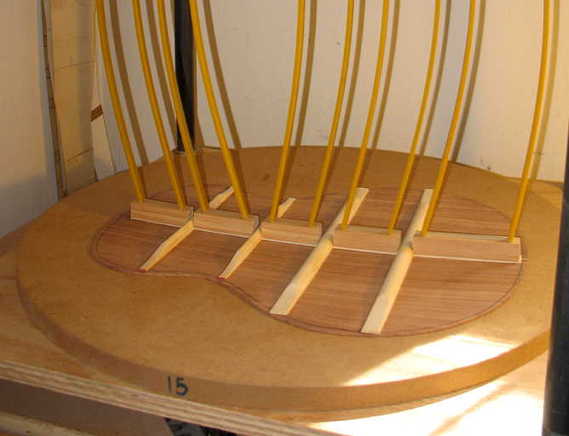
Last night I had measured out and marked all the top braces; this morning I cut them out on the bandsaw. Here they are, placed in their appropriate positions on the bracing plan:
|
|
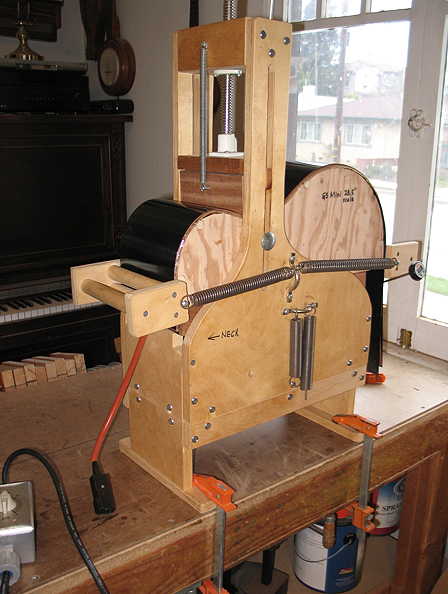
Bending Sides
Next, I proceeded to one of the more nerve-wracking (for me, anyway) jobs --- bending the sides. (It's nerve-wracking because you never truly know what you're going to get until you remove the side from the bender!)
I forgot to take photos of the preparations, though. What I do first is cut out two pieces of Kraft paper and two pieces of aluminum foil for each side. I then lightly spritz the side with water and sandwich the side between, first, the Kraft paper layer, and then the foil, on both sides. I place the spring steel slat on the bending form, then lay that "sandwich" on top, followed by the silicone heating blanket, and finally the other spring steel slat.
Once I have lined up the waist mark on the side's top edge with the center of the bending machine's slot, I crank down the waist caul just enough to hold the slats, etc., in place. Then I turn on the heating blanket. When the temperature reaches around 240 degrees or so (I have a cooking thermometer stuck in between the blanket and the wood), I start slowly cranking down on the waist caul, until it almost reaches the waist. Then I attach the lower and upper bout cauls to the springs. I first bend the lower bout by slowly pulling down its caul. I follow that by bending the upper bout with its caul. Once that is done, I crank the waist caul all the way down until it contacts the waist.
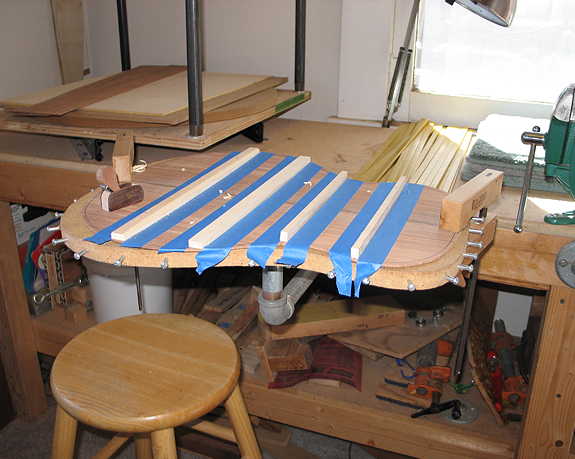
By this time the temperature is around 295 degrees or so. I unplug the blanket and wait for the temperature to go back down to 240 degrees. (Even after you've unplugged the blanket, the temperature keeps going up, usually to around 315 degrees, before it starts going down again.) When it has reached 240 degrees, I plug in the blanket again and let the temperature go back up to 295 degrees. Once again, when it gets to 295 degrees, I turn it off again, and let it cool down to 240. Sometimes I stop there, but sometimes I do one last heat up/cool down cycle. This time, since I still saw steam rising, I did repeat the cycle.
Here, the first side has just been bent. It's about 2:00 p.m. right now, so I might be able to do the other side later tonight, after this one has totally cooled down and I can remove it from the bender. After I remove it, I will clamp it in the mold half (I've separated the two halves of the mold), so it will keep its set.
|