Sunday, February 23rd, 2014:
Rosette Plan
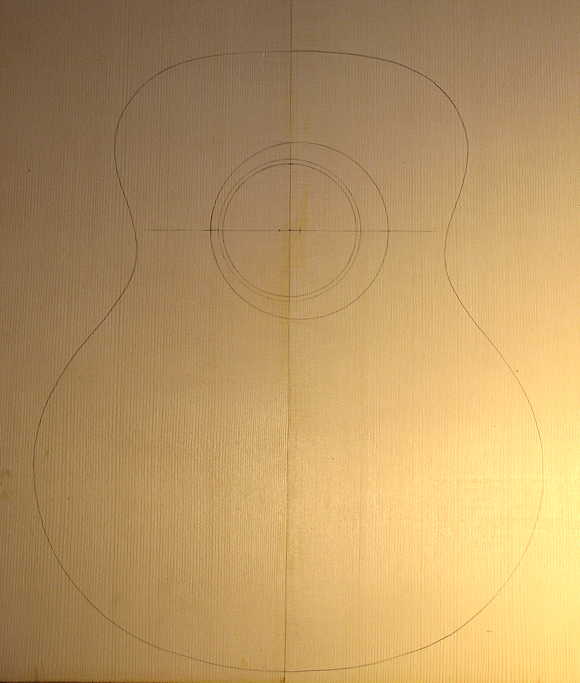
Just a quick photo of what I just did. As I mentioned before, I plan to do an off-center rosette (I can't think of what else to call it), similar to Jeffrey Yong's rosette on his guitar with an arm bevel. Below I have drawn it out on the Engelmann spruce top. I think the wider part of the rosette, placed on the side opposite to the bevel side of the top, will make a nice counterpoint to the bevel.
I just went online and ordered some 1/8" thick bloodwood to thin down and make the rosette. I plan to use thin .040" black/white/black purfling to line both sides of the bloodwood.
|
|
Later that evening:
Didn't do any actual physical work on the guitar today (after I posted the rosette plan to the left). However, what I did do was to spend a few hours online, checking out how different people go about making and installing their wood rosettes. Got a lot of different ideas and tips.
So, here's how I think I will go about it:
When my 1/8" thick bloodwood arrives, I will first rout out the rosette ring, without going all the way through the wood. I will just rout it out to a smidgen deeper than the actual thickness I want the rosette ring to be. Then I will put the blank upside down in my thickness sander (that is, so the sander will be contacting the non-routed side of the blank), and will sand it until the ring falls out.
The reason for doing this is that, sometimes, people find their partially routed out rosette ring moving out of center, when, after they've routed the outside of the ring all the way through, they move on to rout out the inside of the ring. Some avoid this by affixing the wood blank to the work surface with double-stick tape. But I liked the idea of doing it the other way, because I find removing double-stick tape sometimes a bit difficult, and I don't want to risk breaking the thin rosette ring.
After I've routed out the rosette ring, I will know how deep to rout out the rosette channel. Before doing the routing of the channel, I will spray on some shellac; this helps the router make cleaner, crisper cuts. I'll rout the channel just a smidgen deeper, so I'll be able to sand it flush later. I will then rout the channel to fit the bloodwood rosette ring. Then, when I know that it is a good fit, I will, little-by-little, widen the channel (widening the outside of the channel) until the two .040" purfling strips fit on both sides of the bloodwood ring. I don't want it to fit too tightly, because Titebond tends to swell the wood a little bit. Then, I will use Titebond to glue it all in.
OR . . .
Because sometimes trying to handle a rosette ring and two strips of purfling all at once, when trying to glue it all up while the Titebond is drying & swelling up the spruce channel, I might first rout out for and glue in only the bloodwood ring (sans purfling). Then, once that is dry, I would rout out the two separate channels for the .040" inner and outer purfling strips, slightly routing into the edge of the bloodwood ring, for a nice, clean cut. The 3/64" (.046") routing bit I have is just a tad wider than the .040" purfling strip, so that might work out just right with the Titebond glue, which may swell the wood a tiny bit. Handling just one purfling strip at a time might turn out to be easier. I'll try this out on scrap first.
Whichever method I choose, after gluing in the rosette, I will place waxed paper and a block of wood on top of the rosette and will clamp it down with some go-bar sticks in the deck. When it is dry, I will then move on to thickness-sanding the top with 120-grit, first sanding the rosette side till the rosette is just flush, and then sanding the bracing side until the top is close to the desired final thickness.
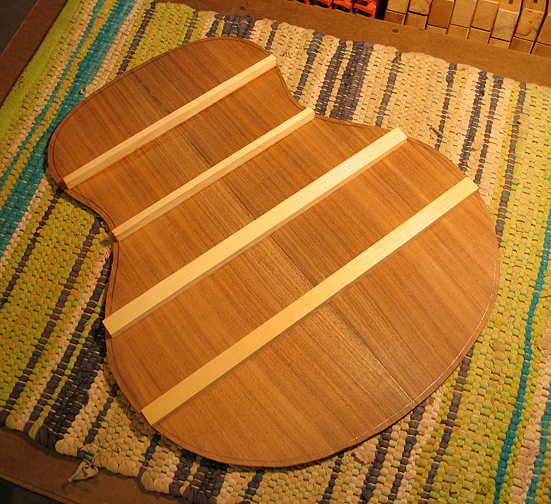
After that is done, I can mark the bracing pattern on the other side of the top.
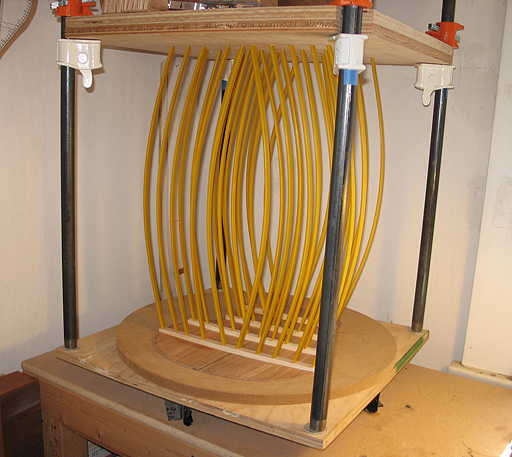
While I'm waiting for the 1/8" bloodwood to arrive, I can be working on bracing the back and bending the sides.
|
|
Monday, February 24th, 2014:
Spent the first part of my morning getting some last-minute items for the student cigar box ukulele project, which will start today from 2:00 p.m. to 5:30 p.m. (Finally it will be underway!!!) I bought little glue bottles and filled them with Titebond, and also bought some masking tape.
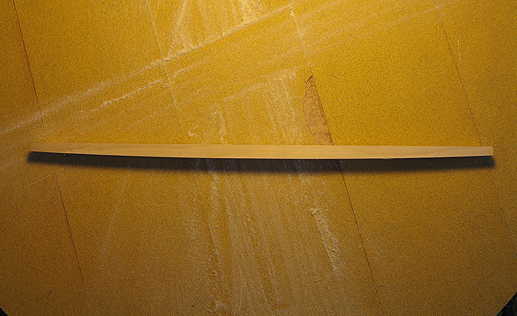
When I got back, I spent an hour or so picking and dimensioning spruce braces for the back and top, from my pile of scrap spruce. I made the back braces --- two braces at 5/8" wide and 13/32" tall, and two braces at 9/32" wide and 1/2" tall.
Below, I am ready to sand the 15' radius into the bottom of the braces, using my radius dish:

To sand the arch into the brace, I first mark the bottom of the brace with pencil. Then I sand, sand, sand . . . until all the pencil marks are gone. For the two larger lower braces, it took a LOT of sanding. Below, you can see that I am ALMOST there!

|