GS Mini 5

Wednesday, February 19th, 2014:

Sides & Back

Didn't do too much today....had a bunch of other things to do. But I did get a chance to thickness-sand the Mayan walnut back and sides today.

I thickness-sanded the sides to around .080" or so.


Then I thinned (to around .090"), jointed, and joined the Mayan walnut back on this contraption, which I built about a year ago, after seeing John Mayes's similar jig.


Here is the back, after I have removed it from the joining jig. I have traced the outline (using the mold) onto the back.


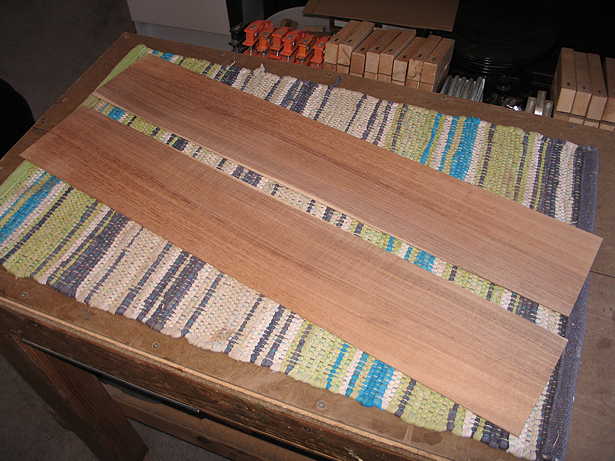
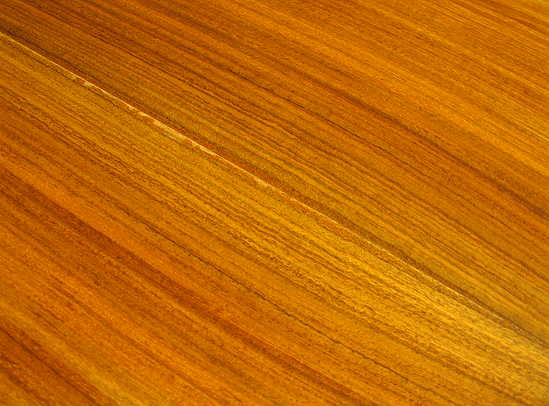
Here is a closeup of what the Mayan walnut might look like with finish (I've just dampened the wood with some water). It's a nice, slightly orange/gold color.


Thursday, February 20th, 2014:

More Work on the Sides

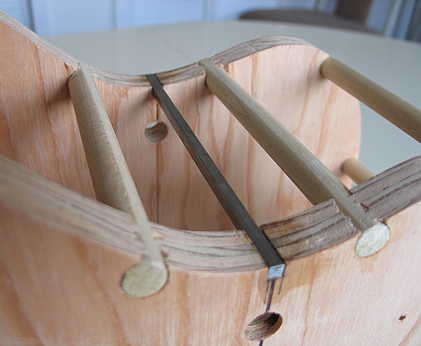
Today it occurred to me that I should put a support bar in the bending form, to provide added support at the waist, when the waist caul is cranked down onto the form. So, I got some 3/16" square bar stock, cut it down to 6" in length, and epoxied it into two slots I had sawn, chiseled, and filed into the bending form.


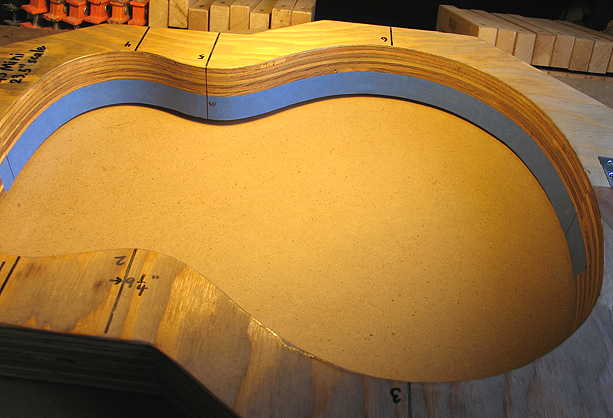
Now it was time to work on tapering the sides to their proper profile.

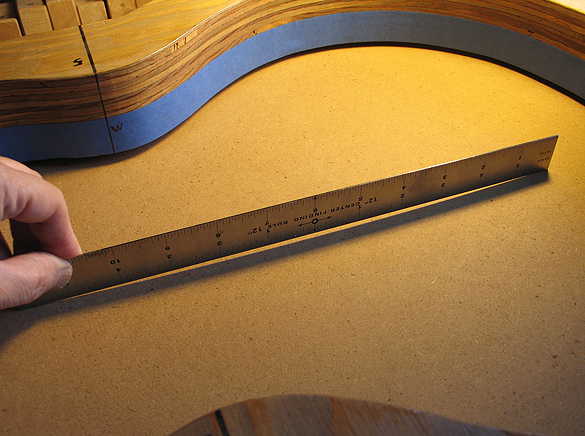
I put a 15' radius (arch) into the back, using a radius dish when supporting the back in gluing operations. Thus, I need to engineer that radius into the side profile.

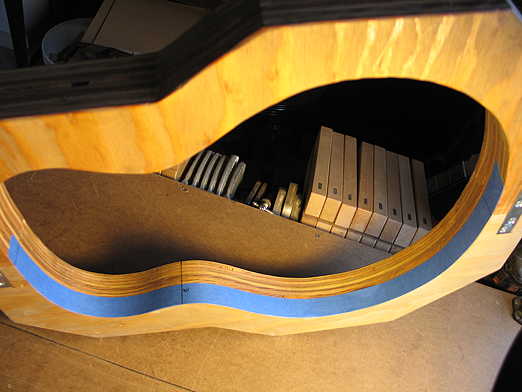
To do this, the first thing I do is to run masking tape along the back side of the mold, aligning the tape edge to the mold's edge, from the neck centerline to the tail centerline.


Here I have laid a straightedge upon the radius dish, so you can see how the dish is curved. It's kind of like a very shallow round bowl. The back will take on that same curve, when the braces (which are also radiused on the bottom) are glued onto the back.


The next thing I do is to place the mold, with its taped back edge, upon the radius dish. The shadows you see under the mold are where the mold is not contacting the dish.


I will use this offset wheel marking gauge to follow the curve of the radius dish and transfer that curve to the masking tape. (You can also do this by using a washer, but these wheel gauges help keep the pen point more securely in the center. They come in a set of several different radiuses.)