Tuesday, February 18th, 2014:
Ordering Supplies
After figuring out what materials I needed for this project, and checking several different lutherie supply websites, last night I finally got around to doing the ordering.
I already had on hand some of the materials --- my Mayan walnut (T'zalam) back and sides, my Engelmann spruce top, my Honduran mahogany neck blank, basswood for the arm bevel block, ebony bridge pins and end pin, nut and saddle blanks, strings, spruce bracing material, medium fretwire, scrap mahogany for the neck and tail blocks, scrap rosewood for the bridge plate, scrap bloodwood for the rosette and end wedge, threaded insert & bolt for the neck attachment, and inlay materials for the my logo and fingerboard dots.
So...here's what I ordered, from a variety of sources: basswood kerfing, bloodwood binding with b/w purfling, b/w/b fiber purfling, ebony fingerboard (pre-radiused, pre-slotted 24.9" scale --- which I'll cut off at the first fret to produce a 23.5" scale), ebony headplate, ebony bridge, Gotoh 510 mini "Delta" style tuners (gold, with black buttons), Allied Lutherie 13" truss rod, and some bloodwood veneer sheets.
As I have already mentioned, I will be attempting my very first transitional armrest bevel (following Kent Everett's method). I have decided to do bloodwood binding and a bloodwood arm bevel. I placed several different wood scraps against the Mayan walnut sides, and the bloodwood just seemed to be the best complement to this lighter Mayan walnut color. I think it's going to look nice and rich. (I seem to have a thing for bloodwood lately, don't I?)
I decided that, while I'm at it, I may also do a soundport in the upper bout. AND... I am going to do a rosette that's a bit off-center. Last night I saw this photo of a Jeffrey Yong guitar with a bevel (though my bevel will be a slightly different style from his), and I really liked the idea of the off-center rosette, which, to me, seems to be a nice complement to the bevel. (I messaged Jeffrey to ask if it was okay for me to use his off-center rosette idea, and he very graciously said I could.) Here's a photo of his rosette. |
|
Making a Bending Form
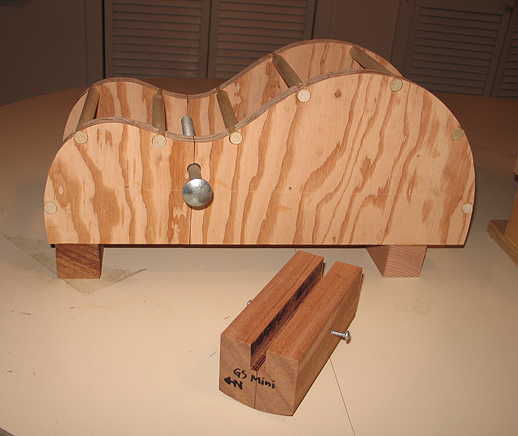
The next task was to make a bending form. At first I was planning to just bend the sides by hand (which is fairly easy to do and kind of relaxing), but then I thought of how difficult it sometimes is to bend the bindings by hand (they twist and sometimes crack on me). So, I changed my mind and decided to make the bending form.
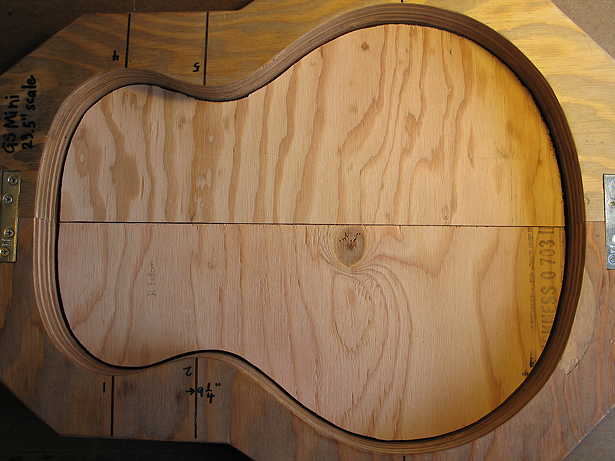
Luckily, I still had a couple of the scraps from having cut out my mold. Remember, I had cut the plywood about 1/16" from the mold outline, so that actually turned out to be almost the perfect size for my bending form. My bending form needed to be about 1/8" smaller than the mold outline (to account for the spring steel slat, the foil, and Kraft paper, and the 3/32" side). After I cleaned up and smoothed out the edges on the scrap forms, they turned out to be just the right size! Lucky me!
Below you can see the bending form halves set inside the mold. I have slightly overcut the neck and tail ends of the bending forms, to account for the springback that usually occurs after you've bent the sides.
|
|
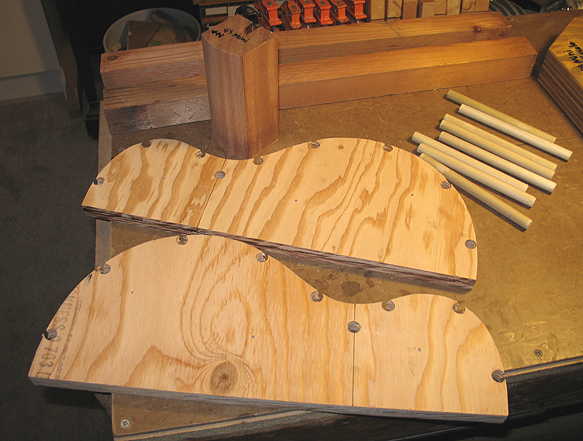
After I had smoothed out the bending form edges, I screwed the two pieces together and drilled a 1/2" hole just below the waist area, for the bolt that will run through the form.
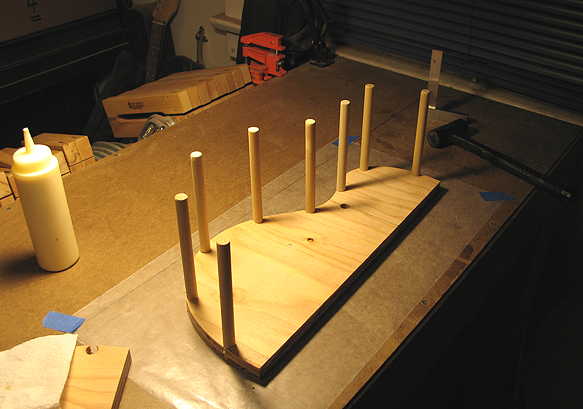
Then I used a Forstner bit to drill eight 1/2" holes along the perimeter of the form, for the dowels that will create the surface of the form.
|