Sunday, February 16, 2014:
Spreaders
It's now 4:30 p.m., again (but a different day!). Just a couple of photos.
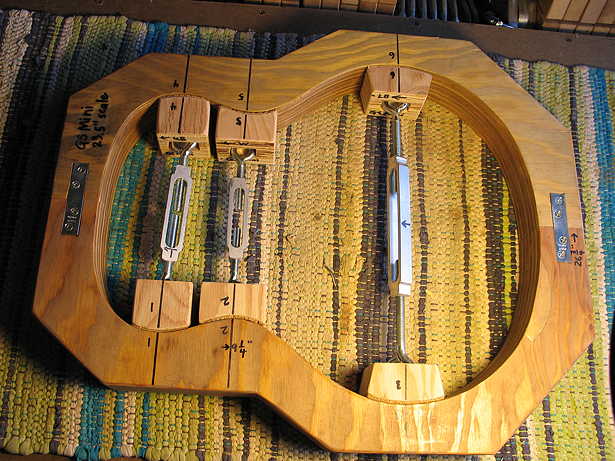
I spent a little over two hours making spreaders --- these are clamps made with turnbuckles, used to hold the sides securely against the mold, so that everything will remain symmetrical and perpendicular.
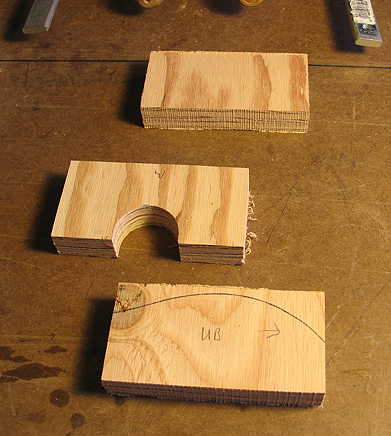
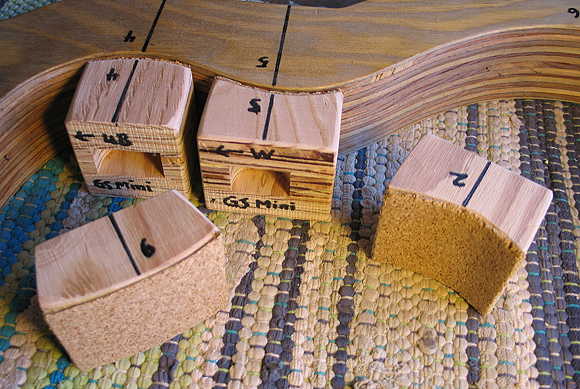
With the plywood scraps left over from cutting out the mold yesterday, I made 6 sets of 3 blocks each, like these below. Each block is 2" by 4". The middle block is coved out for the turnbuckle eye to fit into; the other two blocks will be glued on both sides of the middle block. Then the glued-up, 3-layer block will be bandsawn to fit the curve of the lower bout, the waist, and the upper bout, on both sides of the guitar. The turnbuckle will then be used to tighten the spreader blocks against the sides.
|
|
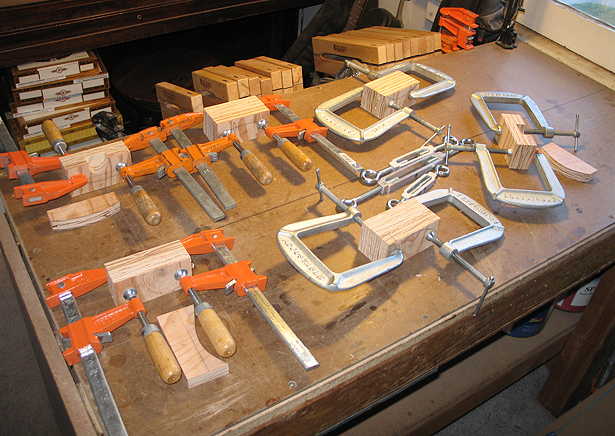
Here are all the pieces, glued up. Three of them are just 2 layers glued-up, because I had used the third layers as the templates to mark the curves, after I had sanded the templates to match the curves of the two bouts and the waist.
Tomorrow I will remove the clamps and bandsaw along the curved lines I have drawn on the blocks. I will then glue the loose third layers onto their proper blocks. After that's all done, I will trim and sand the blocks to their final shapes.
That's it for today. I think tonight I will watch the Kent Everett Transitional Armrest Bevel DVD again, and perhaps get around to figuring out what supplies I need to order for this build. (I still haven't decided exactly what kind of binding/arm bevel veneer I will use to go with the Mayan walnut --- also known as "T'zalam" ---and spruce I'm using for the back, sides, and top.)
|
|
Monday, February 17th, 2014:
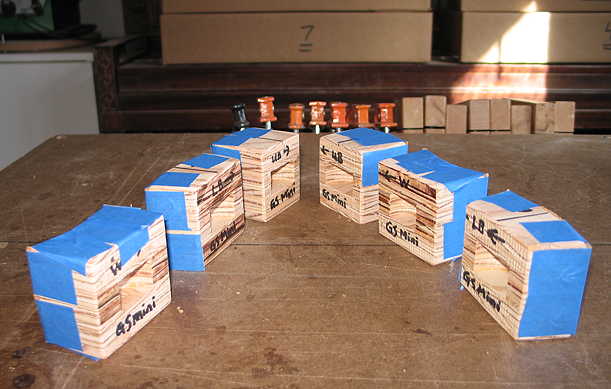
It's about 10:15 a.m., and I have just spent about an hour or so cutting, fitting, and sanding the spreaders. Below you see that I have just glued some cork onto the contact faces of the spreaders. I'll post another photo of how all the spreaders fit the mold, later when I remove the tape.
Same day, around 3:20 p.m:
I just removed the tape from the spreaders, and have been spending the afternoon researching on the Web sources for the various supplies I'll need to order for this project. Also went to my local hardwood store and found a piece of basswood for the bevel block.
|