GS Mini 2

Saturday, February 15, 2014:

It's now 4:30 p.m., and I've just finished making the mold for this guitar.

I started at around 11:00 a.m. today. The first thing I did was to use stick-on 80-grit sandpaper on my table saw table, to sand the two mold center joints, to make sure they were flat and in line with each other. That block of mahogany you see in the photo was what I used to make sure I was keeping the mold perpendicular to the table. As I rubbed the joints against the sandpaper, I held the block firmly to the mold.


Last night I had trimmed the outside of one of the mold halves, to remove excess weight from the mold and to provide several flat edges for ease of clamping.

So, today I used that already-trimmed mold half to mark the other half for trimming.


Here the mold half is ready for trimming on the bandsaw.


The two mold halves are now trimmed and ready for sanding the inner outline (remember, I had previously bandsawn it 1/16" away from the line).


A little over a year ago, I had bought this oscillating spindle sander from my local Harbor Freight. I used this to slowly sand right up to the line on the mold. However, I stayed away from sanding the areas at the neck and tail ends of the mold; that will be done later, after I have joined the two halves of the mold with mending plates.

I found I really liked using the oscillating spindle sander --- the mold's inner surface came out really smooth and perfectly perpendicular. Nice!


Here I have clamped the two halves of the mold together, so I can install the mending plates.


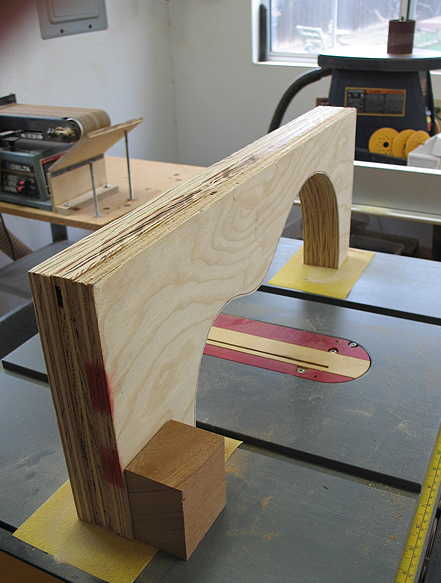
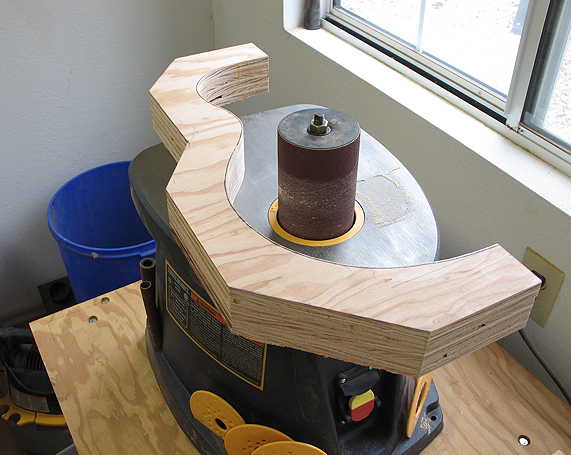
In the past I've tried all sorts of ways to join the two halves of a mold --- hinges & suitcase latches, toggle clamps, and mending plates. Mending plates are the easiest; however, when I would use 4 mending plates on top of the mold, on both sides, they would keep the mold from sitting flat against the table. And, when I used toggle clamps or latches on the ends of the mold, they would make it impossible to use a clamp at those ends (for example, to clamp the neck and tail blocks to the sides).

What I've done here is first use my Dremel to rout out pockets for the mending plates, so they sit flush with the mold surface. This way, the mold will now sit flat on the table, and I will also have the ends nice and flat for using clamps. (I don't know why I didn't think of this before --- duh.)


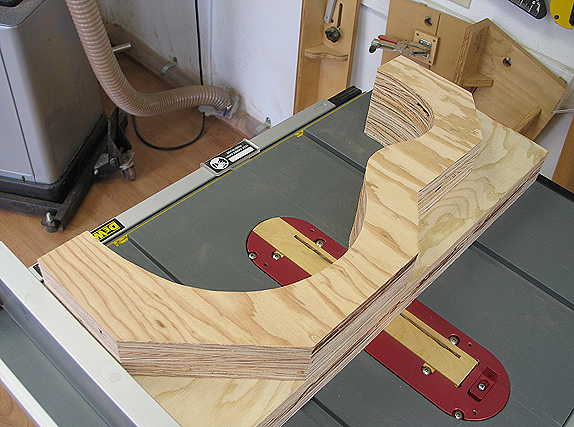
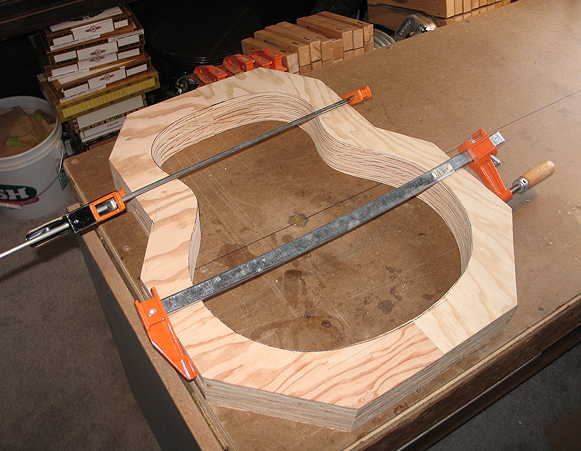
After I attached the mending plates, I then took the mold back to the oscillating spindle sander and sanded the neck and tail portions up to the lines. Then I did one last sanding session, constantly checking my half-template against the mold, until it fit perfectly.

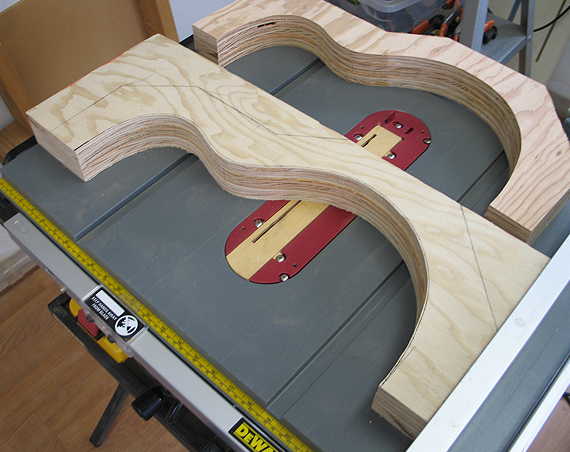
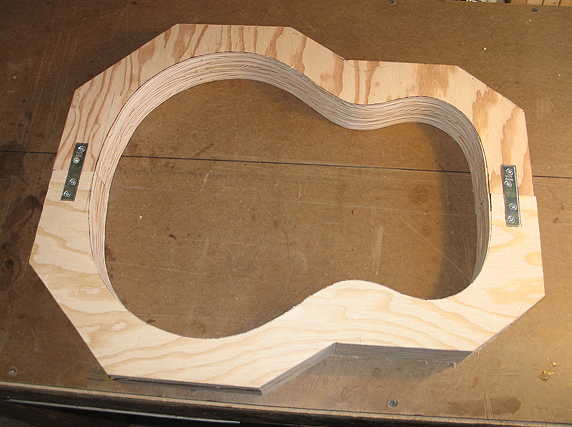
This photo really doesn't look much different from the previous photo, but if you look really, really closely, you can see that I have sanded the entire mold and have rounded the edges a little bit.


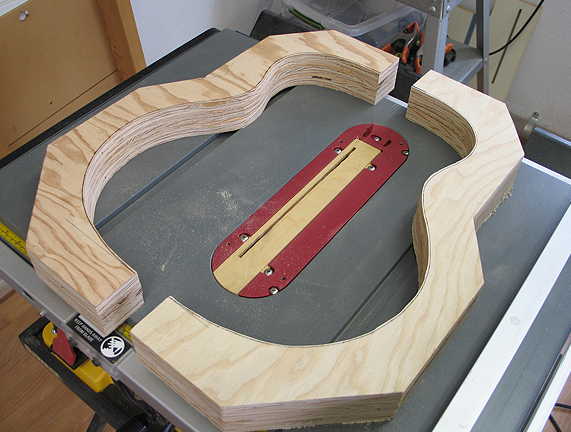
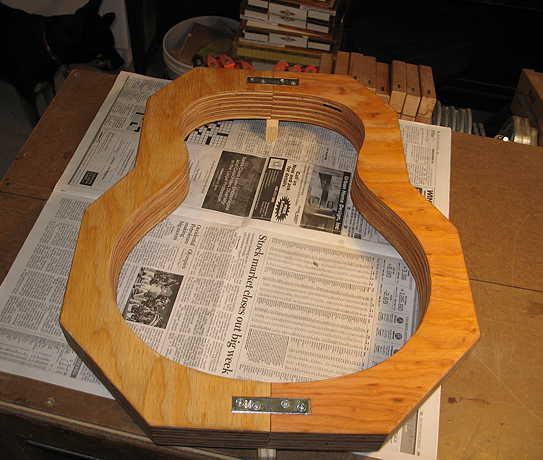
Finally, I have just applied a coat of shellac to the finished mold. Later tonight I will lightly sand it and apply a second coat of shellac. This will protect the mold somewhat.