GS Mini 23

Wednesday, March 19th, 2014

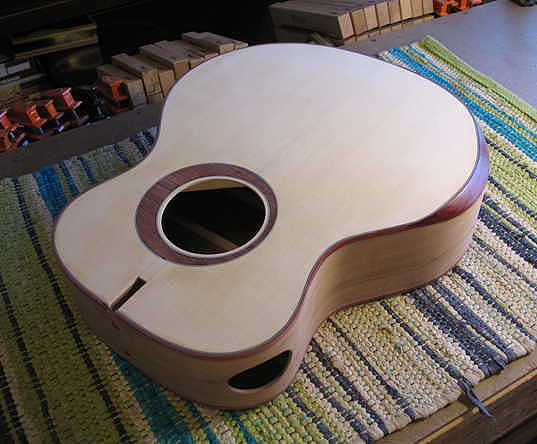
Gluing on the Bevel Veneer

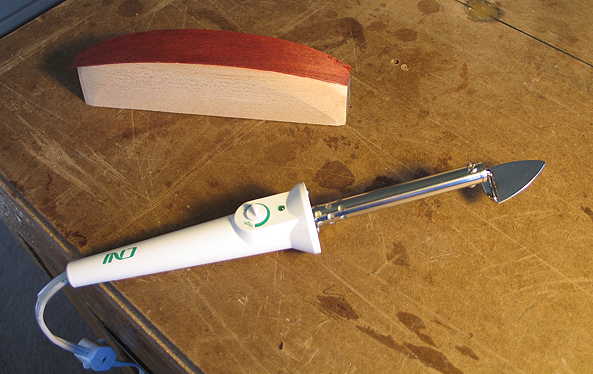
Below you can see the little crafting iron I said I might try to use for ironing on the veneer.

Next to it is the practice piece I tried it out on last night. I sanded a piece of basswood into a curved shape, and then applied Titebond glue to both the basswood surface and the veneer surface. Then, after an hour had passed and the glue was dry on both pieces, I used this mini-iron to iron on the veneer. The heat from the iron reactivates the glue, allowing the veneer to stick to the basswood. It worked really well.


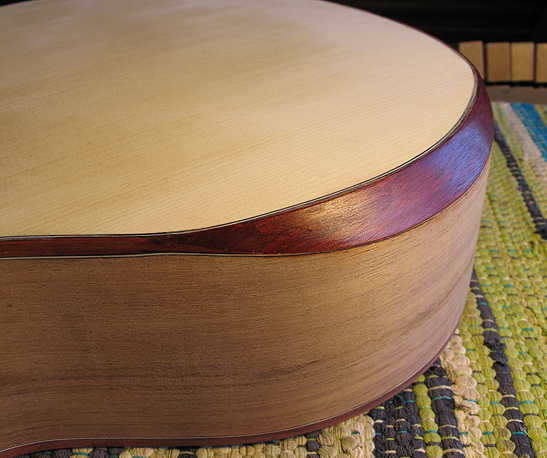
SO . . . here I have applied glue to both the bevel surface and the bloodwood veneer (cut oversized, to be sure that it will cover then entire curved bevel area). In an hour or so, I will first lightly scrape off any nibs that might have fallen into the glue, and will lightly sand the surfaces (because the Titebond will probably raise the grain a little), before I iron on the veneer.


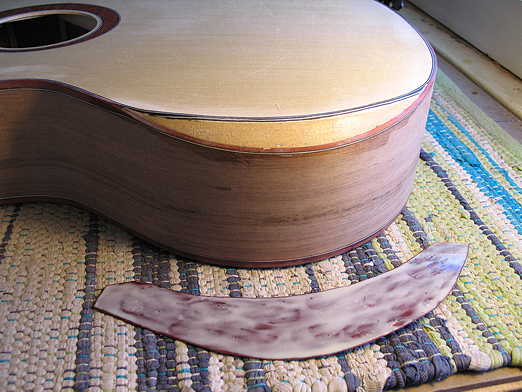
About an hour or so later . . .

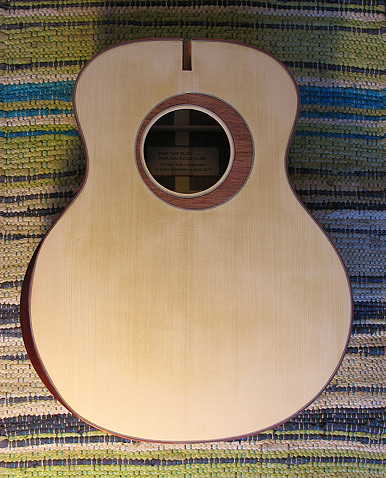
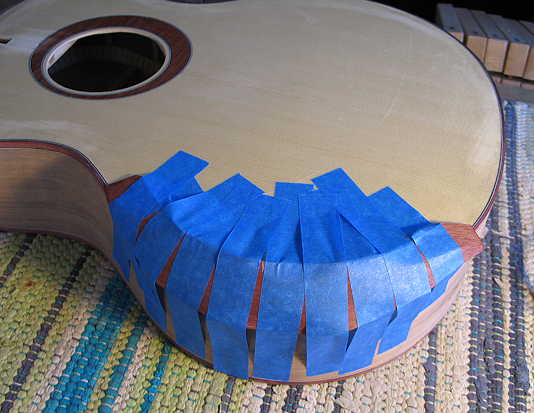
Well, here's the veneer piece, all glued up!!! There's not a pressing need (Get it, "pressing"??? The little mini-iron??? Ha ha. A little punny humor here.) to tape the veneer down, as the veneer is adhering pretty well. However, since the veneer is a bit oversized, it's just a safeguard, in case the veneer wants to curl up as it cools down.

I'm going to play it really safe and will wait until tomorrow to continue work on the bevel. I want that glue to be really, really set before I move on to trimming the overhanging veneer. (And, even then, I will run a bead of superglue along the veneer underside, next to the bevel edges, for extra prevention of chipping.)

IN THE MEANTIME . . . I might just get a start on the final stage of the building --- the neck!!!


Thursday, March 20th, 2014

The Bevel is Complete!!! (But Not Without Some Difficulties.)

Well, it's about 3:30 p.m. right now, and I have finally completed the transitional arm bevel!!!

It's not as perfect as I would like (I had a few difficulties along the way), but I think I have it now about as good as I can make it. (And I'm afraid that if I go any further in trying to fix it, I'd make it even worse.) I'm still pleased with it as my first attempt at anything as complicated as this.

What happened was, when I removed the tape this morning from the veneer, somehow it seems the upper part of the veneer had slightly lifted from the bevel surface; either the glue had released or I had not heated & activated the glue sufficiently to firmly seat the entire veneer surface. At any rate, I then reglued and taped that section.

Later, when I was trimming the veneer and sanding the top and the veneer at that area, I managed to sand through the top edge of the veneer and revealed a little of the substrate material (the extra purfling lines). So, that would mean that there would not be a nice, even black/white/black purfling line running along the edge of the top and the bevel. The only thing I could think of to do was to try to patch that area by gluing another piece of veneer to that sanded-through area, and then sanding it down flush with the rest of the bevel.

It worked, but it wasn't a perfect match of the grain and color, and you can see the edges of the patch. But at least now I do have a fairly clear black/white/black purfling line along the top edge of the bevel veneer --- and with shellac applied, the discoloration on the veneer is not too noticeable, unless you look closely.

Below you can see the patch, on the left-hand side, on the upper edge of the bevel (where the light is shining on it):


I think what I would do differently the next time is, instead of the extra spruce filler, I might put a few veneer strips in there as the "buffer" material. Then, if I sand through, it would only be to more veneer material. (Don't know why I didn't think of this earlier....duh.)


NEXT UP . . . A RELATIVELY EASY PART OF THE BUILD . . .

MAKING THE NECK!!!!


Previous Page


TABLE OF CONTENTS


Next Page