Still Tuesday, about 7:30 p.m.
Filing the Bevel
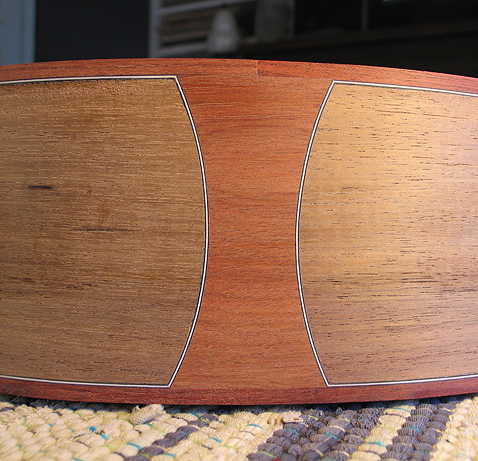
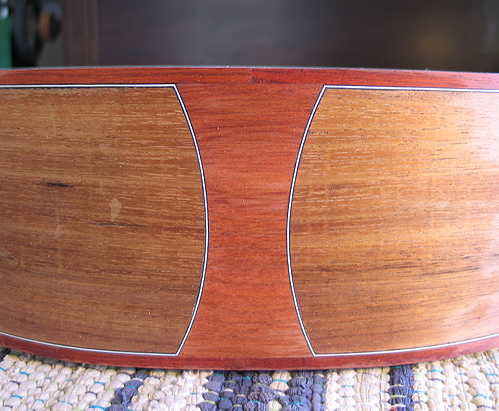
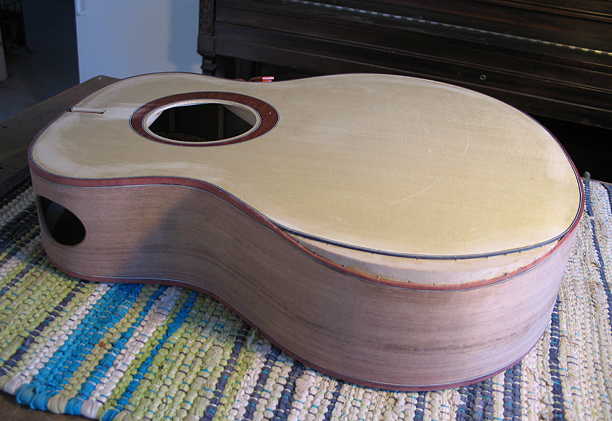
Well, I did it! As I mentioned previously, I let the "buffer zone" extra purfling and top spruce scrap dry, and then ran superglue along the purflings and binding in the bevel area. (I forgot to take a photo of those pieces glued on.) I ended up just gluing on a thicker piece of black/white/black purfling next to the top purfling, because I found I had no simply black purfling strips. (So that's why you see all those extra white/black lines in the photo below.)
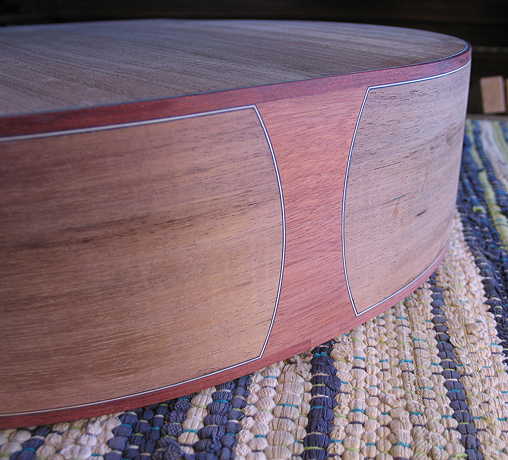
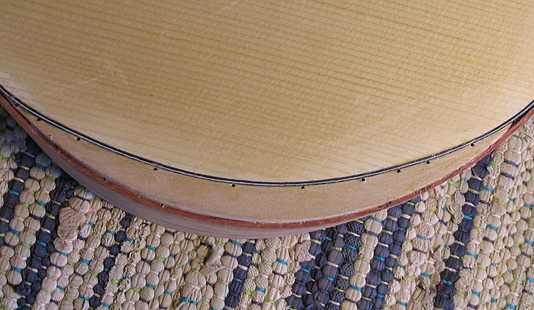
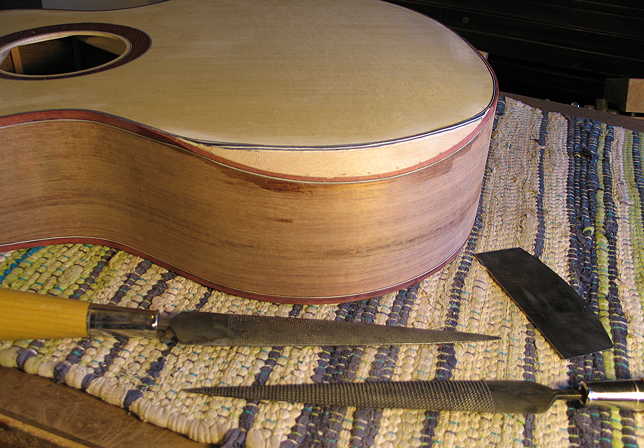
I then used the "Dragon Rasps" (coarse and fine -- the flat sides) seen in the photo to the right to do the filing ---- I love these rasps, because they cut so easily and smoothly, compared to my "four-in-one" rasp. When I got to where the bevel was just about flat, I switched over to my scraper, to smooth it all up and to make the edges of the bevel (right at the black purfling line) nice and sharp. (Even though you see more than the original three black/white/black purfling at the edge of the top in the photo below, those extra white and black lines you see at the bottom are actually just part of the flat bevel surface --- the sharp edge of the bevel is actually above those extra lines. The same goes for the binding you see at the bottom of the bevel --- the sharp edge of the bevel is below the binding, where the purfling begins.)

|
|
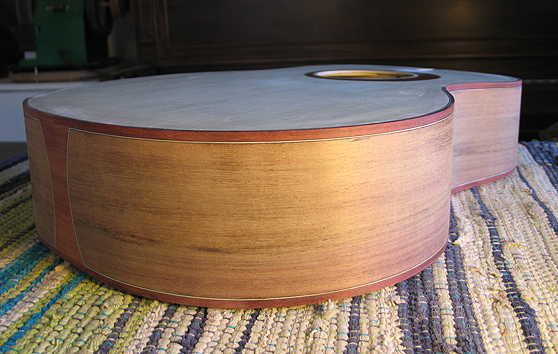
This wasn't actually as difficult as I had thought it would be. I just took it slowly and carefully, and it all worked out fine in the end. I have a nice, flat surface on which to glue the bloodwood veneer.
I can't wait to see how it's all going to look when the veneer is glued on and everything is sanded and cleaned up!!!
What I've done next is to put glue on a curved scrap piece of basswood and glue on a piece of veneer, to try out how to glue on and trim the veneer before I do the real thing. I will let the glue dry at least an hour on both pieces, then will see if I can use this little crafting mini-iron I have to iron the veneer onto the basswood. If that doesn't work, I could just use my little travel iron.
I'll probably glue on the veneer tomorrow. |
|
|
|
|