GS Mini 21

Monday, March 17th, 2014

Binding the Back

The first thing I did this morning was to remove the tape from the end wedge and scrape and sand it all clean and flush to the sides.


I also needed to file down the top and bottom of the wedge, to extend more precisely just the height of the black/white/black purfling that is on the bottom of the binding strip. Once I had that done, I used a chisel to miter the ends of the purfling that is on the wedge's sides.


Now that that was all done, I could move on to actually gluing up the binding on the back (the easier binding job). Here are the various tools I used in fitting and gluing in the binding and purfling.


I don't have any photos of it, but I spent a lot of time first just fitting the bindings and purflings to the right lengths. For the mitering at the end wedge, I had to determine how much of the binding purfling to remove (the section that sits above the wedge) and at what angle to cut the binding purfling where it is mitered into the end wedge purfling.

Once all that was fitted, I glued in the bindings and purflings a small section at a time with Titebond. Here it is, all taped up.


And here's a closeup of the end wedge miters:


Gotta take a break now for a couple of reasons --- I have to go and buy push pins for clamping the purflings to the arm bevel section of the top, and I have my fourth cigar box uke building session with the woodshop kids....

The top will be a bit more challenging binding task...

Later...


Still Monday . . . about 8:20 p.m.

Binding the Top

After coming home from the cigar box uke kit build with the high school kids, I got back to work on the binding.

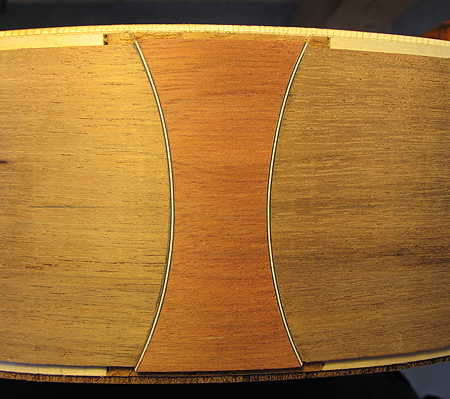
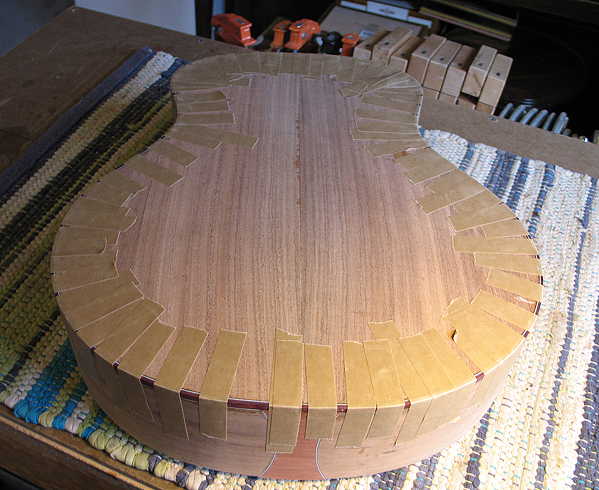
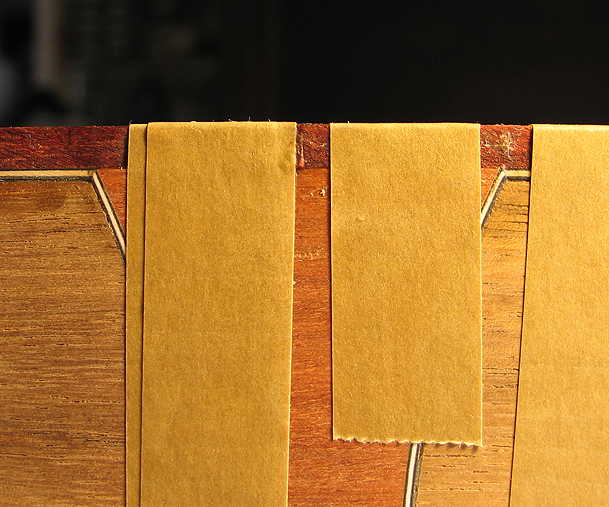
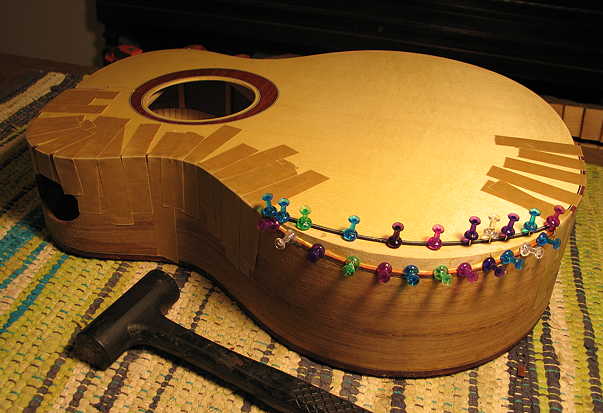
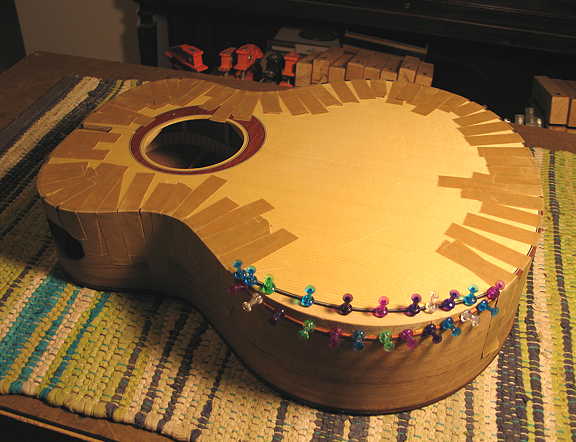
The first thing I did was to fit the binding and purfling to the top, on the side of the bevel. To make it easier for the binding to flex, to be able to go downhill and back uphill at the scoop in the side, I used the belt sander to remove much (but not all) of the binding in the bevel area, leaving the purfling at the bottom of the binding. Then I used push pins to serve as clamps (hammering them in), to hold the top purfling and side binding in place in the area of the bevel. The rest of the binding I clamped normally, with masking tape.


After that side was done, it was relatively easy to bind the other side of the top, as there was no bevel to contend with.


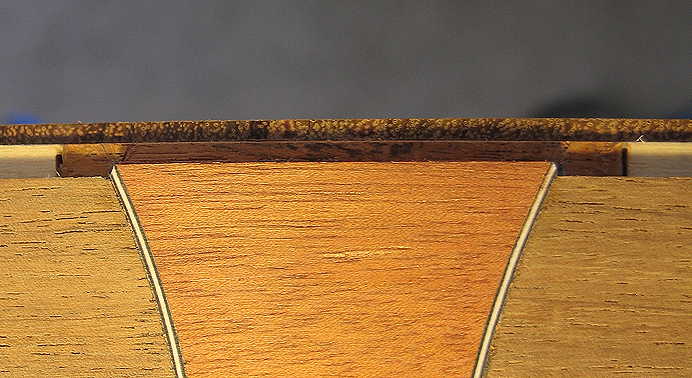
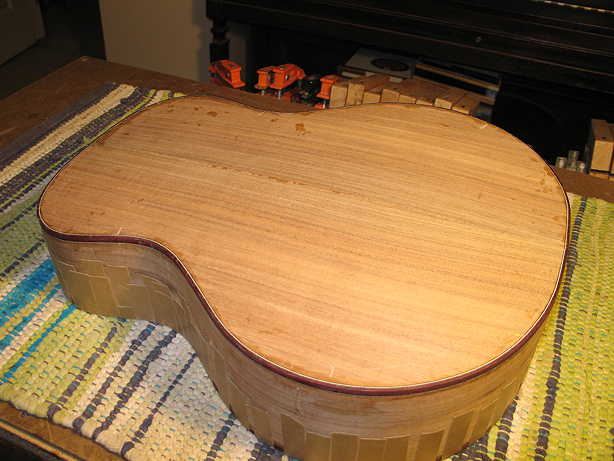
Here is the back binding, after I have removed the tape.


That's it for today. I am EXHAUSTED (mentally and physically)!!!

Tomorrow I will scrape down the bindings and do any gap-filling that might need to be done (hopefully not too much).