GS Mini 18

Wednesday, March 12th, 2014

Top & Back Gluing Cauls / Label

Here I've found some scrap hardboard to use for the caul I will place along the edges of the top and back, when I am using the go-bar sticks to clamp and glue them to the sides.


This is how they will sit on the rim.


Here is my label. I have just used my computer Appleworks program to create the label and have printed it on some linen paper. After it was printed, I sprayed a coat of shellac on the label, and have glued it to the back using thinned Titebond.


NEXT UP . . . Fitting the back and top to the rims!!! I will need to rout out notches in the kerfing (and one notch in the armrest bevel block), so the top and back will fit onto the sides.

Soon I will have a soundbox!!!! Yay!!!!


About 2:45 p.m. :

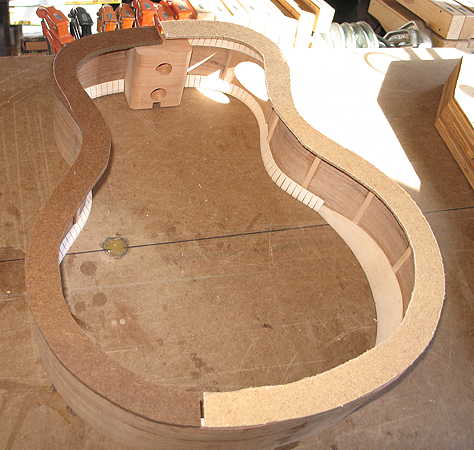
The first thing I did was to trim the back center seam reinforcment strip so it would butt up against the neck block and the tail block. Then, taping the back down at the neck and tail ends, so that the centerlines matched with the sides centerlines, I marked where the back's braces hit the sides, and routed out (with the Dremel) the pockets in the kerfing for the ends of the back braces.


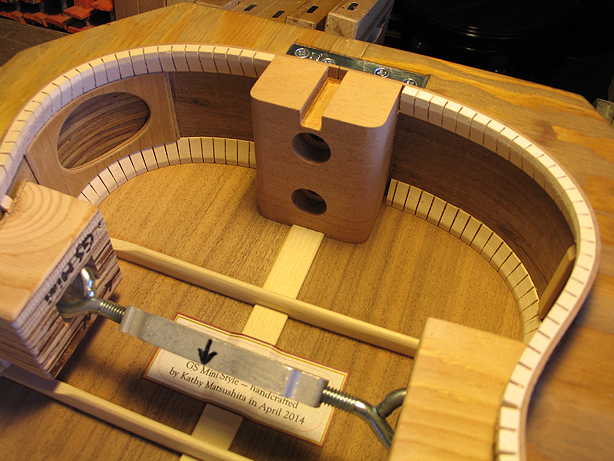
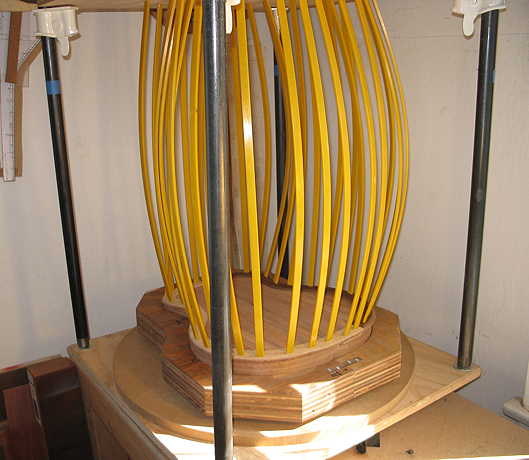
And here I am gluing the back onto the sides in the go-bar deck, using the clamping caul pictured above.


I LOVE MY GO-BAR DECK: (1) The fact that its upper deck is adjustable with four pipe clamp thingies means that I was able to make the upper deck one height for the lower bout of the back (which is higher than the neck end), and a lower height for the upper bout. This allowed me to have even clamping pressure all around, without having to use extra blocks at the neck end. And (2) The fact that it swivels out and around means that I am easily able to get to all the areas as I'm applying the go-bar sticks. It also makes it super-easy to check and adjust the neck and tail centerlines, so it all lines up properly.

If you haven't seen it yet, here's a link to a little video I made (quite a while ago, when I had longer hair!) about my modifications to the go-bar deck.


About 4:00 p.m.:

After a little over an hour, I removed the go-bar sticks, and here are some quick photos of how nicely the back came out. For one of the first times ever, I had a really good fit of the back braces into the kerfing pockets!!! I also had very little glue squeeze-out --- I must be getting better at being able to gauge just how much glue to apply.


That's all for today --- gotta get ready to go out to a fancy dinner with my sister and mom at Alexander's Steakhouse (gift certificate from my brother and sister-in-law!!!)!!!