GS Mini 17

Saturday, March 8th, 2014:

Bracing the Top

Now it's time to brace the top. Last night, I notched the x-braces so they interlocked, sanded the 25' radius onto the bottom of the braces, and glued them to the top.

This morning I radiused and glued the rest of the braces. (The two braces above the soundhole, I will leave flat.)


I removed the top from the go-bar deck. figured out the dimensions of my rosewood bridge plate (3mm thick), and cut that out.


Here I am gluing on the bridge plate, with a bridge-plate-shaped caul placed above it.

While that is in the deck, I need to look at my blueprints and see how these braces are shaped/scalloped.


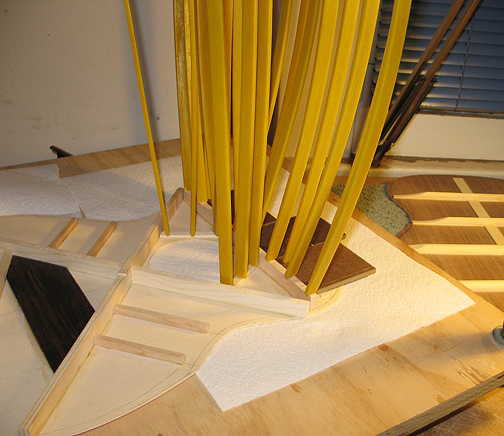
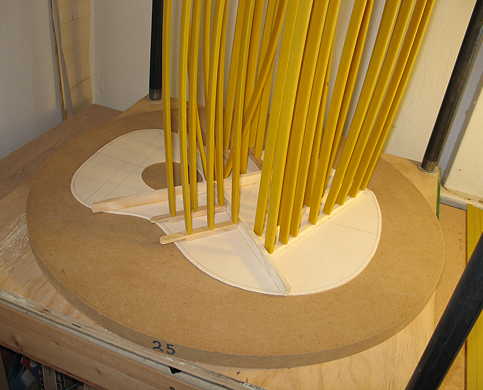
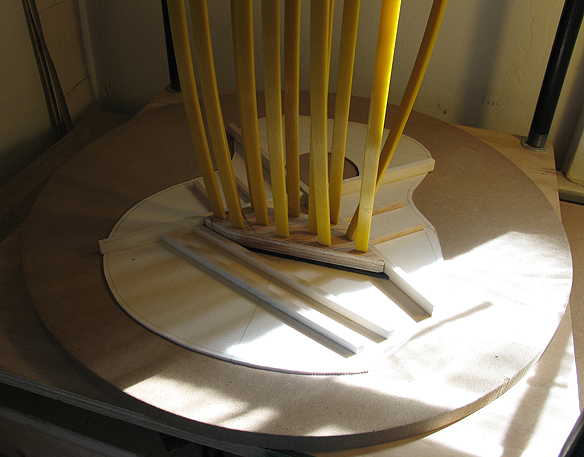
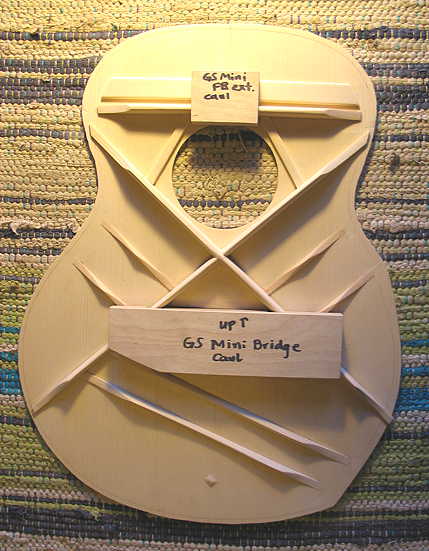
Finally, I am gluing the soundhole reinforcement braces, the upper transverse brace (the one right above the soundhole), and the "popsicle stick" brace.

These braces are glued flat --- they have no radius sanded into the bottom of the brace, as this makes it unnecessary later to sand the upper bout of the soundboard flat (so the fingerboard will lie flat on the soundboard).

Tomorrow or Monday, I will start shaping the braces and "voicing" the top.


Later . . .

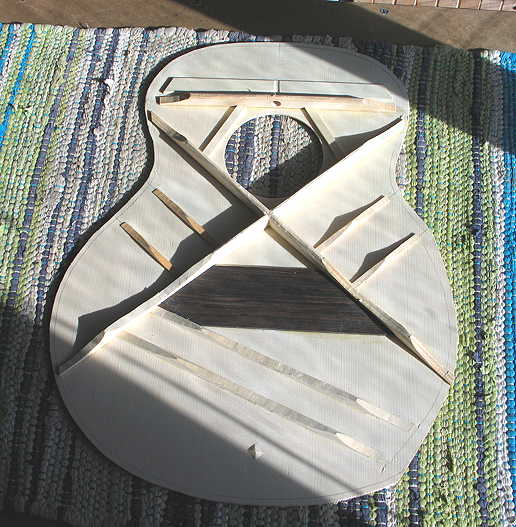
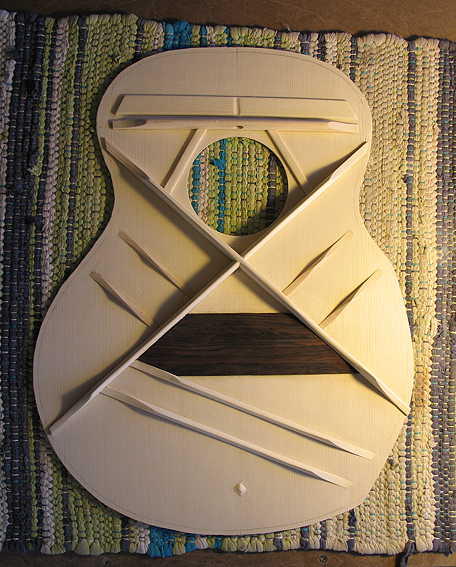
Removed the go-bar sticks, and here is the top, with all its braces glued on and ready to be shaped.

I'm gettin' real excited now.


Tuesday, March 11th, 2014:

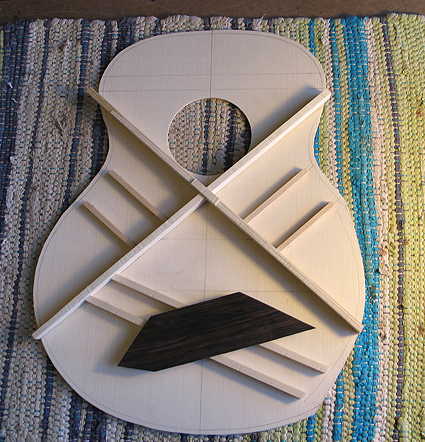
Brace Shaping Begins!!!

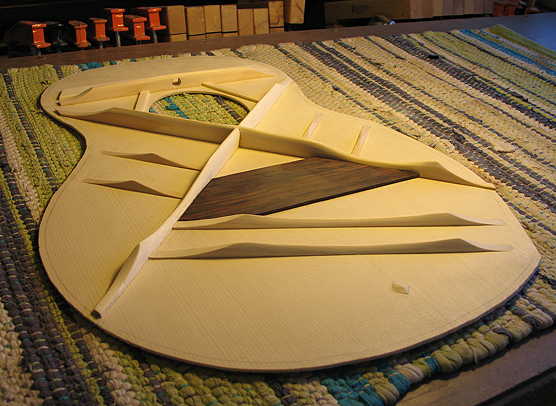
Yesterday I had a little bit of time to work on the brace-shaping.

I used a couple of chisels (my curved glue-clearing chisel from LMI and a 3/4" Marples chisel). The curved chisel was good for first "triangulating" the braces (changing the brace from a square shape to a triangular shape), and the straight chisel seemed to work better for scooping out the scallops and ends of the braces.

This is the first rough shaping of the braces. Today I will refine the brace shapes, tapping the top as I go along to try to hear what the shaping is doing to the tap tone of the top. Kent Everett (on his DVD) says that what he shoots for is a sound that kind of has two stages, an initial sound followed immediately by a softer sound, before the sound dies out. It's very subtle --- when I was watching the DVD, I couldn't really hear the two stages as he would tap the top at the bridge plate (with his knuckle). However, as I tap what I've got so far, I THINK I am starting to hear what he means. I'm not sure if the two-stages of the sound are supposed to become clearer or more distinct as you continue shaping the braces, or what --- or when you can tell when you're done. But we'll see....


Here's what my floor looks like at the moment --- this is the kind of mess carving braces produces.


Still Tuesday, around 4:00 p.m.:

The top brace-shaping is complete! I spent about four hours or so finishing the carving of the braces, so that the top gave a nice, clear "ping" when I tapped it. I'm still not sure exactly how it should sound, but I think how I've got this braced and shaped will work on this guitar. (At least, let's hope so!)

I tried to make a video of me tapping the top, but somehow the audio never accurately reproduces the sound I'm actually hearing --- all you can hear on the video is the initial sharp "ping", and not the sound that lingers after that initial tap --- so I decided not to post a video.


Here's another view of the top, so you can see the scalloping:

The top looks a bit misshapen because, remember, I have cut off a small portion of the bass side of the lower bout, where the arm bevel will be located.

Next task: making a couple of clamping cauls for use on the inside of the soundbox later, when I need to glue on the fingerboard extension and the bridge. (It's a good thing I remembered that I need to do this now --- it would be impossible to do after I have closed up the box!!! Don't ask me how I know this.)


Around 6:45 p.m.:

Last task for the day --- here are the two clamping cauls:


FINALLY . . . .Look what just came in the mail today!!!

Now this is becoming more and more a reality . . .

It's an SKB hard foam gig-bag, made for the GS Mini. It fits my guitar perfectly!!!