GS Mini 16

Friday, March 7th, 2014:

Continuing on the Top

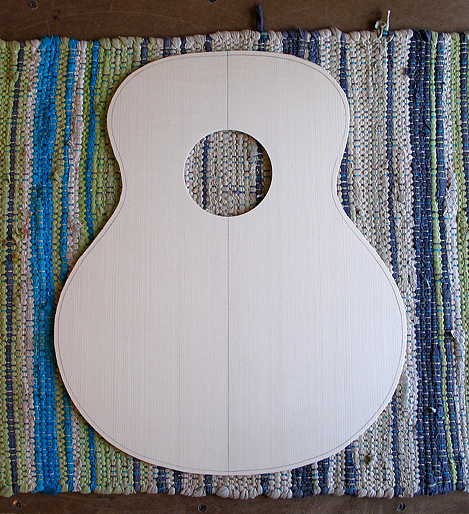
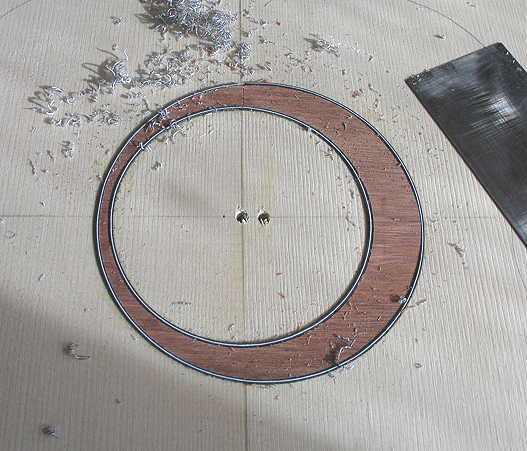
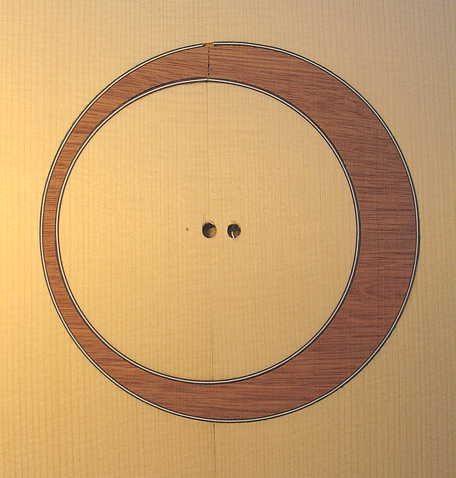
(1) When I got up today, the first thing I did was to sharpen my scraper (nothing like a nice, sharp scraper!!!). Then I carefully scraped the rosette down close to flush to the spruce.


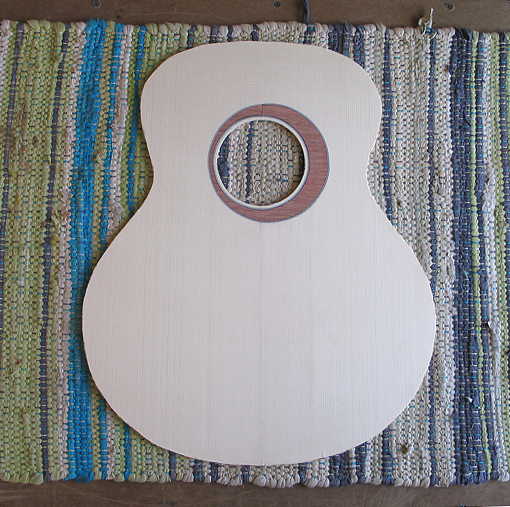
(2) Then I took it to the thickness sander, first sanding (with 120 grit on the drum) just enough to get the rosette truly flush to the spruce, so that all the purfling lines were nice and crisp.

After that, I flipped the top over and sanded the other side, little by little, until, when I shook the top plate (holding it loosely on both sides), it lost its initial stiffness, became floppy, and just started to sound like thin sheet metal when you shake it. (I can't think of how to describe the sound, except that it's kind of like a light "boing boing boing".)

I had just watched Kent Everett's DVD on voicing the guitar, and this is the method he uses to tell when to stop sanding the top. He says that that's when you can feel the top starting to become "musical".

My top ended up being around 7/64" (or .109") thick.


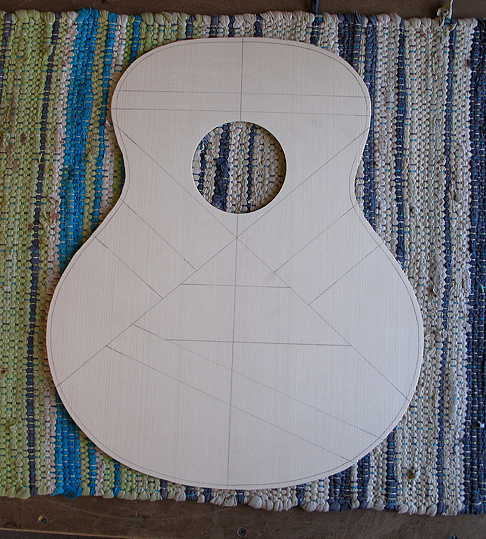
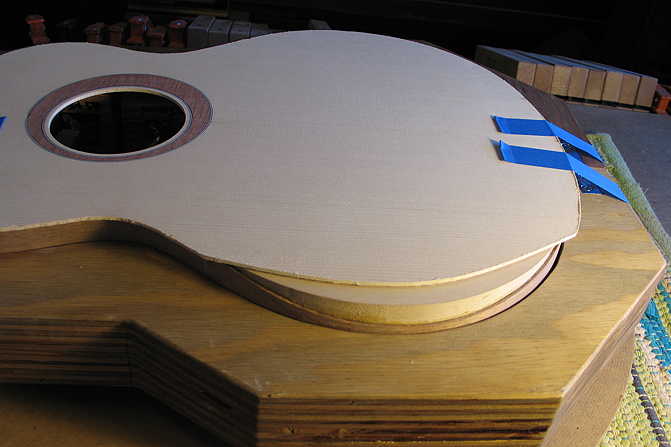
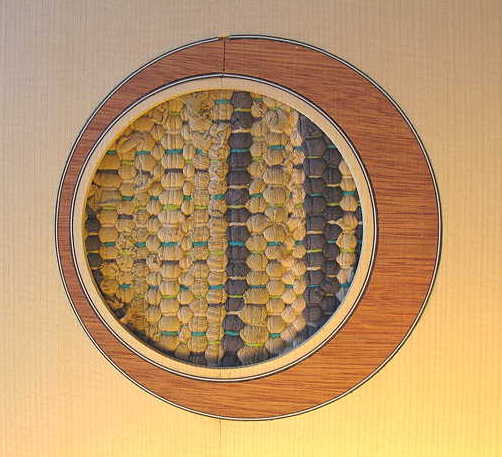
(3) Next, I cut out the soundhole.


(4) I traced the top outline (using the mold) onto the top, and used the bandsaw to cut 3/16" outside of the line.


Here's how the top looks with the rosette:


(5) Finally, I used my paper bracing template to transfer the brace position lines to the top.


NOW I'M STARTING TO GET EXCITED . . .

Now that the top is cut out, I can get back to working on the bevel !!!


Trimming the Top for the Bevel

Now I could trim the top where it meets the bevel block.

(6) The first thing I did was to put the side set back into the mold, with the spreaders, and set it upon the top. I then traced the inner edge of the bevel block where it contacts the top.


(7) Next, I marked a line, 1/4" outside of that line indicating the bevel block. This new line is where I will trim the top at the bevel location. This will give me a 1/4" gluing surface for gluing the top to the block.

(8) I then went to the bandsaw and first bandsawed a bit outside that trimming line. I followed that by using the belt sander to sand a nice smooth edge right up to the line. You want to make sure this line is perfectly smooth, because it will be the edge onto which you will glue the purfling; any bumps or dips in that line will make the purfling line's imperfection glaringly obvious.

I will save that off-cut you see at the bottom of the photo; it will be used later in the process of filing the bevel block, to ready it for the veneer.


Here I have taped the top in position on the side set, so you can see what it will look like later, once I've braced the top and am ready to glue on the top.


That's all for today; tomorrow I will work on bracing the top.