Thursday, March 6th, 2014:
On to the Eccentric Rosette!!!
TODAY WAS A BIG DAY. Yesterday my 1/8" bloodwood had arrived, so today, after finishing the fingerboard, I was ready to tackle my "eccentric rosette". (I decided to do this rosette because I think the wider part of this rosette is a nice counterpoint to the arm bevel on the bass side of the guitar.) I'm a nervous wreck (not really), but it all turned out well!!!!
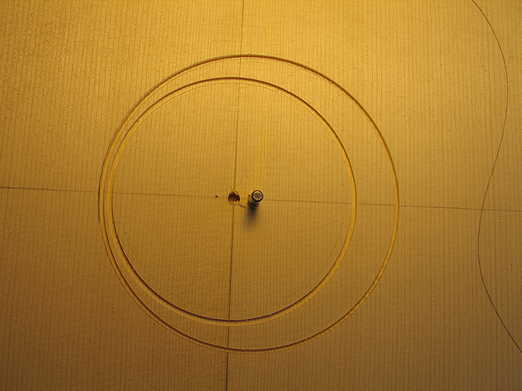
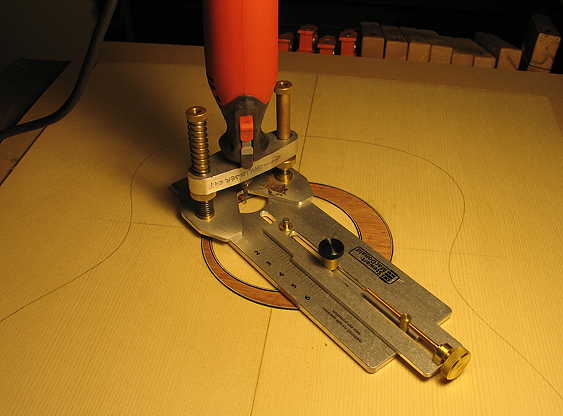
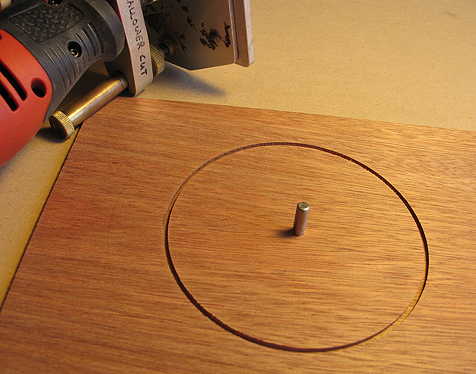
(1) I first used double-stick tape to affix the bloodwood blank to the MDF board which held the 3/16" pivot pin, for use with the Stew-Mac circle-cutting jig and the Dremel. After figuring out the size of my rosette, and the diameters of the two circles, I first used the circle-cutting jig, with a 1/16" downcut spiral bit, to rout out the inner edge of the rosette, using the soundhole's center pivot pin. I only routed about .080" deep (the thickness of my finished rosette ring) into the 1/8" thick bloodwood blank.
|
|
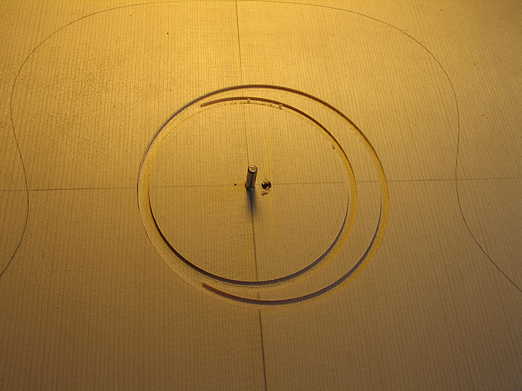
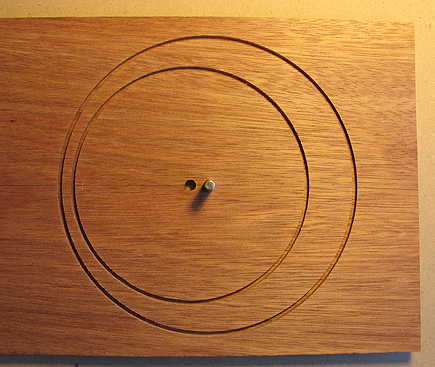
(2) I drilled a new hole, to the right of the first, and repositioned the bloodwood blank, to use that new hole for the pivot pin. I then routed out the outer edge of the rosette ring. This second circle, which would form the eccentric ring, would have a 5" diameter.
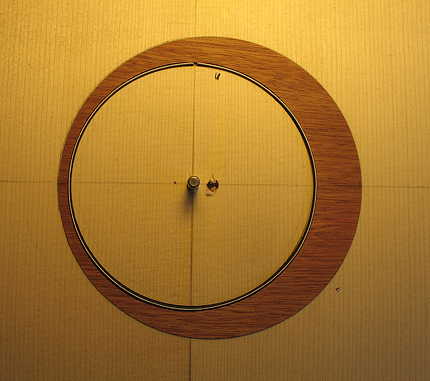
(3) I then removed the blank from the MDF board, and took it to my thickness sander. I sanded the back of the blank, little by little, until the rosette ring was freed from the blank.
|
|
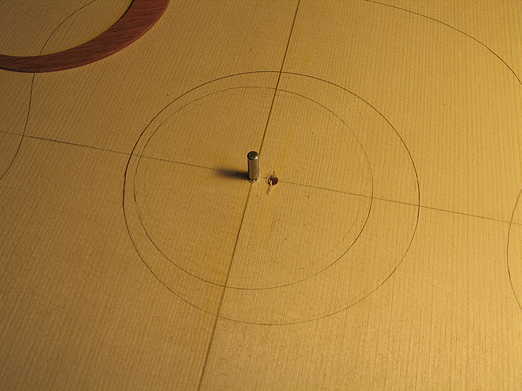
(4) Once I had the rosette ring free (you can just see it in the upper left-hand corner of the photo below), I traced it onto the top.
|