Friday, February 28th, 2014:
Just spent a few hours working on the neck and tail blocks.
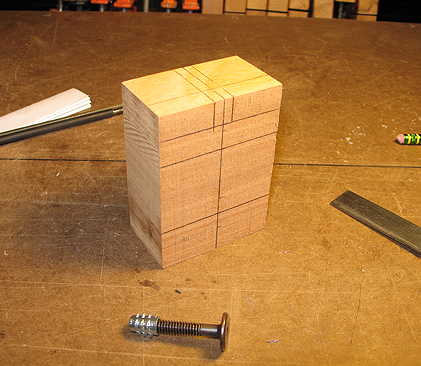
The first thing I did was to figure out the basic dimensions of the two blocks. The neck block is 1-1/2" thick, 2-1/2" wide, and 3-7/16" tall. The tail block is 11/16" thick, 2-1/2" wide, and 4-3/8" tall.
Then, what took me the most time was figuring out all the measurements for the neck block. My two 3/8" bolt holes are 1" down and 2-1/2" down from the top of the block. Then I needed to figure out exactly how deep to drill the 3/4" Forstner bit holes, to be able to countersink the furniture bolts I will be using, so their ends will extend the needed amount out of the soundbox, to attach to the 1/2" long threaded inserts in the neck heel. I also had to figure out how deep to cut a slot at the top of the block for access to the truss rod.
Here's what I came up with:
|
|
Next, I took the neck block to the drill press. First I drilled the two Forstner bit holes, just up to that horizontal line you see on the top of the block pictured to the left. Then, using the little dimple left by the Forstner bit to center my 3/8" brad point bit, I drilled the two 3/8" holes all the way through the block. Finally, I cut the top slot for the truss rod access with my bandsaw.
After that was all done, I rounded the vertical edges of both blocks on the belt sander, and sanded a slight radius onto the gluing sides so that they would conform to the mold.

|
|
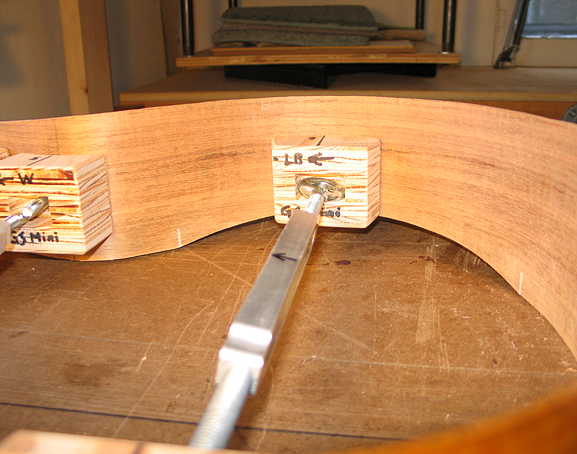
Here I am gluing on the tail block. After that is dry, I will glue on the neck block.
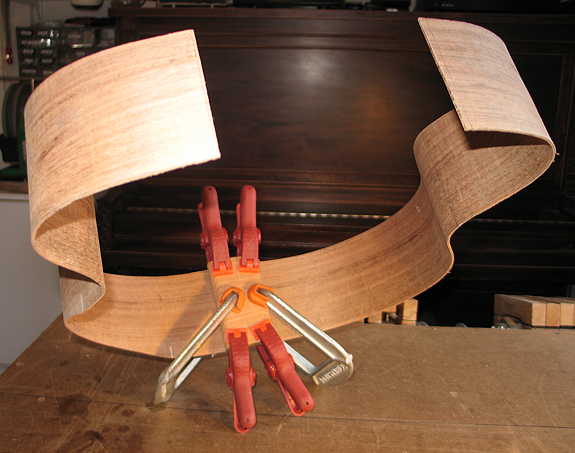
And here I'm gluing on the neck block:
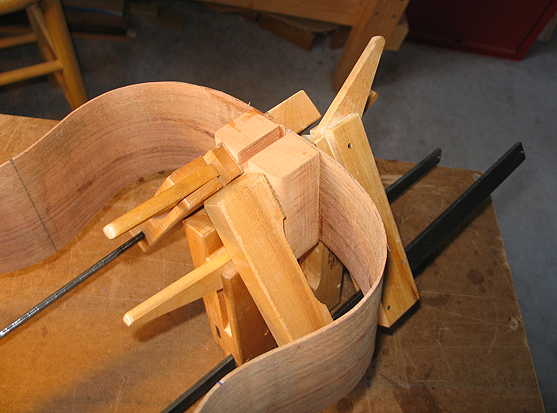
|