Saturday, May 30th, 2015:
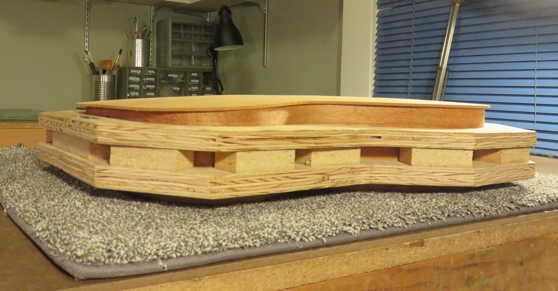
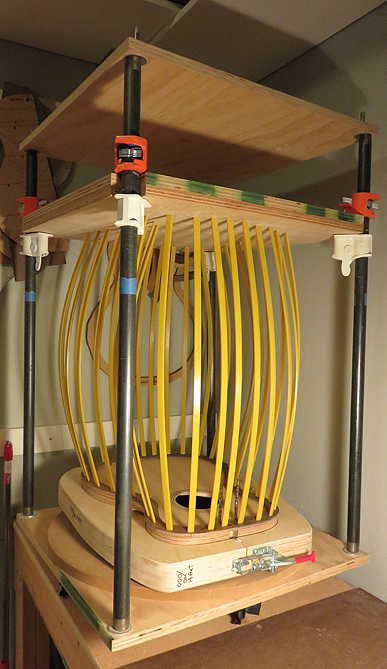
In the past few days, I've done a little prep work for our next sessions --- I made a clamping caul for when Randall glues on the two veneer layers to support the soundport he's decided to do on his guitar, and I made a caul out of hardboard in the shape of the guitar's outline, for gluing on the top and the back in the go-bar deck. (You can see it in the photo below.)
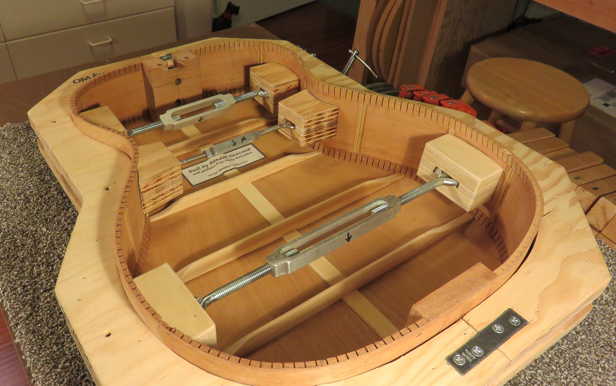
Today, I also worked on my OM, fitting the top and back to the sides by routing out pockets in the kerfing for the ends of the braces that will extend into the kerfing (for the top, the X-braces and the thick brace above the soundhole; for the back, all four back braces). I used my Dremel to rout out the pockets. I also needed to trim the back's center reinforcement strip to butt up against the neck and tail blocks.
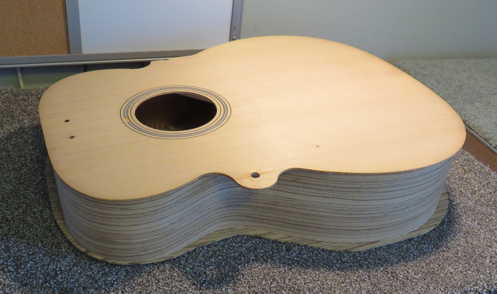
After both the top and back were fitted so they basically just "clicked" into place, I glued the top onto the sides, using my go-bar deck. That is what I have just finished:
I think it's helpful for me to do some of the building tasks just one step ahead of Randall, so I can figure out the best procedure for him to use when he's ready to do that step. (Also, we can't really do some of the steps at the same time, because, for example, the go-bar deck can only be used by one person at a time.) |
|
Sunday, May 31st, 2015:
Today was our 6th session. Randall accomplished quite a bit today. He's getting to be an old pro at this!!!
TO THE RIGHT: Here's a little movie of Randall as he is preparing the ends of the four back braces to be fitted into pockets in the kerfing. He needs to carve and sand the ends of the braces to a height of about 1/16" so they will fit into the pockets that will be routed (with a Dremel) into the kerfing.
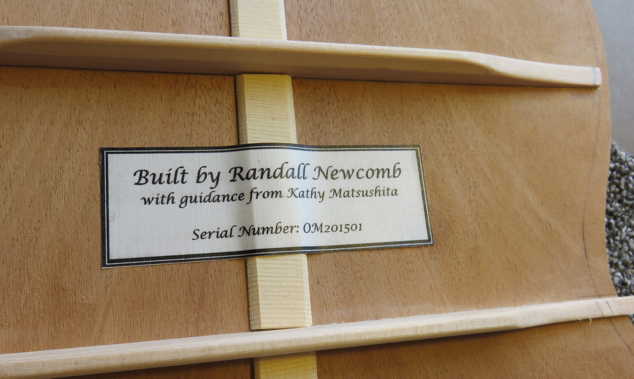
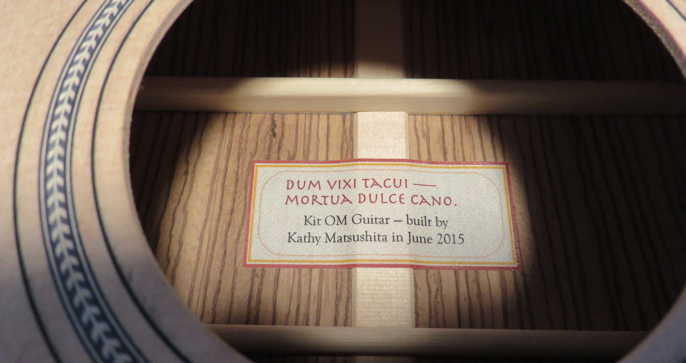
BELOW THE VIDEO: Here is the label that Randall designed; it has just been glued onto the back, where it will be seen through the soundhole of the guitar.
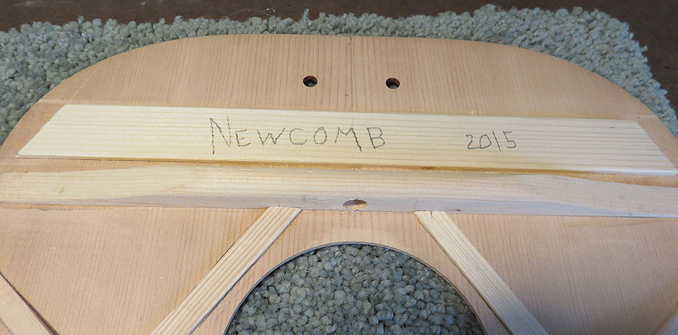
Also, Randall has put his signature onto the underside of the top, which is a traditional practice of luthiers.
|
|
|