Monday, June 1st, 2015:
Randall worked for a couple of hours tonight.
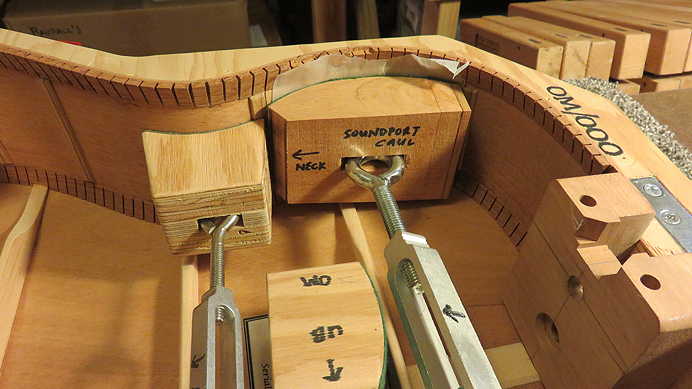
He has decided to put a soundport in his guitar. His soundport will be a hole (I think he's going to make his oval) in the side of the upper bout of the guitar; this hole will direct sound up towards the player.
Here he has glued in two pieces of veneer into the area which will have the soundport, as support for when he routs out the oval. (I just noticed now that the caul was positioned backwards, with the slightly narrower end pointing in the wrong direction, so that a tiny section of the veneer is not supported; however, I just checked it out and everything is fine.)
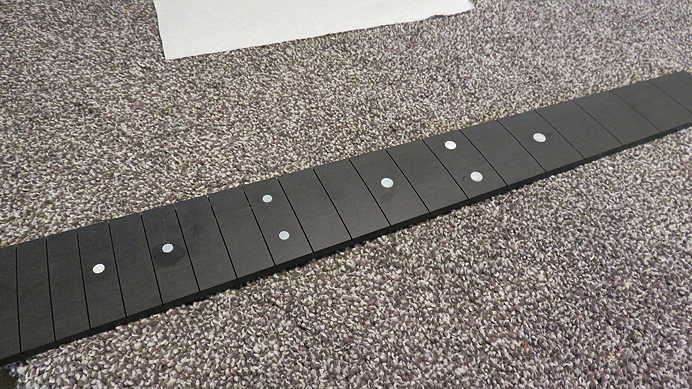
Here Randall has superglued in the mother of pearl position dots into the fingerboard.
|
|
After first sanding the position dots flush with the fingerboard surface (with a 16" radius sanding block), Randall has installed the frets (using a fret press arbor) and has clipped the overhanging fret ends.
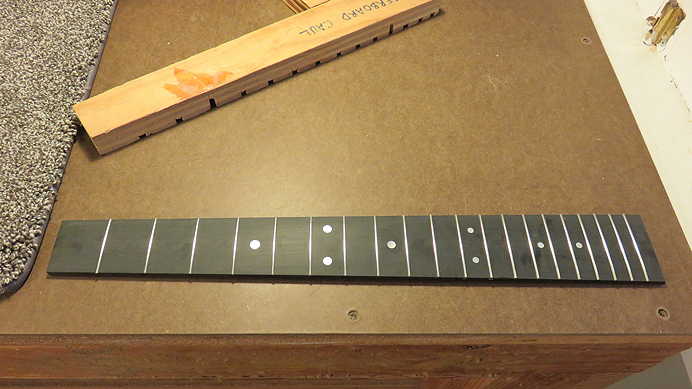
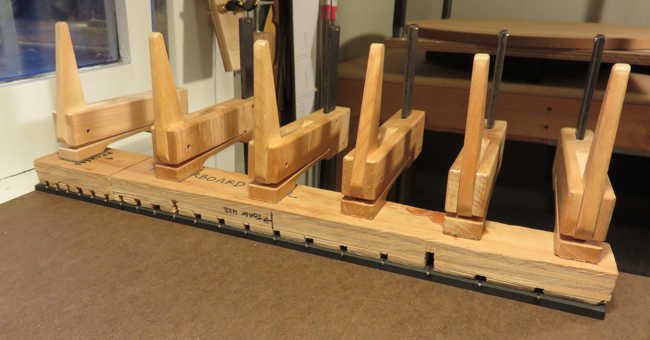
Fretting a fingerboard before it is glued to the neck always creates a little backbow in the fingerboard, so it will be clamped overnight atop the workbench. This will flatten the fingerboard again.
|
|
MEANWHILE . . .
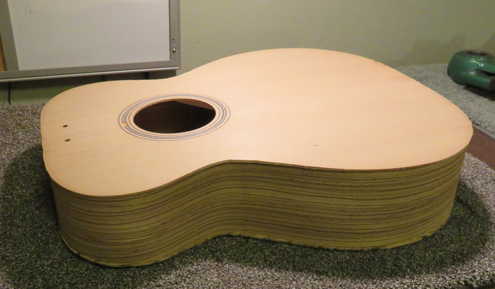
While Randall was working, I used my mini-drawknife to remove the bulk of the overhang of the top and back. Later I will use my Stew-Mac True-Channel binding router jig, with a flush-cut bearing, to rout the remaining overhang nice and flush to the sides.
It's starting to look like a guitar.

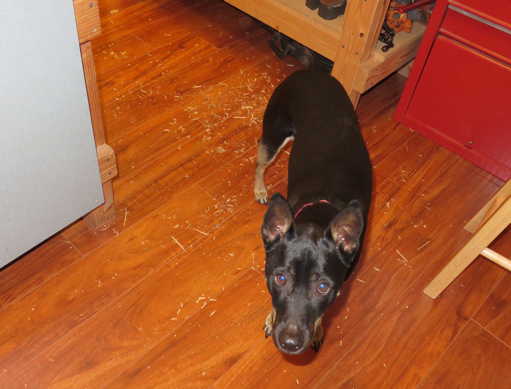
Here's Hannah, a bit upset that I've made such a mess.
Actually, I don't mind making this kind of mess now; it's SO much easier to clean up this kind of debris now, with the laminate floor instead of carpet. I just sweep it up, and it's gone!!! No more having to vacuum all the little bits that have gotten stuck in the carpet!
|
Wednesday, June 3rd, 2015:
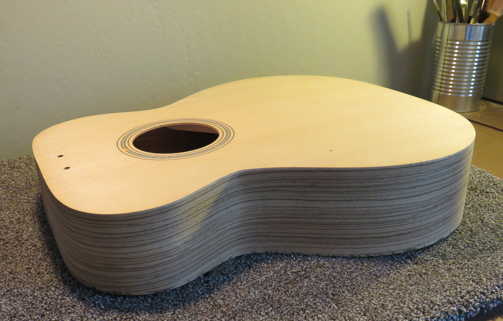
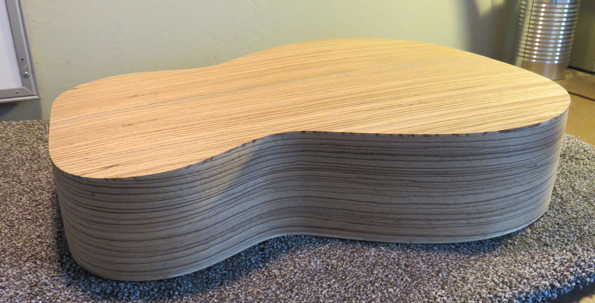
I just used the Stew-Mac True Channel binding router jig to rout the overhanging edges flush to the sides. I love this jig! I feel like I'm more in control of the routing with this jig, and my hands don't have to be anywhere near the router (laminate trimmer, actually). Once you get the soundbox all set up in the holding cradle so that the sides are perpendicular to the table, the rest is easy.
Here's a link to the jig in action (the jig has since been improved, with metal instead of nylon rollers that guide the carriage up and down).
|
|
|
|
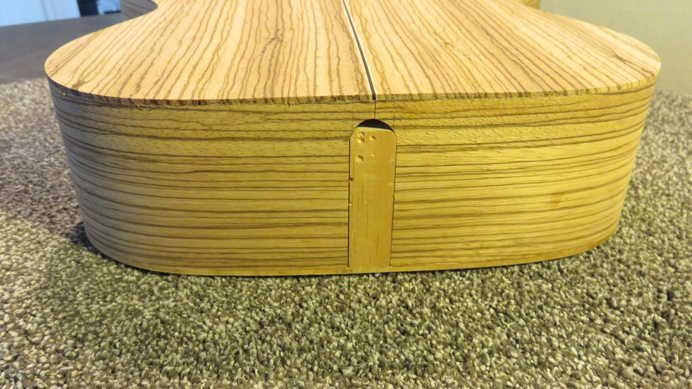
Before I did the routing, I plugged up the mortise with a piece of scrap wood, to give the flush-cutting bearing a smooth surface to ride on.
|