Sessions #4 and #5

Sunday, May 24th, 2015:

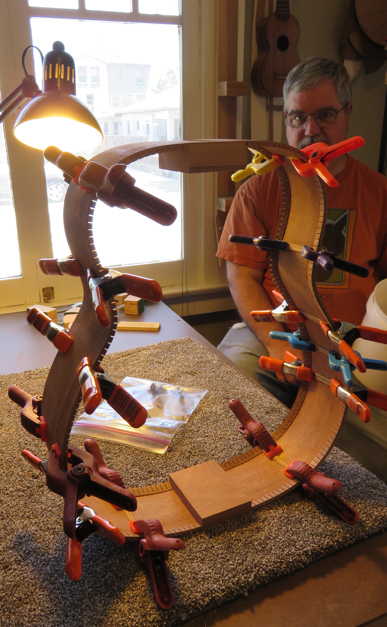
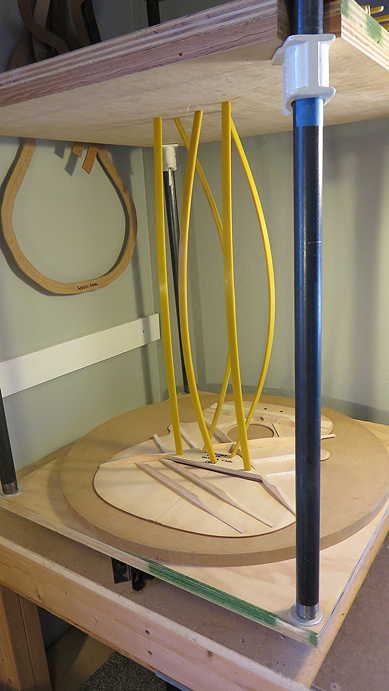
The first thing Randall did today was to glue the bridge plate onto the top in the 25' radius dish, using the go-bar deck.

(This is actually a "staged" shot, as I forgot to take a photo when Randall was actually gluing it; in reality, there were actually many more go-bar sticks holding down the clamping caul. I just stuck a few go-bar sticks on here for the photo --- too lazy to put all the sticks on.)


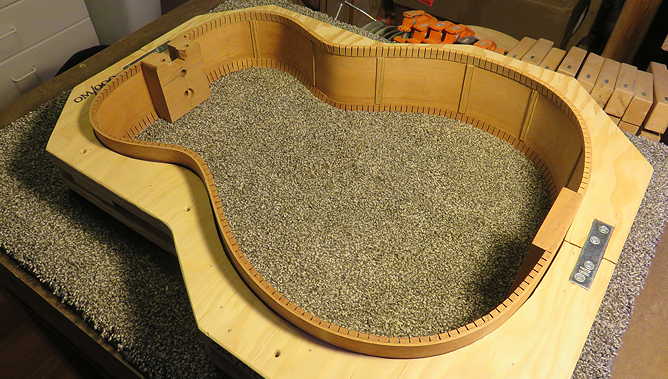
Next, he used the 25' radius dish that I have, which has stick-on sandpaper, to sand the 25' radius into the kerfing on the top edge.

Next, he cut out the side wood that was covering the mortise and drilled the second bolt hole into the neck block, using the doweling jig. (I forgot to take a photo of him doing this.)


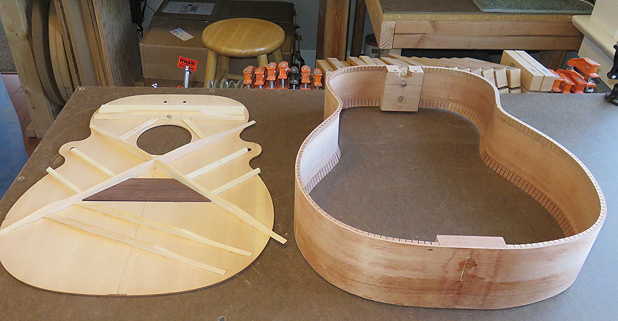
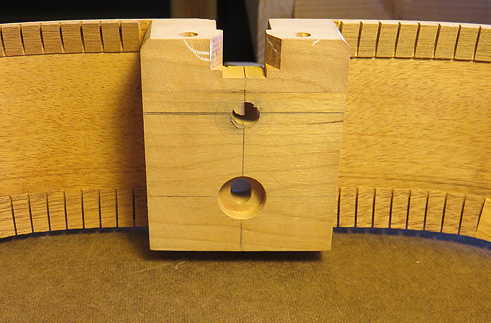
Here's a shot of the neck block with the second hole drilled. (Oops --- we forgot again to drill a countersunk hole first with a Forstner bit. My bad.)


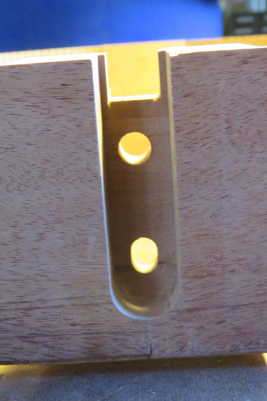
Here's the two bolt holes as seen from the mortise side:


Monday, May 25th, 2015:

Got quite a bit done today!!! Today Randall spent around 4-1/2 hours working on his guitar.

The first thing he did today was to glue the center reinforcement strip onto the back, between the four back braces.


OKAY, IT'S MOVIE TIME!!!

Thought I'd take a video of Randall as he was vigorously sanding the 15' radius into the back kerfing. You can either do it this way, or you can set the mold down on the bench and, holding the radius dish (with its 80-grit stick-on sandpaper) and "driving the bus," as they call it. It's a little bit of a strenuous task, but it gets the job done.


THE RED GUITAR . . . . Oh, what sacrifices we make to build a guitar!!!

While Randall was busy sanding the radius into the back kerfing, I was busy nicking myself with the chisel.

I managed to do this while carving the top braces. Clumsy me. No problem --- the bit of red there will be carved out when I shape the brace into a more triangular peak. (Or maybe I should keep it there, for a little more "personality".)


BELOW . . . Randall's completed, braced back:

Here's the result of Randall's carving and scalloping of the top braces:


The final thing Randall did today was to glue in the side braces that he had measured and cut yesterday, to fit between the kerfing strips. These braces provide support for the fragile sides.


Previous Page

Table of Contents

Next Page