Saturday, July 11th, 2015:
IT'S FRENCH POLISHING TIME!!!
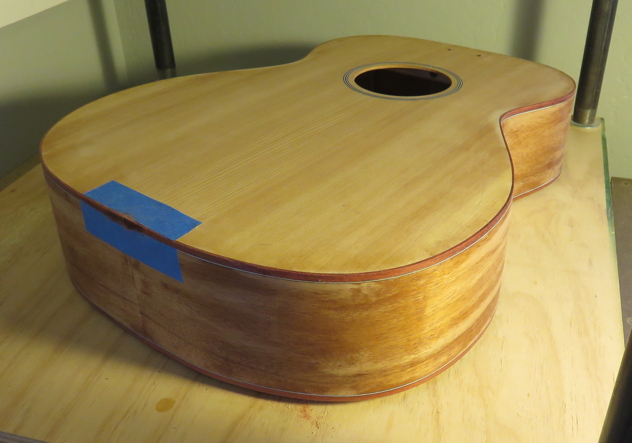
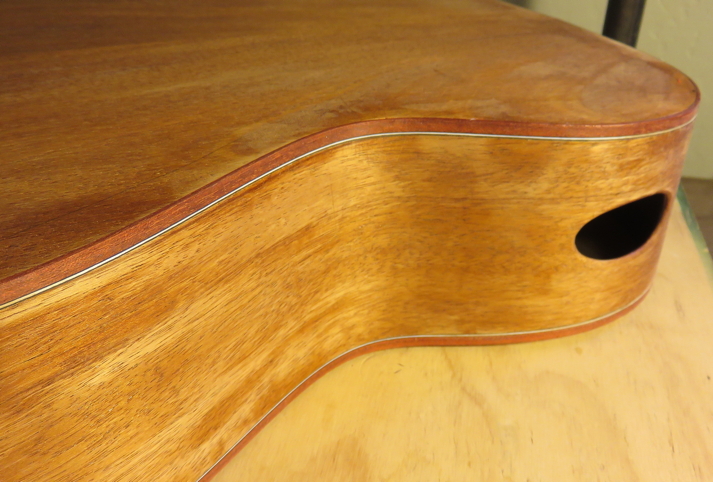
While Randall has been continuing on his guitar, I have done quite a bit on mine. Since the last time I posted on my guitar (about a month ago), I have fitted the neck (back angle and side-to-side angle), glued in the truss rod, fretted and glued the fingerboard to the neck, drilled the tuner holes and inlaid the peghead with a simple "KM" logo in white mother-of-pearl, drilled the hole for the end pin, and done the final sanding.
Then I decided to do a French polish on this guitar, since I had found it such a satisfying thing to do on a couple of my previous guitars (my latest Size 5 and my GS Mini). I recently found and purchased Tom Bills' wonderful online "The Art of French Polishing" course, and have been pretty much following his very down-to-earth technique.
(By the way, while it was a bit expensive, I highly recommend his course, as it is VERY detailed and takes you through the process every step of the way. The course contains 86 short videos of all his steps, techniques, and tips, as he takes you through the complete French polishing of one of his guitars. Check it out HERE.) (Oh, and he's not too hard on the eyes, either.)
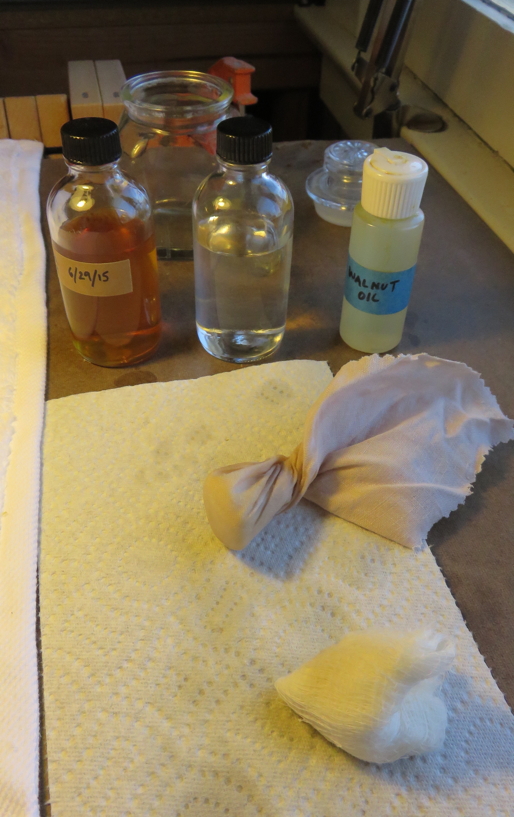
About two weeks ago, I mixed up a batch of shellac for my French polishing --- one and two-pound cuts of light blonde shellac, and the same of some medium/dark blonde shellac. For this guitar, I'm using the light blonde shellac.
Then, this past week, I filled the pores with Z-poxy; it took about four coats of the Z-poxy before it fully filled the pores.
I started yesterday on the French polishing. Yesterday, I put on three sessions of shellac/alcohol on the soundbox, using only a pad made from cheesecloth; I did not use oil with those first three sessions, so that there would be no chance of any oil getting into the wood. Today, I wrapped a cheesecloth core pad inside a linen cloth, and began using the walnut oil (about 1/2 a drop on the pad, each time I loaded it with shellac & alcohol).
Basically, what I've been doing is applying a "glub" (highly technical term) of shellac, a "glub" of alcohol (Everclear), and a 1/2 drop of walnut oil, onto the pad, blotting it briefly on a paper towel, and then tapping it onto the back of my left hand, to disperse the mixture throughout the pad. Then I use circular motions to apply the shellac to the surface, followed by a quick straight swipe across the swirls. Tom Bills calls this technique "paint and glide" (or something like that). I don't reload the pad until it begins to stick onto the surface of the guitar.
|
|
I am really loving doing the French polishing. It's relaxing, and requires no clean-up time (as spraying a finish does). I just do my sessions, then put the caps back on the bottles, and put my polishing pads back into their jar.
So far, I have done 6 bodying sessions on the soundbox, and four on the neck.
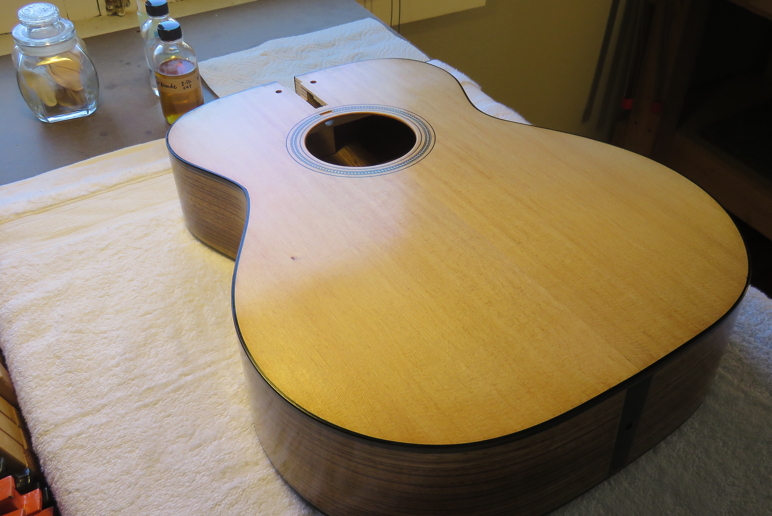
(By the way, if you're wondering about that little dark dot on the left bass side of the top, it's a tiny knothole that appeared when I sanded the Sitka top. I guess it will give the top some extra "character".)
|
|
|