Saturday morning, June 6th, 2015:
Okay, today I am going to do a trial run of the bending form I made yesterday; I am going to bend the bindings for my own OM. I have decided to use some ebony binding I had on hand; it has a single white purfling line on the bottom edge of the binding. I'd rather use this ebony binding, as it goes better with the dark striping in the zebrawood back and sides of this guitar.
I have only four strips of this binding, so if I end up cracking this set of bindings, it's still okay because I have lots of bloodwood binding to work with. (This is why I haven't routed my binding channels yet --- if I need to switch to the bloodwood binding, the channels will need to be routed slightly thinner than these ebony bindings' channels.)
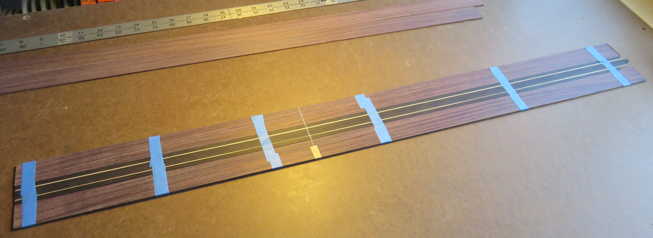
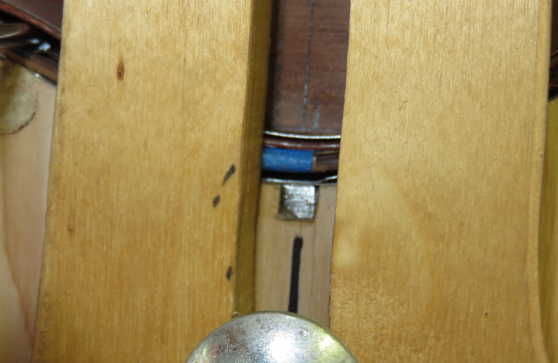
Below, I have laid the four ebony strips (purfling lines butted up against each other, so they are better supported) between two strips of an orphaned rosewood side I had on hand. This way, there is no danger of the bindings being crushed on one side by the bender's waist caul possibly tipping on one end (as it did in my 2008 Grand Concert build, as described here).
The small piece of tape on the white line is the location of the waist. This mark is needed so I can line up the bindings correctly in the bender.
|
|
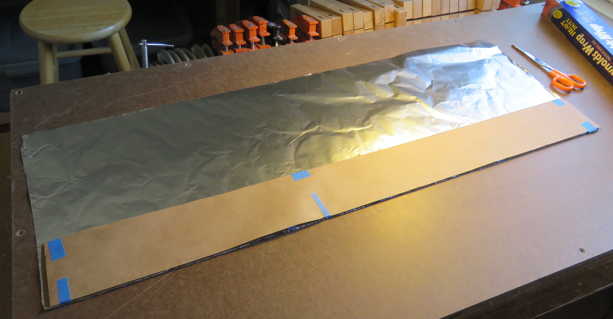
Next, I needed to prepare the binding "sandwich", which consists of the bindings wrapped in, first, Kraft paper on both sides (which will be dampened so there will be moisture/steam next to the wood), followed by a wrapping of aluminum foil.
|
|
Here I have spritzed the Kraft paper on both sides and smoothed it over the wood, and have then wrapped the aluminum foil around it all. I have also marked the waist line and will place a piece of tape on the outside edge.
|
| |
|
|
|
|
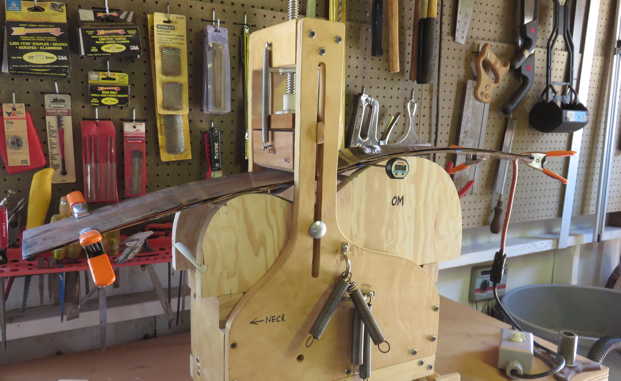
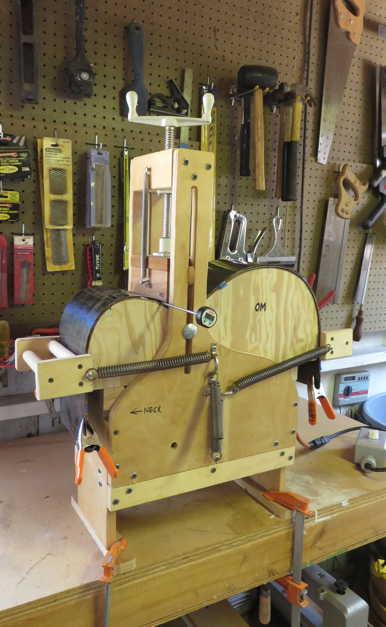
Next, I take it to the bender. I lay a piece of spring steel on top of the bending form, and I lay the binding sandwich on top of that (lining up the waist mark with the vertical slot in the bender). On top of that, I place the silicone heating blanket and, finally, the second piece of spring steel. I place a food thermometer in between the wood and the heating blanket.
I then crank down on the waist caul a little bit, just enough to keep the bending sandwich in place.
|
|
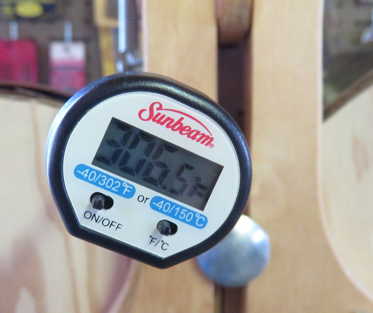
I turn on the heating blanket and watch the thermometer reading. When the temperature reaches around 245 degrees, I slowly start cranking down on the waist caul, just a little bit at a time, until the waist caul is all the way down against the bending form. I am always watching, too, that the "sandwich" doesn't shift a lot, so that the waist mark is centered (or close to it) in that vertical slot.
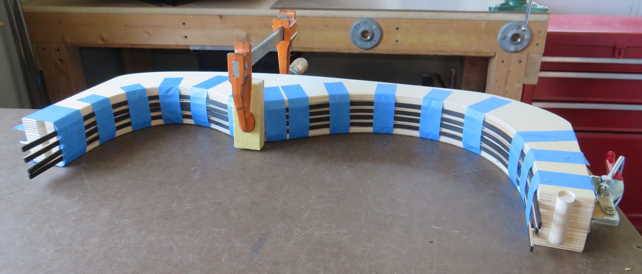
Next, I attach and pull down the upper bout caul and then the lower bout caul. When the temperature has reached around 295 degrees, I unplug the blanket (it will continue to rise to around 305 degrees, and then will start falling back down). I will let it cool down to around 245 degrees. Then I plug it back in. (This second heating will help "set" the bend.) When the temperature reaches around 295 degrees, I will unplug it again.
|
|
Here it is now. I will let it sit there until it all cools down. Then we will see how it all came out!!!!
Stay tuned!!!
|
| |
|
|
|
|
|
|
Still Saturday, about 3:00 p.m.:
THE MOMENT OF TRUTH!!!
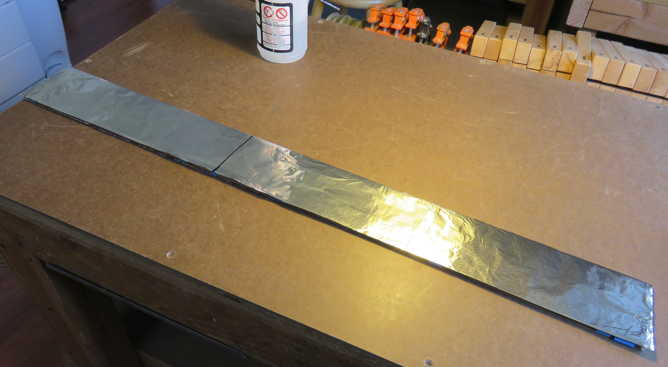
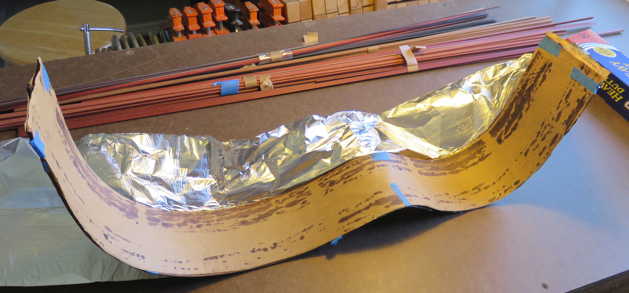
The bender has cooled down completely, and I have removed the binding sandwich from the bender. Here it is, before I have totally unwrapped it.
Those stains you see on the Kraft paper are the resins from the rosewood support strips, which have leached out of the rosewood from the heat. So far, the bend looks good...
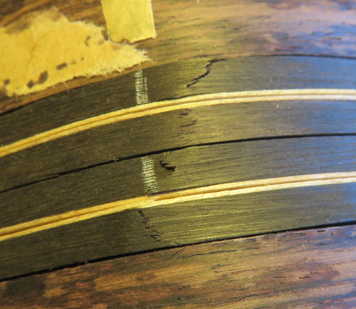
When I open it up completely, I see that the ebony binding has cracked at the sharp point of the waist, which isn't too uncommon (especially with the thicker pieces of ebony, which tends to be a brittle wood). I could have thinned the ebony strips, but I preferred the binding to be on the thicker side, for a nicer look, so I took the chance that it might crack or fray. Luckily, it did not crack all the way through, and is more of a "fraying", so I don't think it will be a problem. And, since it is on the inside of the bend, it will not show anyway, so that's good. I will wick in a little bit of superglue and press the crack together as best as I can; it should be fine.
|
|
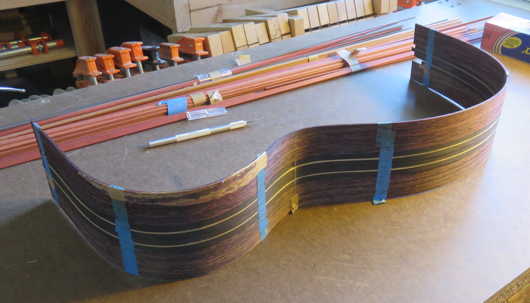
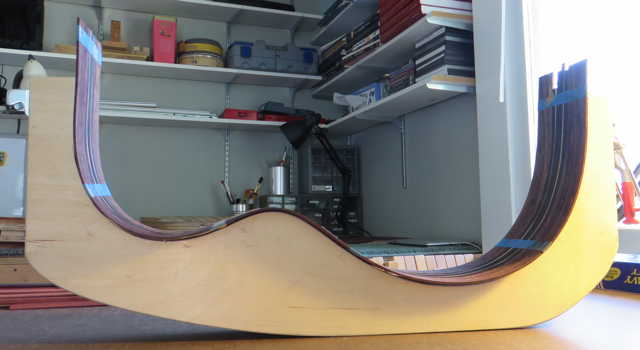
The good news is that the binding fits the mold just about perfectly (so my bending form was just the right shape). Yay!
|
|
Here I have separated the bindings from the rosewood supporting strips and have taped them into the mold, so they will keep their set. I am using a caul with some cork on it to press in the waist area, hopefully to press in those cracks a little bit.
|
|
|
|