Here's my fingerboard, after I've installed the frets. I seemed to have
lost ("misplaced"?) my fret
press caul (which I use in the drill press) -- I spent an hour unsuccessfully
looking high and low for it. So...I had to resort to hammering in the frets
using my deadblow
hammer. I run a small bead of Titebond glue on the tang before I pound
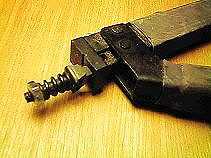
the fret in. Before I hammered in the frets, however, since this is a bound
fingerboard (bound in ebony), I had to undercut the tangs. This was easily
done using my Stew-Mac fret
tang nipper. It does such a clean job of it, it's a joy to use! I have
not yet trimmed the fret ends flush to the fingerboard.
Oh, yeah....In case you're wondering why my fingerboard is missing two
frets (the 3rd and 11th)....I haven't installed those yet, because I have
drilled two tiny holes in those two fret slots, so I can use tiny pins
(actually nail brads) to later position the fingerboard onto the neck.
I will install these two frets after I have glued the fingerboard to the
neck.
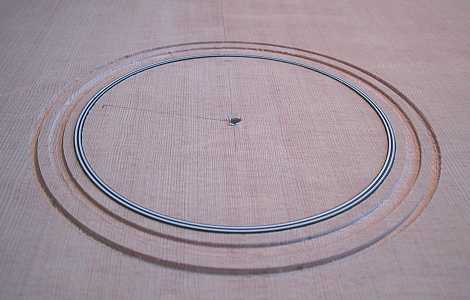
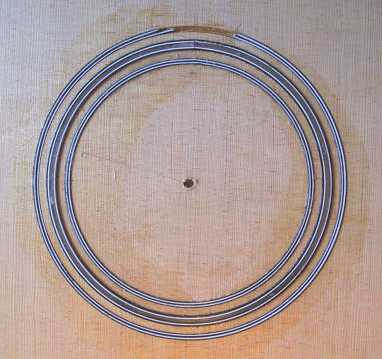
BELOW: Installing the frets puts a little backbow into
the fingerboard, so I always clamp the fingerboard straight using the method
below:

