|
 |
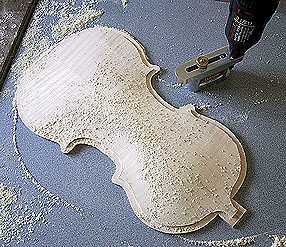 |
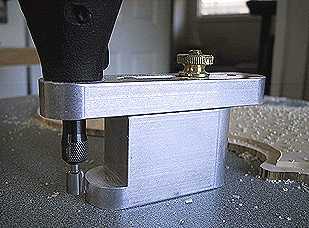
Above is the Stew-Mac purfling jig I used to cut the edge depth. Last night I visited the Musical Instrument Makers Forum (mimf.com) and someone left a message suggesting using this jig for this purpose. I've had this jig for a while now, but it had never occurred to me to put it to this use!!! (Normally it is used to rout out a violin purfling slot.) Duh!!!
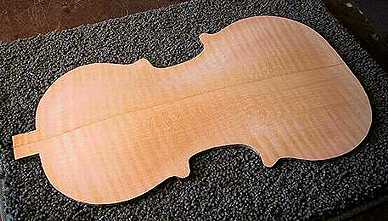
Next, I recarved the plate, working from the edge up to the center, using my two gouges to do the rough carving and then the two Ibex fingerplanes to the right (one about as big as my thumb and the other as big as my index finger) to smooth out the gouge marks. |
 To
the left is the result. It worked great.
To
the left is the result. It worked great.|
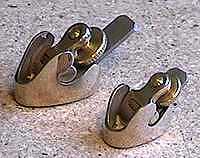
Then I used the violin scrapers shown below to achieve the final result, seen to the right.
I will carve the spruce top arch in the same manner as the maple back, only this time I will use what I learned above to save myself some time and effort. I am sure the spruce will be much easier to carve than the maple, as well. Go on to installing the purfling |
Go back to Violin-Building Menu |