The Purfling

Wednesday, July 4th, 2001

I carved the arch of the spruce top plate today. It only took me this one day, as I had figured out how to do it while carving the back plate.

Thursday, July 5th, 2001

The next thing to do was the purfling. The purfling I had purchased was fiber black/white/black purfling. It measured about 2mm tall and a little over 1mm thick. It just so happened that a 3/64" downcut spiral bit cut a groove that fit the purfling's thickness exactly. I used the bit in the same Stew-Mac purfling jig that I had used to rout the plates' edge thickness.

To the right is the maple back plate with the purfling installed. Cutting the purfling groove with the jig was easy. I ended up having to cut the corners and the section under the back button tab by hand, using a sharp straight carving knife. That was kind of tough to do in the hard maple!

Friday, July 6th, 2001 

Here is the purfling jig in use on the spruce top plate.

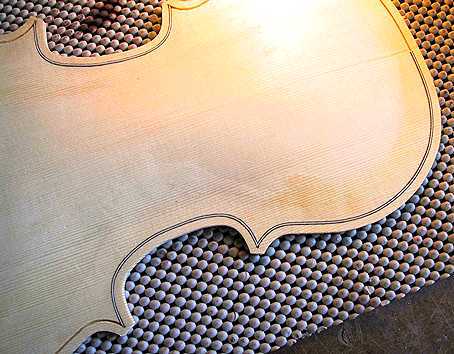
The first step was to fit and glue the purfling for the C-bouts. The fit was such a tight fit that I had to actually hammer in the purfling to drive it all the way down into the groove!

Bending the fiber purfling was easily done by hand --- no need to do any heat-bending.

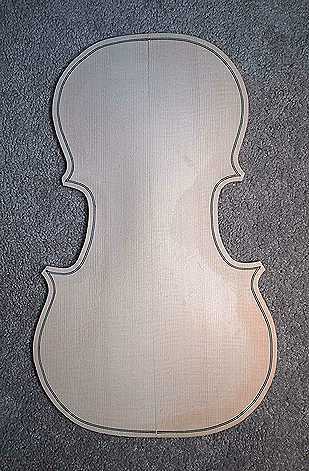
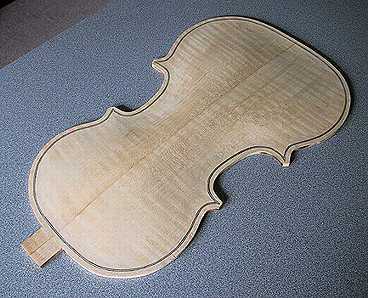
After I had fit and glued both C-bout purflings, I then proceeded to install the upper bout purflings. I did the upper and lower bout purflings in two pieces each, as the upper bout center portion will later be covered by the neck and the lower bout center section will be cut out when the saddle is installed.

To the right is the spruce top plate, all purfled up!!! (Purfle, purfle.)

 Next

 Go back to Violin-Building Menu

Return to Projects Home Page