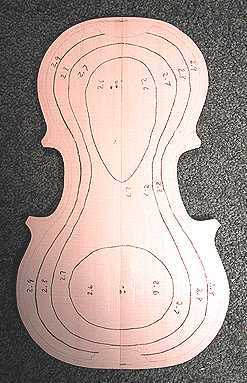
Hollowing the Plates, Part ISaturday, July 7th, 2001 After I had cut the channels (deepening the purfling area, so the edge of the plate is kind of a scooped-up area), it was now time to begin the carving of the inside of the plates. The Ossman book came with templates for the depth contours (kind of like a topographical map), so I traced the depth contours onto the top and the back inside surfaces. Below is the top, with the depth areas marked. |
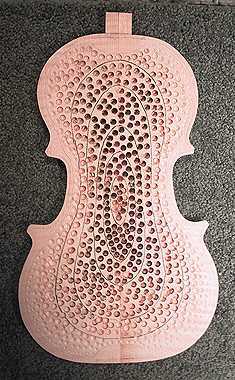
Below is the back, after I have drilled about a zillion holes of varying depths, following the template's measurements. The way I did this was to glue a dowel in a piece of wood on my drill press table; the dowel would serve as a pin on which to rest the back plate, inside surface up. Then, with a 1/4" drill bit in the drill press chuck, I set the bit to stop so the space between the drill bit and the dowel was the required plate depth. (I used feeler gauges to determine this.) Then I drilled away!!!! Tomorrow I will make a holding cradle for the back, to hold it steady as I hollow out the back with gouges and fingerplanes.
|