|
 |
|
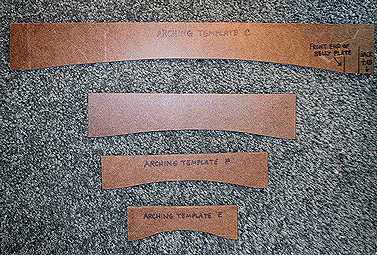
The first thing I did today was to make the four basic arching templates. The top one is for the longitudinal arch; the lower three are for the arches across the lower bout, the upper bout, and the waist. Next I used my marking gauge to scribe the 6mm starting depth of the plate's edge (it will become thinner later). I then marked a line about 10mm in from the edge; this will be the shoulder area of the plate. 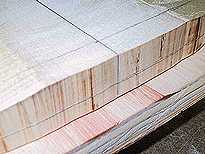 |
 |
|
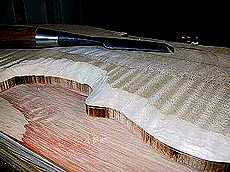
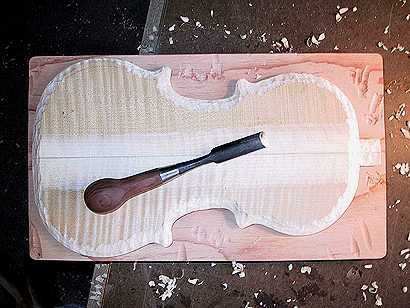
Below is a photo of the plate after I have finished carving the shoulder down to the 6mm edge line. This only (!!!) took me all afternoon. I think the carving will take me a bit of time...... |
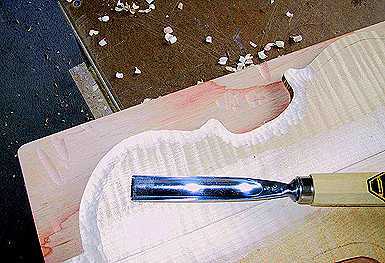
To the left I have begun carving the shoulder area down to the scribed line. As I carved with the gouge, I found myself sometimes unintentionally gouging my workboard as well as the intended object, the maple back plate! Even with a sharp gouge, that maple is pretty tough to carve! It took me a while to get the knack of which direction to go in the carving (so as not to tear out chunks of maple!), but I soon got the feel of it. Below you can see how I am carving down to the 6mm scribed line.
|
 |
Go to Carving Day 2Go back to Violin-Building Menu |
