Step Three: Varnishing
August 9 . . . I started the varnishing process today.
After making sure my room was pretty much dust-free and using
a tack cloth to remove all sanding dust from the violin, I mixed
up my varnish. I had spent yesterday morning mixing different
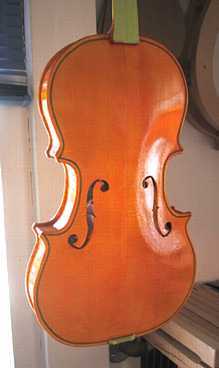
ratios of the yellow, red, and brown oil varnishes, until I came
up with a mix that I thought would work. Basically, I am using
about 8 parts brown, 2.5 parts red, 1.5 parts yellow, and 2 parts
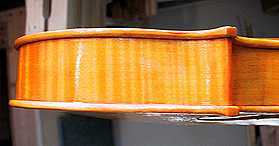
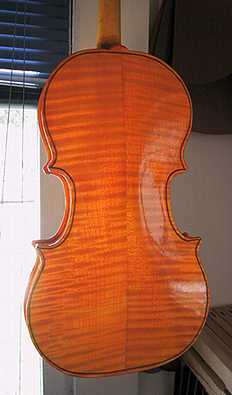
turpentine (to thin it a bit). As I add more coats of the varnish,
the color should deepen; I'm hoping to come out with a nice amber/orange/red/brown
color.
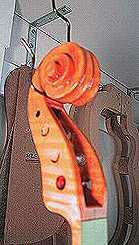
To apply the varnish, I used a 1/2" red sable filbert
brush for the scroll area and the rims and a 1" ox hair
flat brush for the rest. I found I liked the sable brush so much,
that I went out today and bought a 3/4" red sable stroke
brush, which I will use for the future coats.
|
 |
 |