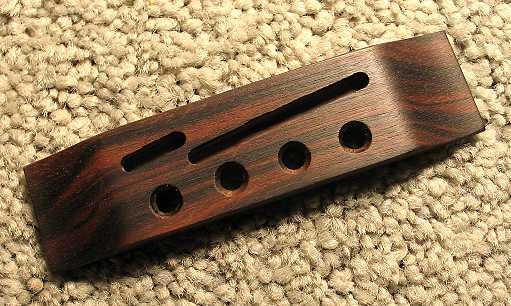
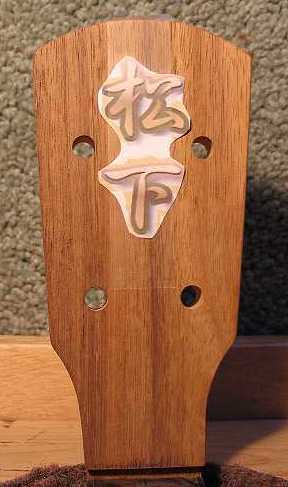
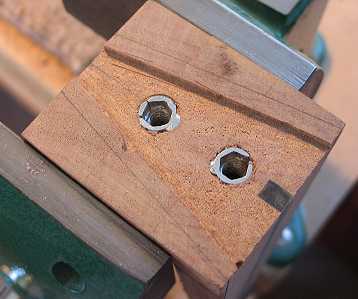
The neck joint . . . . I have always felt comfortable using bolts and a flat butt joint, so I'm doing that here, also. After I've fit and set my neck angle, I then draw my lines showing the heel shape, but I don't saw it out yet. (I do this because it makes it easier to clamp the neck into the vise when I'm doing my routing and inserting the threaded inserts.) Using my Dremel and router base, I then rout out about a 1/16" or so cavity in the center portion of the heel, to allow for the curvature of the soundbox where it will meet the heel. Next, I determine where the inserts should go, drill out the holes, and insert the inserts.

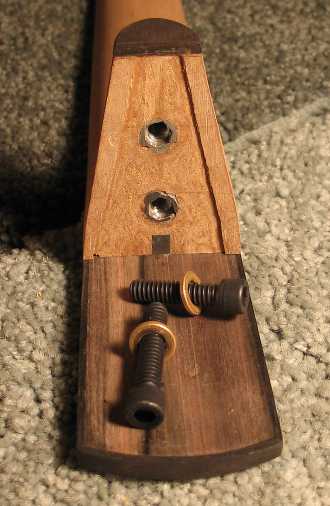
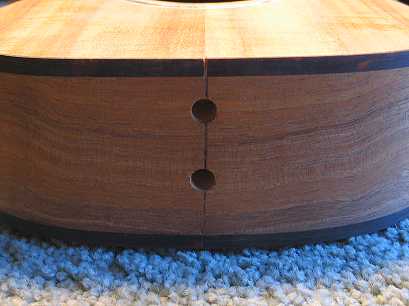
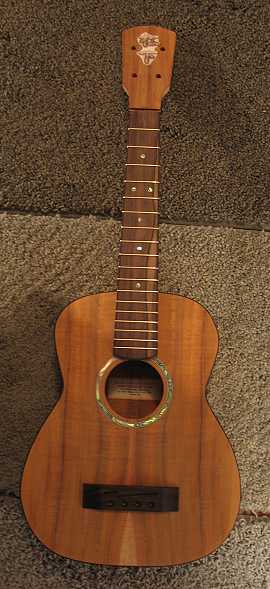
To the left: Here's how I attach my neck.


As of today, I've almost finished the building . . . . All that remains is to do the peghead inlay and the finishing process.

To the left and right, and below, are some photos of how it will look put together (I haven't glued anything yet, of course). The fingerboard will look richer once I've applied the fingerboard oil (I use lemon oil).

I've taped the peghead inlay drawing to the peghead, to see how it will look. Below is my plan. The inlay is the Japanese kanji (characters) for "Matsushita," which means "under the pine tree". I found it after Googling for a while this evening until I found an image that looked nice and looked easy enough for me to inlay. I plan to do the characters in white mother of pearl, rout out the cavities larger, to form the bordering shadows, and fill the outlines with epoxy tinted black or dark brown. That should make the characters stand out well against the lighter koa.

The fingerboard and bridge are Macassar ebony. I've bound the fingerboard with ebony.

I think this will be a very pretty ukulele!!!


Go the the Next Page (See how the inlay came out!!!)