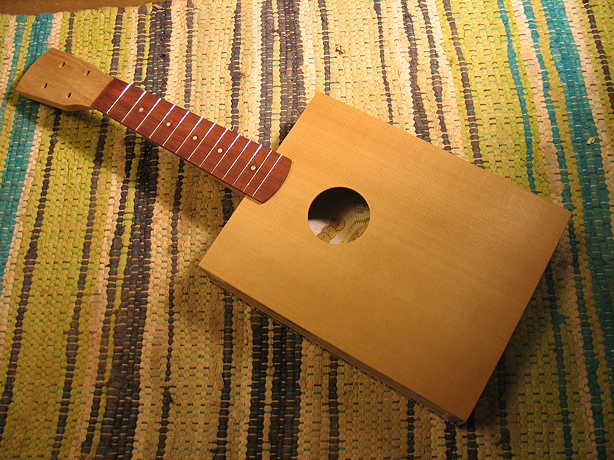
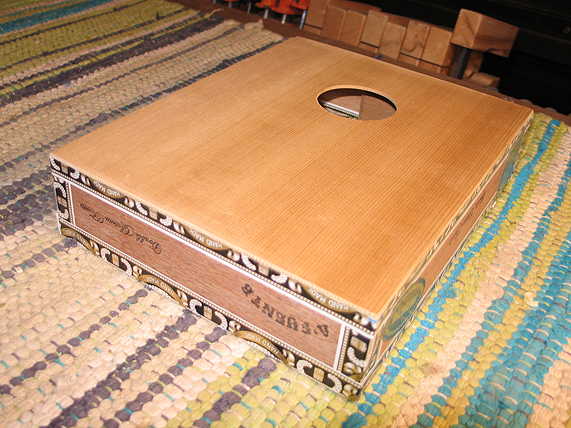
October 9th, 2013: ON THE HOME STRETCH....A few quick photos of where it's at now:
|
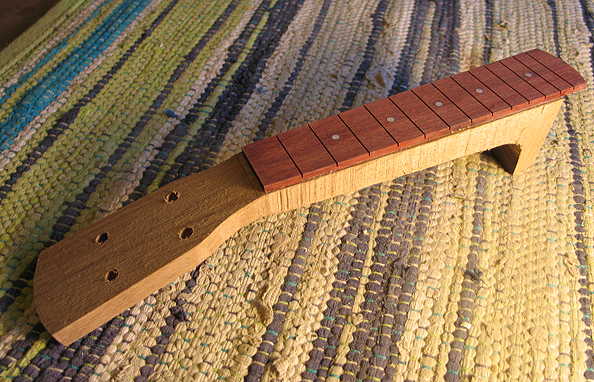

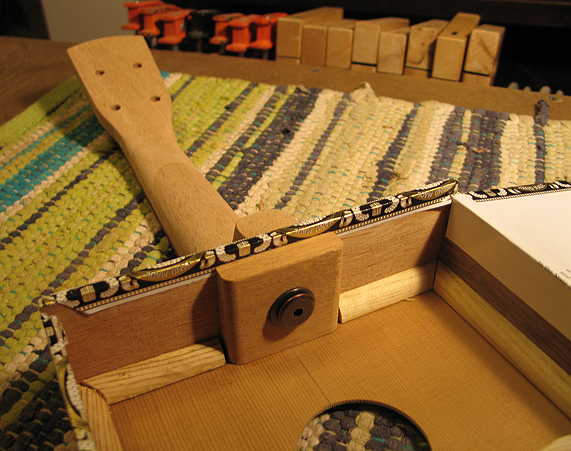
Here I have bolted the neck to the box.
|
And here is the inside view of the neck joint. |
NEXT UP . . . I will (probably Friday, as tomorrow is booked up) next level and dress the frets. Once that is done, I can determine what the height of the bridge should be, and then make the bridge. After that, I can do the finishing of the top and neck (I think I will try some Tung Oil this time, just because I've never tried it before). Once the finishing is done, I can install the tuners, make the nut and saddle, string it up, and set the action.
|