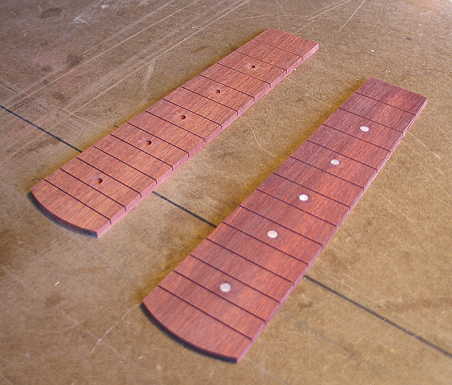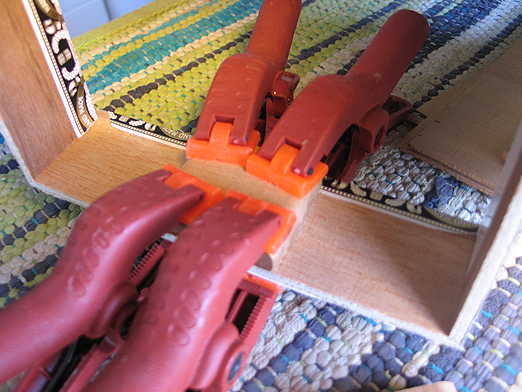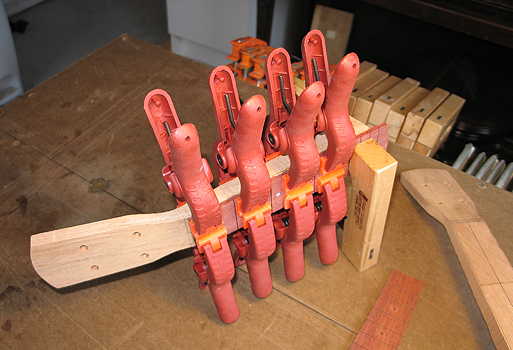
Here I am gluing the fingerboard onto one of the necks.
|
|
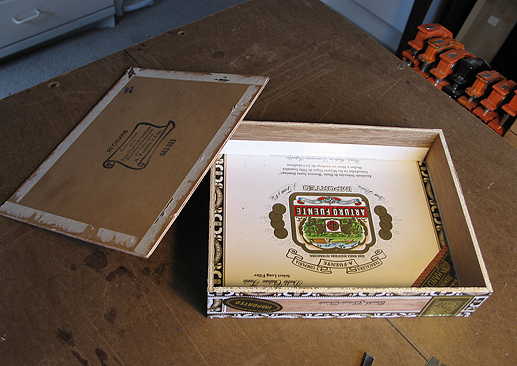
Now it was time to work on the box. I have removed the panel opposite the opening lid. To do this, I had to use a razor blade to cut through the paper covering the panel edges, and then remove about six staples which had secured the panel to the box. |
|
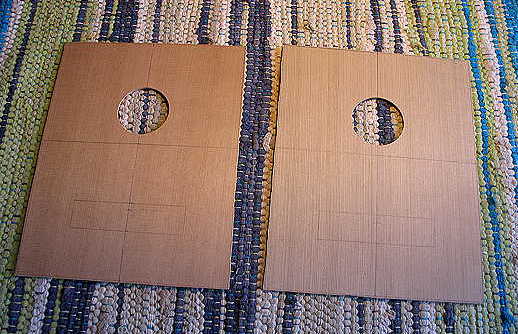
Now that I had the panel removed, I could trace the box outlines onto the 1/16" thick Western red cedar that I will be using for the tops. I have cut out the 2" diameter soundholes, using a fly-cutter on my drill press. The center of the soundhole is 3" down from the top. Here you can also see the lines I have drawn for the placement of the single spruce brace (1/4" wide and 5/8" tall)
and the 1/16" mahogany bridge patch (1" by 4").
|