Monday afternoon (before Randall arrives), May 18th, 2015:
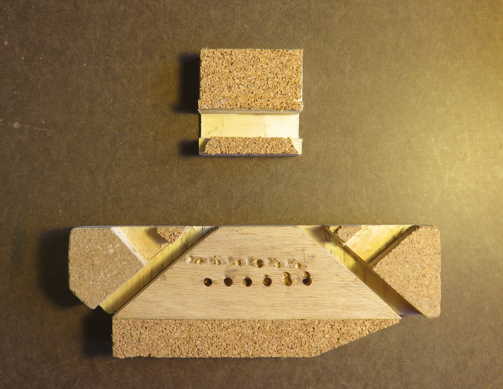
Just remembered last night that I'd better make sure to make the two clamping cauls needed for the top, while the top is still free of the sides. (Don't ask me how I know this.) One of the cauls is used to support the bridge area underneath the top, when you glue on the bridge. The other caul is to support the underside of the fingerboard extension, when you bolt on the neck and glue the fingerboard extension to the top.
I didn't really feel like making a whole new caul if I didn't have to, so I rummaged through my various cauls I've made for other guitars. It just so happened that one I made long ago, for a dreadnought guitar, fit almost perfectly, except for being not quite wide enough (vertically) to fully support the bridge area. So, I glued on another strip of wood to the bottom edge of the dreadnought caul. To make it work, as well, for my own OM top, whose braces are positioned slightly differently, I needed to slice off a little section so it wouldn't interfere with the tone bars. Now that one caul works for both tops.
I did have to, however, make a new caul for the fingerboard extension area, but that was pretty easy, compared to making a bridge clamping caul.
Here are the two cauls, seen from the underside:
|
|
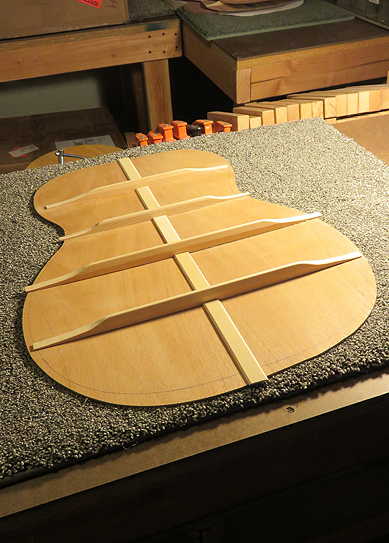
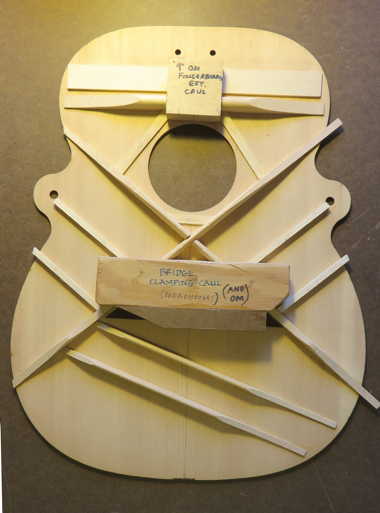
Here they are, placed on Randall's top:
|
|
And here they are, on my top:

|
|
Monday evening, May 18th, 2015:
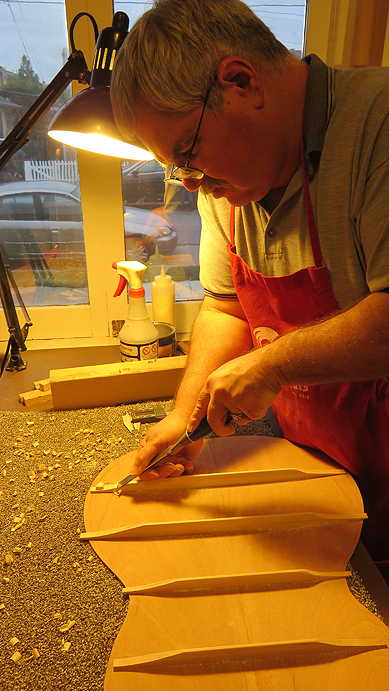
Tonight Randall worked from about 5:45-8:00 p.m.
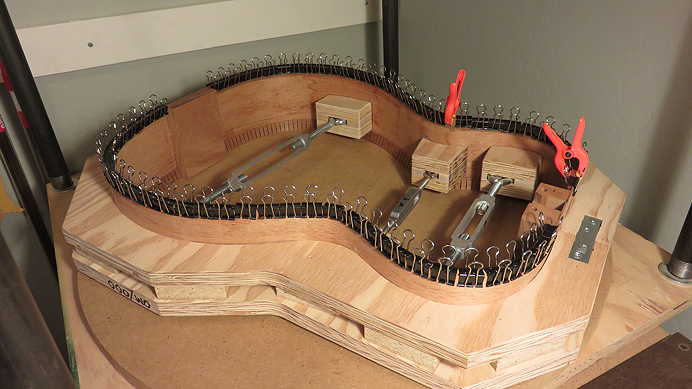
Below, he has glued on the kerfing on the top edge of the sides. Once the clamps (stationery clips, actually) are removed, the side set is extremely stable and holds its proper shape.
|