More French Polishing, Session #15, and Even More Polishing!!!
|
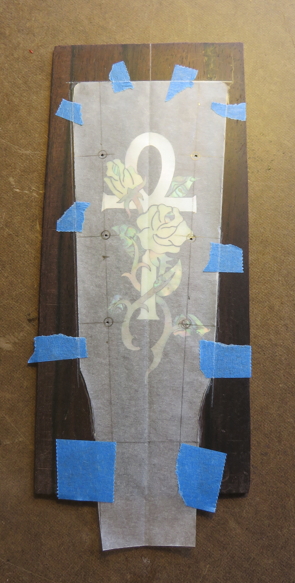
Sunday, July 19th, 2015: Today Randall mainly worked on the peghead overlay. A while back, he had bought a rosewood peghead veneer with an intricate inlay already installed. The veneer was a bit cupped, so I had spritzed it with water, had clamped it between a couple of boards, and had let it sit for a week or so; that removed most of the cupping, but not all. Today, fhe first thing he did was to make and cut out a template of the peghead onto tracing paper, so that he could place it over the veneer and figure out the best placement of the inlay, so that the six tuner holes would interfere the least with the inlay, and so the inlay would look balanced on the peghead. Those little dots you see are the center points for the tuner holes, which will be drilled out later, after the veneer has been glued onto the peghead.
|
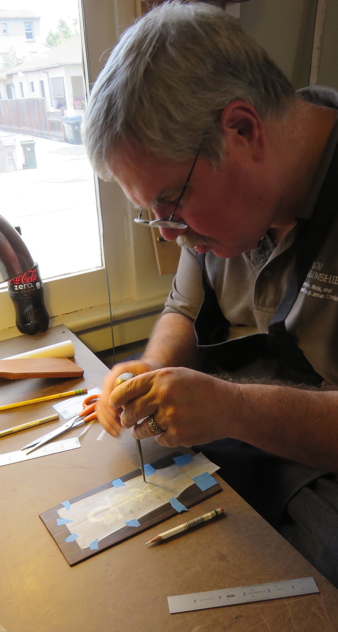
Here Randall is punching out some tiny holes for the centers of the tuner holes. This will make it easier for the brad-point drill bit to locate the exact spot to drill the holes.
|
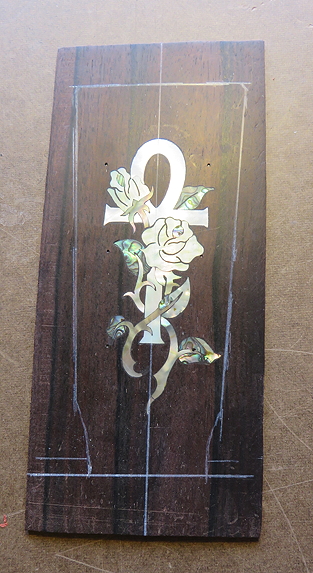
Here Randall has traced the outline of the peghead onto the veneer. The two lines at the bottom are the locations of the fingerboard end and the upper edge of the nut slot. After the veneer was cut out on the bandsaw (slightly outside the outline), Randall sanded the lower edge (the edge that will butt up against the nut) at the correct angle needed so that the edge would be perpendicular to the neck surface.
|
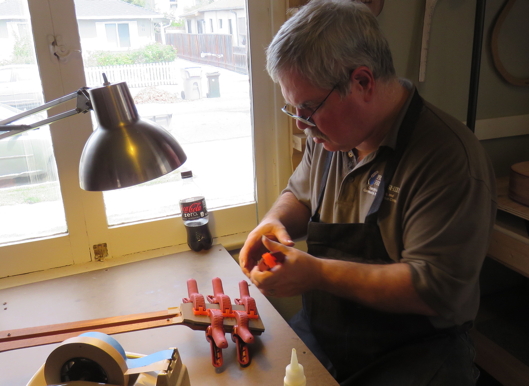
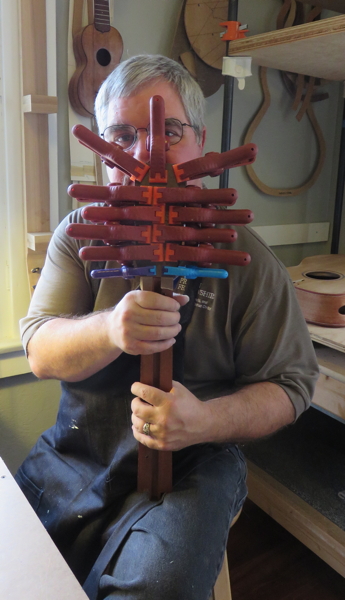
I made a quick clamping caul out of hardboard, in the shape of the peghead. Here Randall is gluing and clamping the veneer to the peghead, making sure to apply the first clamps to the center cupped portion of the veneer, so the veneer will glue down absolutely flat.
Too many clamps never hurts.
|
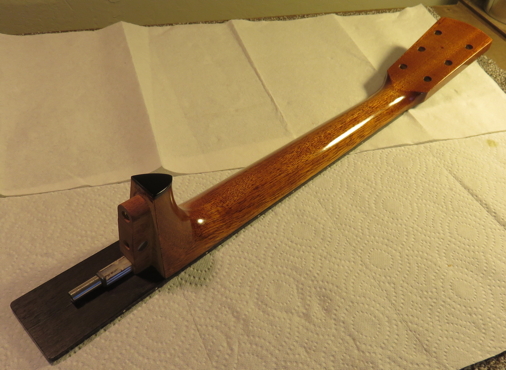
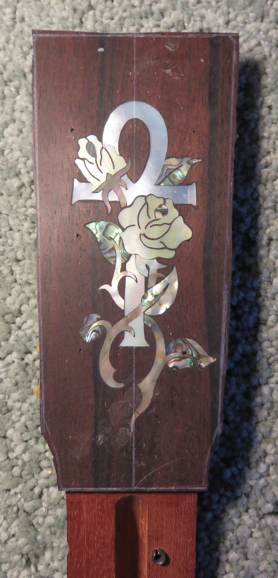
Monday, July 20th, 2015: Today I removed the clamps, and here's the result!! Later Randall will trim the veneer edges flush with the peghead edges and drill the tuner holes.
|
|
||||
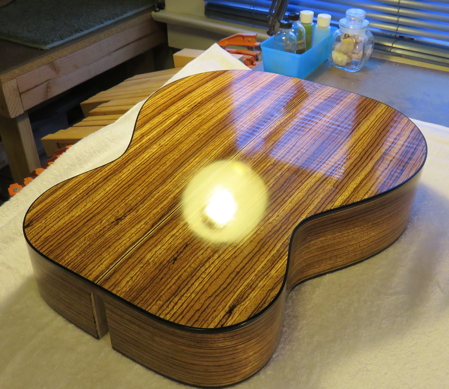
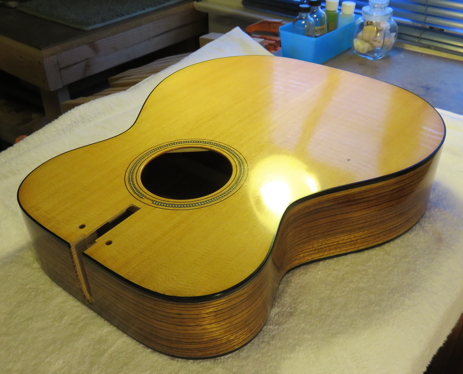
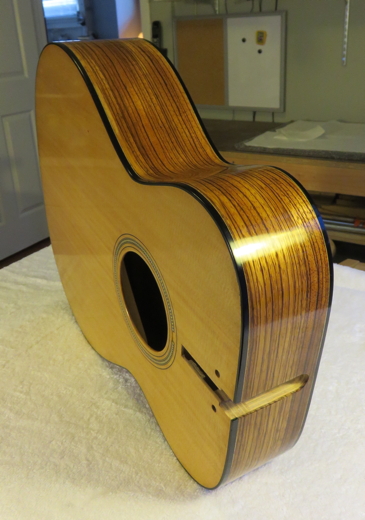
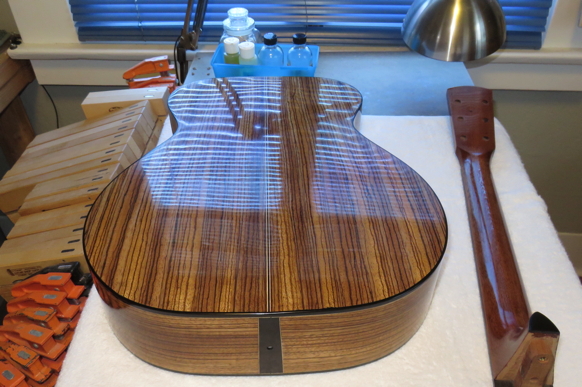
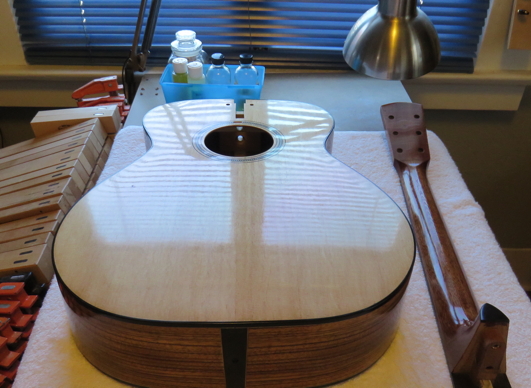
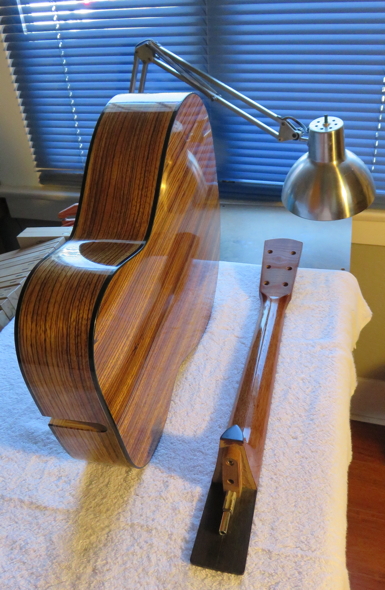
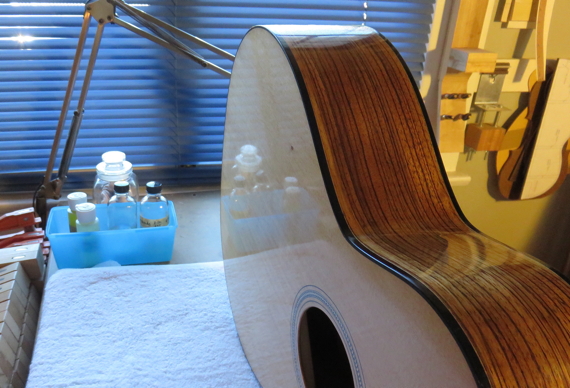
Monday, July 20th, 2015: SOME MORE PROGRESS ON MY SECOND ROUND OF BODYING SESSIONS: I have just applied the 4th bodying session on the soundbox (after the first level-sanding) --- so now I have a total of 14 coats (sessions) of French polish (shellac) on the soundbox. Currently, I have a total of 11 sessions on the neck. Here are some quick photos of what it looks like now. The reflections are becoming more and more distinct and clear! (The greatest moment is when you can actually read the little printing inside the desk lamp in the surface of the top or back! Not there yet.)
|
|
|
|
|
Previous Page |
Table of Contents |
Next Page |