Friday, August 20, 2004 . . . .
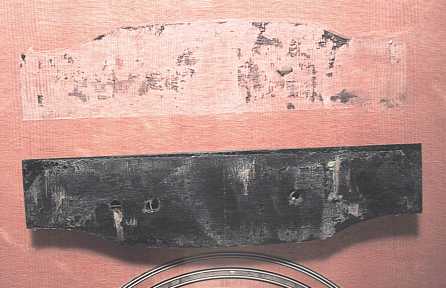
Well, I did it!!! The bridge heating blanket arrived today, so I got to work on removing the bridge this evening. It took me about 1-1/2 hours, but it came off fairly cleanly, considering this was the first time I'd ever done this sort of thing! I was really nervous doing it, but, with lots of patience and carefulness, I think I did okay.
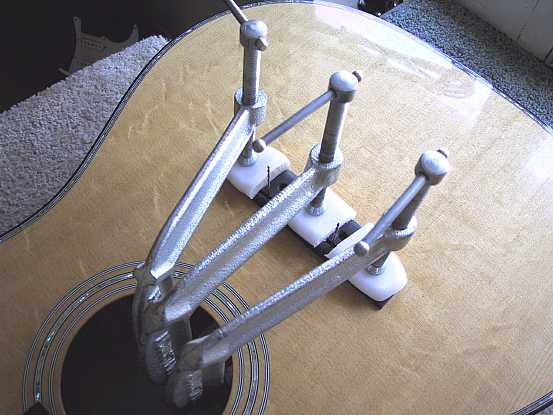
Enough drama for today . . . . I will tackle cleaning the gluing surfaces up and repairing the finish around the bridge area (mainly the section where the bridge slid over the finish on the front bass edge) tomorrow. After that's all done, I will reglue the bridge --- but this time, I will definitely use two locating pins drilled in the saddle slot!!!!
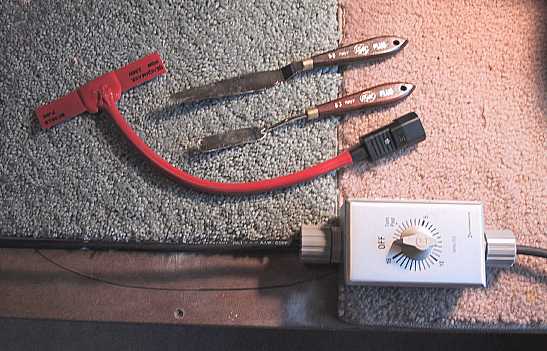
Here are the tools I used to remove the bridge. I set the timer for 5 minutes at a time --- I probably could have set the timer for a longer period, as it ended up taking quite a bit longer for the glue to soften and I had to keep repeating the heating process --- but I wanted to play it safe.