Sunday, June 3rd, 2001 . . .

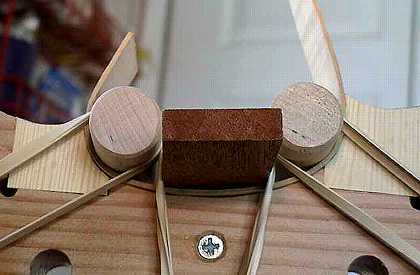
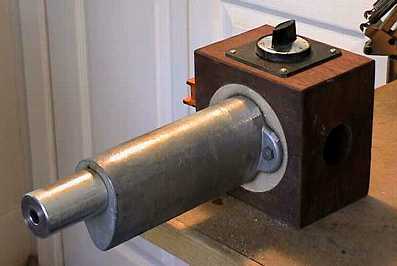
To the right is my electric bending iron, with an attachment I just purchased from Stew-Mac. The smaller diameter extension is bolted to the iron and allows me to more easily make tighter bends (I sure could have used this when I was doing the mandolin last summer!).

I first thinned the maple rims to 1 mm, using a sanding drum on my drill press; I ran the rim in between the drill press fence and the sanding drum.

Then, using the bending iron, I set about bending one of the C-bouts, which have the tightest bends (next to the corner blocks). I didn't soak the maple, as I normally do rosewood sides when making guitars. All I did was spritz the maple rim with water from a spray bottle as I bent. I also tried out an idea I had read about on the Musical Instrument Makers Forum (mimf.com) --- I draped a piece of wet towel on the iron, then bent the rim. The towel kept the maple from scorching and provided lots of steam for the bending. I backed the rim with an aluminum slat, to prevent cracking.


The bending of that one C-bout took me over an hour!!!! I took it really slowly, not wanting to crack that beautiful flamed maple rim. But finally it was done, and I clamped the rim to the mold, to let it set.

To the left you see a close-up of the method the Ossman book uses for holding the C-bout to the mold. The 1/2" dowels extend out on both sides of the mold. Rubber bands stretched around the 1/2" dowels and the larger 7/8" dowels on the outside of the mold pull the rim tightly to the form.


Below, I have glued the C-bout to the corner blocks, after having waxed the edge of the mold between the two corner blocks, to make sure no glue sticks there.

Tuesday, June 5th, 2001 . . . .

To the right are the two C-bouts after they have both been bent and glued to the corner blocks. My second bout cracked a little bit at the sharpest bend, but I was able to super-glue the crack successfully and thus avoided wasting a rib.

Next I will trim the ends of the C-bouts, to prepare for the bending of the upper and lower bouts.


 Next


 Go back to Violin-Building Menu

Return to Projects Home Page