|
Thursday, July 17 . . . Today I got back to working on the uke.
I first trimmed the overhang with my bandsaw (I tilted
the table slightly to avoid sawing into the side), up to about
1/16" from the side. Then I used a flush-cutting bit to
rout the overhang flush to the side. It worked well. I am getting
more confident and comfortable with using the router!
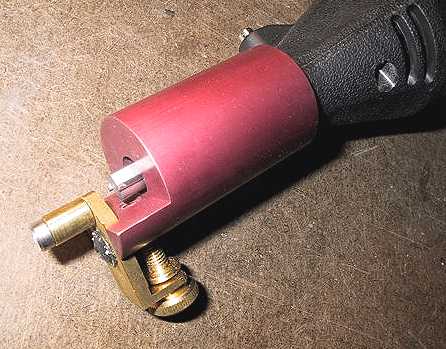
Next, I used the Stew-Mac adjustable binding attachment for
the Dremel you see to your right , to rout the binding channels
on the soundbox. The attachment has an adjustable roller
guide, which follows the side of the soundbox. I am using a 5/16"
carbide routing bit in the Dremel. The flat part of the attachment
rides along the top or back surface as you rout.
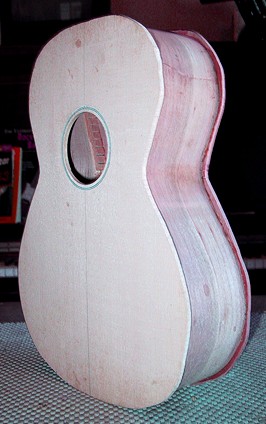
Finally, I got to the MESSIEST part of binding --- at least
when I'm doing plastic bindings --- gluing it on with Duco
cement. I'm just doing a simple tortoise-shell binding for
this ukulele.. That's strapping tape you see clamping the bindings
in place as the glue dries. I say this is the "messiest"
job because no matter what I do, I end up with dried Duco cement
all over my fingers whenever I do this ---- and that's pretty
hard to remove!!!! It takes tons of scrubbing....
|