|
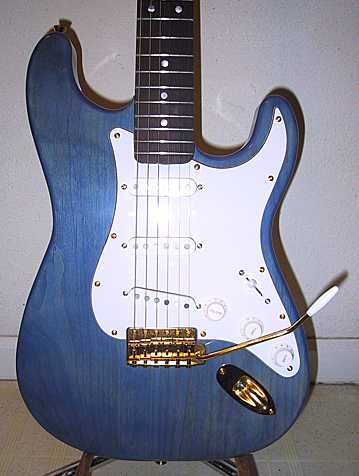
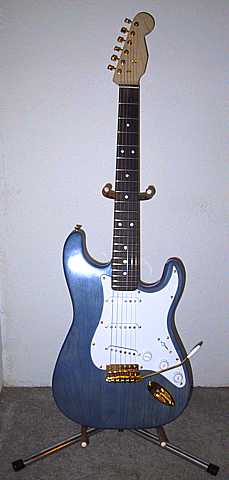
Well, I finished it today (except for some future tweaking).
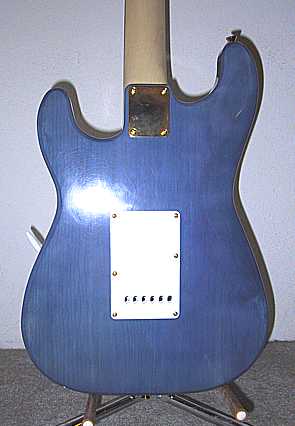
Yesterday I shielded the control and pickup cavities, using copper
conductive-adhesive foil I had ordered from Stew-Mac. It was
tedious, but it did the job well.
Then it was time to put the hardware on and see if it worked.
I had my Dan Erlewine's books set before me, and I took it step-by-step.
Here are the steps I took:
(1) I leveled and crowned the frets (I hadn't done that yet).
(2) I adjusted the tremolo, according to his instructions
(set it flat first, then tighten the screws a tad, so that the
bridge just rises a tiny bit, and then loosen the screws so that
it goes flat again).
(3) Next I put the strings on and cut the nut slots until
they were just the right depth.
(4) I tuned the strings almost up to where they should be,
then set the individual saddles to their proper heights.
(5) I blocked the tremolo so that the back end of the bridge
was about 3/32" above the body.
(6) I set the intonation (setting the bridge saddles to the
proper distances).
(7) I put the bridge springs onto the bridge claw, and tightened
the bridge claw screws until the block fell out.
(8) I adjusted the pickup heights (1/8" for the bass
side E-string and 3/32" for the treble side E-string).
(8) I installed the two strap buttons.
|