|
|
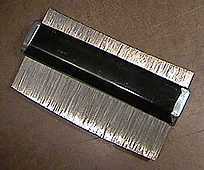
July 2nd.... Today I used the contour gauge pictured below to determine the correct curvature to sand into the bottom of the two tone bars that will be glued onto the inside of the arched top. After I had sanded the arch into the tone bars, I then refined the fit by sticking some sandpaper on the top at the braces' positions and then using short strokes to sand the bottoms of the braces.
|
 |
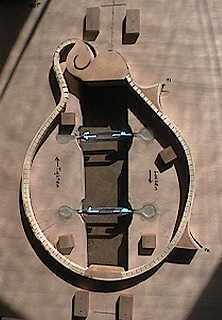 |
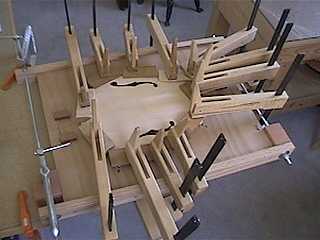
To the left I have glued the spruce kerfing onto the top rim. After gluing on the kerfing, I used a sanding block to level the kerfing, the rim, and the neck, end, and point blocks. July 3rd...Below, I am gluing the top to the rim. I have placed the mold on top of a piece of particle board, so the rim would be supported from below. Then I clamped the board to one end of my workbench, to give my cam clamps complete access to the rim. I used little wood scraps as clamping cauls.
|
|
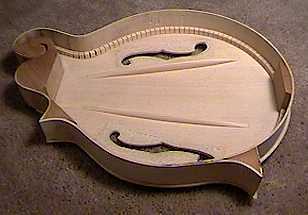
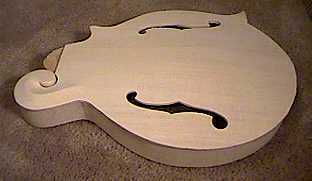
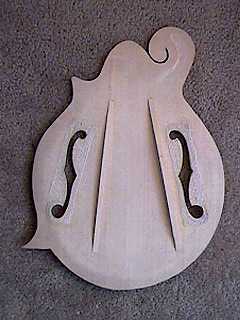
Here are a couple of photos of the glued rim and top. I have also shaped the two tone bars. I wasn't quite sure what I was doing in the shaping of the tone bars. I just kept tapping the top and the tone bars, pretending to know what I was hearing and doing. I also spent some time sanding the outer rim of the top, as my carving had left it a little thicker than it was supposed to be.
|
Next....Making the Neck |