|
|
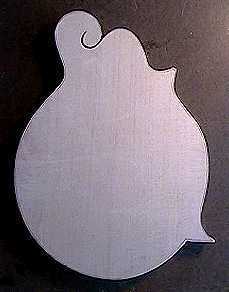
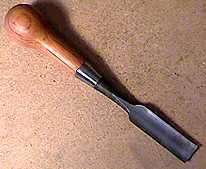
June 27th....I jointed the top wood (Sitka spruce, about 7/8" thick) with my hand jointer. June 28th....After scraping and sanding the jointed top flat, I cut out the top, a little bit outside the penciled line, using my little benchtop bandsaw. Then I proceeded to do the carving, primarily with the gouge below.
|
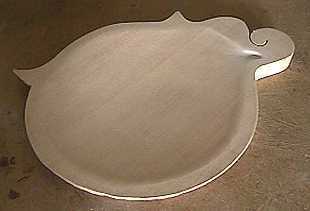
First I carved the inside of the top plate. The Siminoff book had drawings of the top plate curvatures at seven different sections of the top, so I made seven templates of those curvatures. As I carved the inside, I kept checking my carving with the templates. After the carving was finished, I used a random orbital sander to sand out the gouge marks. The carving was pretty hard on the hands, but still kind of fun and satisfying when it was all finished.Tomorrow I will carve the outside of the plate.
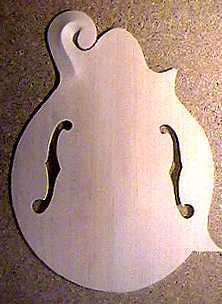
June 29th to 30th...I spent two days doing the carving of the outside of the top. On the first day, I used the gouge to carve the rough contours of the outside surface, again using the templates. By the time I was done working the first day, and after I had sanded the gouge marks out with the orbital sander, I did have the basic arch and the rough scroll shape, but it was, overall, about twice as thick as it should have been. I decided to quit for the day, as doing all that carving with the gouge was really tough on my hands. On the second day, I went and bought a flexible sander disc for my drill press, and I used that to thin down the plate. Then I cut out the f-holes with a coping saw (after reinforcing the underside with some gauze and glue, as Siminoff advises). Here's the result:
|