 |
Click on ToolMan to see some of my tools!
To see photos and a plan for a neat neck scarf-cutting jig, click HERE! |
| |
Click on ToolMan to see some of my tools!
To see photos and a plan for a neat neck scarf-cutting jig, click HERE! |
Here are some jigs I've made and used that have made some of the steps a LOT easier. To the left is how I glue kerfing on with stationery clips; the spreaders are made with turnbuckles and threaded rod. To the right is a hand jointer, made by placing a block plane upside down into a fence assembly.
 |
 |
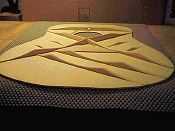
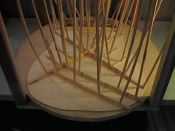 Above is another view of the top in the go-bar deck (described at right).
This is the final top, after the braces have been glued on and scalloped. 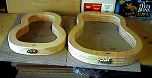 Above are my two molds for the Size 5 and the dreadnought. |
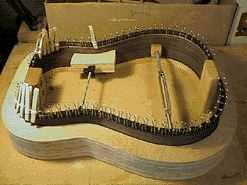
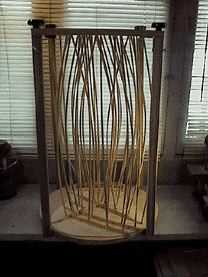 Above is my "go-bar deck," which evenly clamps and glues the braces onto the top, which is placed against a curved arching dish. This gives the top its slight arched shape. The 5/16" dowels exert the consistent pressure needed for a good gluing job. 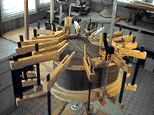 Here's what my workboard (which I used when gluing on the top and back) USED to look like. You can barely see it in this photo, but it was made up of two guitar-shaped boards joined with pipe flanges and a three-foot pipe. Here I'm gluing on the back, using cam clamps. (That's a change, too --- I used to glue on the tops and backs with the roping method!) |
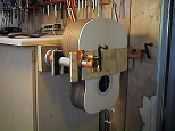
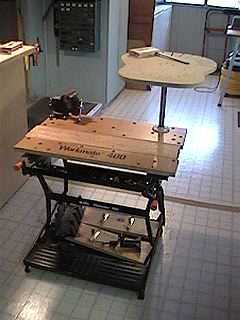
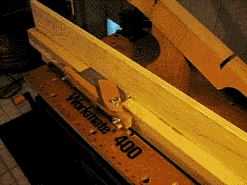
This is a guitar vise I made out of some old pipe clamps. Here's what my workboard looks like now. The other "guitar stand" workboard set-up was kind of wobbly. I had an extra flange and shorter pipe section lying around, so I thought, why not attach it to my Workmate instead? The Workmate's weight keeps it very steady. I still have access all around the board for clamping. And I have a handy table underneath it, too! The flange is easily removed, as it's just bolted on. |