August 17th, 2013:
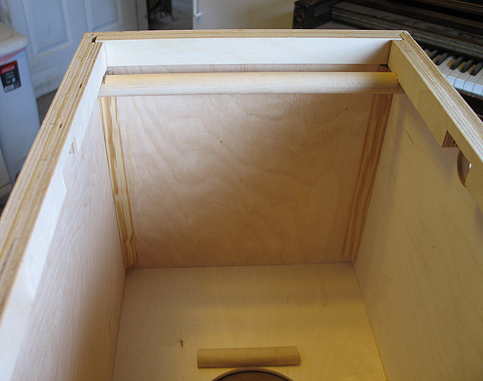
The first thing I did today was to glue four corner braces onto the corners where the sides meet the top section and base, just to give the box extra stability. I used some scrap quarter-round molding I had on hand.
Then I flattened one side of a 3/4" dowel and glued it just above the soundhole in the back, to serve as a kind of little "handle" for when I want to move the cajón.
NEXT UP..... The first thing I need to do (before I forget to do it) is to apply stain and finish to the end of the snare-adjustment dowel that will be seen outside of the box.
When that is dry, I will apply the felt to the snare-rest dowel, insert the snare-adjustment dowel and screw the snare to it (I think I'm going to put the snare in the left-hand side --- to my left, as I sit on the cajón), and, finally, screw the tapa to the front (drilling pilot holes first).
Then I will sand everything, slightly rounding all the edges, followed by applying the stain and finish. I'm thinking of using some Minwax Polyshades stain/finishes --- "natural cherry" color for the main body of the cajón, and "pecan" color for the tapa. I might also apply some Minwax Wipe-on Poly for some added protection.
After the cajón is all finished, I will screw on the four rubber feet.
|
|
August 18th, 2013:
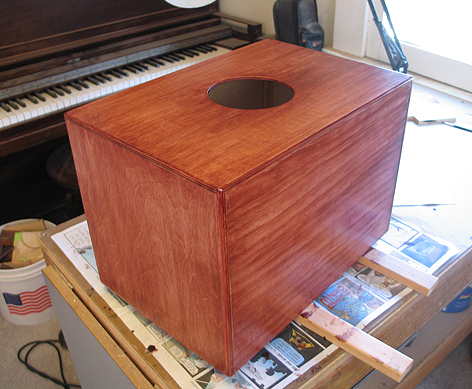
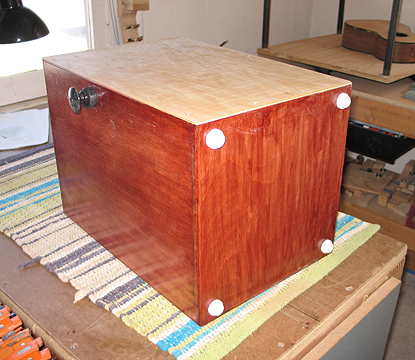
Just a couple of photos today. Last night I started the staining/finishing process. I changed my original plan (described to the left), and decided to just stain the whole box (minus the tapa) before inserting the snare and snare-adjustment rod, as it would be a bit more difficult to stain the box with that rod sticking out of the sides. After I'm done with the finishing process of the box, I will then insert the snare-adjustment rod and screw on the tapa. Then, I will do the finishing of the tapa, in a lighter "pecan" shade.
I first applied some Minwax Pre-Stain Wood Conditioner, to help prevent any blotchiness that might occur with the application of the stain. Then, instead of the "natural cherry" Polyshades stain that I originally had intended to use (it was too light), I decided to use the Polyshades "Bombay mahogany" color. This "Polyshades" stain has clear polyurethane mixed with the stain, but I still plan to put on some more polyurethane (Minwax Wipe-On Poly), just for some extra protection. I have just finished putting on two coats of the stain (waiting at least 6 hours between coats). All of this, I applied with an old T-shirt.
I will probably apply the Wipe-On Poly late tonight, if the stain is dry by then.
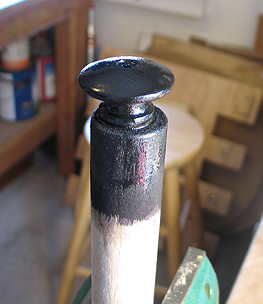
I also spray-painted the snare-adjustment knob end (which will be sticking out of the box) with some gloss black enamel. (I know, the knob is not quite centered!!!)
|
|
7:30 p.m. : I just finished applying the first coat of the Wipe-On Poly --- very easy to apply, with an old T-shirt.
Monday, August 19th, 2013:
Put on the second coat of the Wipe-On Poly this morning at 7:30.
Will let it sit now for a few hours before I insert the snare-adjustment dowel (and attach the snare), sand the edges of the tapa and screw it to the box. Then, I will do the staining and finishing of the tapa.
When that's done and dry, this here cajón will be ready to play!!! Yay!!!
|
Tuesday, August 20th, 2013:
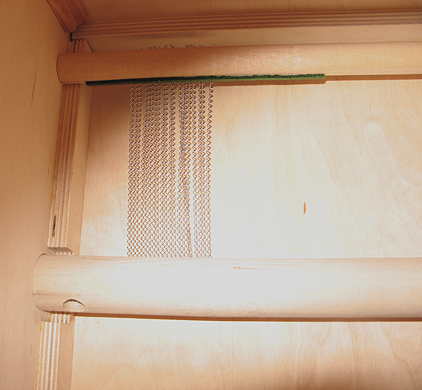
Today I finally inserted the snare-adjustment dowel rod and screwed the snare to the rod (I decided to place the snare on the left-hand playing side, so I could have the right-hand side with less of a snare sound, for some versatility). In the photo below, the snare is resting against the felt I have stuck to the rod. When I want the snare sound, I will just turn the rod so that the snare wire lies against the tapa. (I'm taking this photo through the soundhole in the back.)
|
|
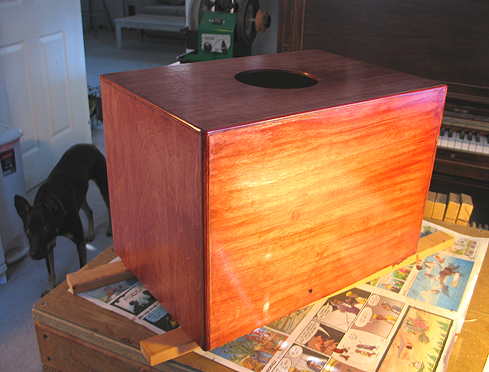
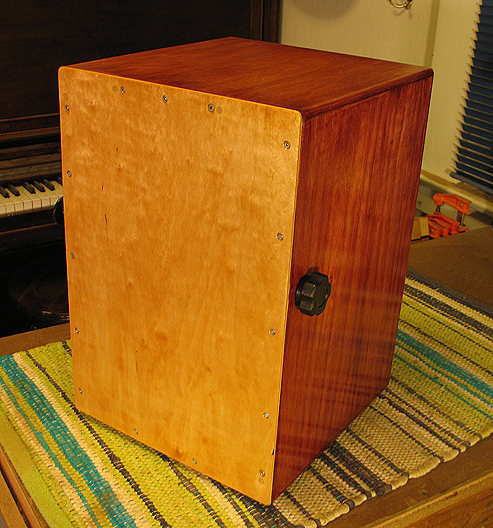
Next, I screwed the tapa to the box, sanded and rounded the edges, and did a final sanding of the entire tapa surface. I also have screwed the four rubber feet to the base of the cajón.
Later, when I want to make the tapa sound more "clacky" or "snappy" at the top corners (I don't know what the percussion terms are here), I just need to loosen the screws a little at the top.
|
|
Here is another view of the tapa, before I have started to apply the stain and finish (I plan to use a "pecan" color stain, which will just slightly color the tapa).

|
8:30 p.m., August 20th, 2013:
I have finished the staining of the tapa, and I've just applied one coat of the Wipe-on Poly to the tapa. The color is now a slight amber, which I think warms up the look a little bit. Later tonight, I will apply a second coat of the Wipe-on Poly, and that will be that.
|
|
Another thing I did, while the tapa's finish was drying, was to polish the rest of the box a bit with some Meguiar's #7 (Show Car Glaze), after rubbing it down with a white Scotchbrite synthetic steel wool pad. It is now squeaky-smooth!

|
|
August 21st, 2013:
It's finished!!!! And here's a quick video:
|