|
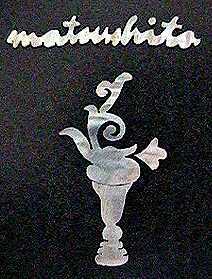
July 9th...Today I undertook the inlaying of the peghead. First, I sawed the pieces out of some abalone squares I had. I decided to attempt to do a whole "matsushita" in script. I'd never done this before --- my other inlays were just initials, never my whole, long name! In a way, it seemed easier to do than separate initials; there were fewer sharp corners, and, as it was in a script style, there could be irregularities and no one would notice! Next, I copied one of the two designs I saw on the Don Macrostie F-5 plan. It took me about four hours to saw out the pieces.
|
 |
|
|
|
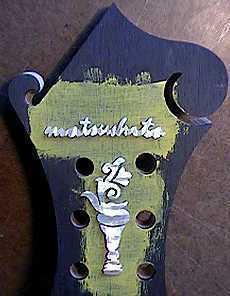
Next, I painted some yellow tempera paint on the peghead, and, when that was dry, positioned the pieces onto the peghead with a couple of dots of white glue. I used a scriber to etch the outlines of the pieces into the yellow tempera paint. I used to scribe the outlines first (without the tempera paint) and then smear yellow chalk dust into the outlines, but I like this tempera method better. The outline stays visible and doesn't disappear, since the tempera doesn't rub away. With the chalk method, I often had to reapply chalk into the scribed lines several times as I was working. |
 |
|
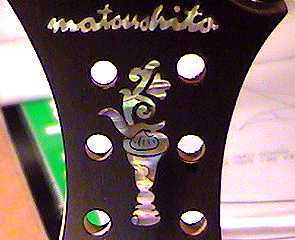
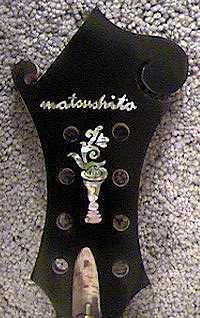
Then came the next task --- the routing of the cavities for the inlays. That came out okay. I used my Dremel with the Stew-Mac router base and a 1/16" carbide downcut spiral bit. It cuts a very clean cavity. To the right is the peghead, after I had glued the inlay in with superglue and filled the gaps with epoxy and ebony dust. It took me about three hours to do the routing. |
This . . . |
. . . became this!!! |